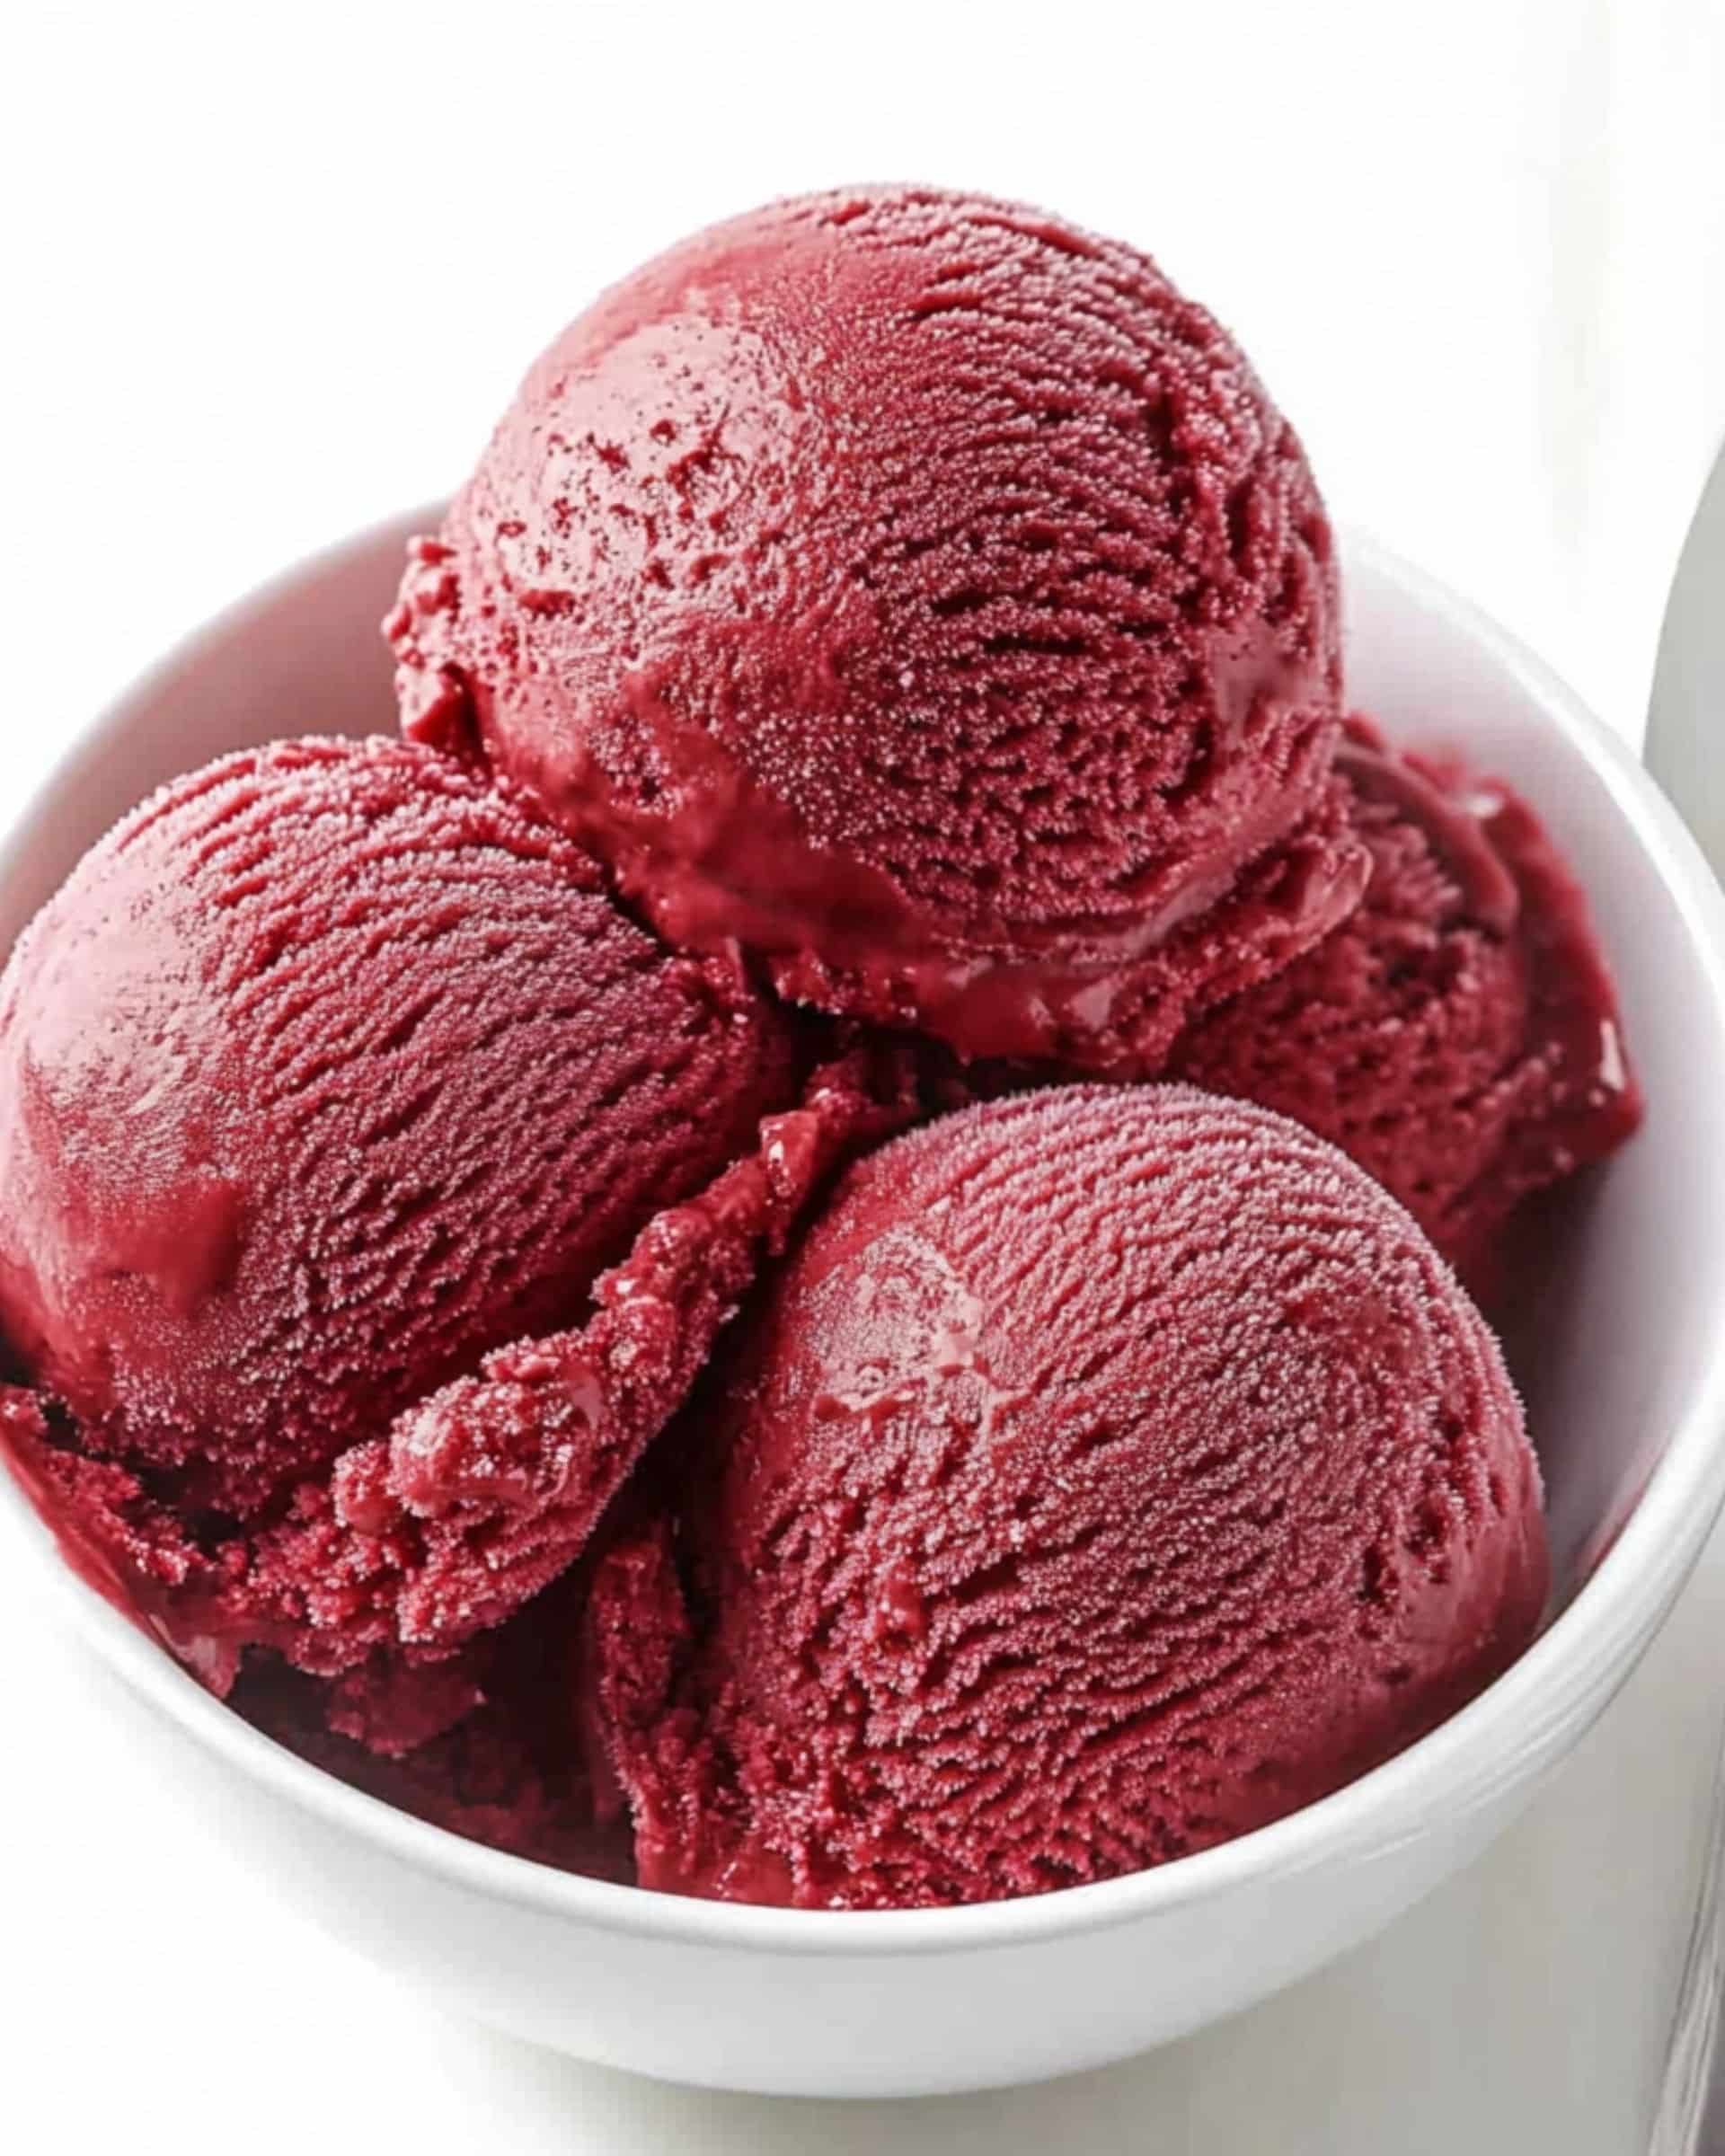
If you’re looking for a show-stopping homemade dessert that’s both luscious and perfectly nostalgic, this Red Velvet Ice Cream is for you. It combines the tangy creaminess you love from classic ice cream with the unmistakable flavor of red velvet cake—soft crumbs swirled in every bite. Even better? You don’t need an ice cream scientist to pull this off. With just a bit of prep, a quick churn, and time in your freezer, you’ll have a rich, crave-worthy treat ready to scoop whenever you need a little indulgence. Let’s make busy weeknights (or weekends!) extra special with a homemade dessert that looks and tastes like you picked it up from a gourmet bakery.
Why You’ll Love This Recipe
- Effortless Elegance: It might sound fancy, but making Red Velvet Ice Cream at home is simple enough for anyone—yes, even if it’s your first time making ice cream.
- Texture Heaven: You get velvety smooth ice cream mixed with tender, moist cake crumbs in every spoonful.
- Perfect for Celebrations: This is the ultimate way to use up leftover red velvet cake, or to elevate dessert for any special occasion.
- No Fussy Ingredients: No eggs, no custard cooking. Just mix, chill, churn, fold, and freeze!
- Customizable: Easily make it your own with fun mix-ins or by tweaking the flavor to suit your cravings.

Ingredients You’ll Need
- Cream Cheese: Brings a gentle tang and creaminess, giving the ice cream a cheesecake-like richness. Pro tip: Let it soften slightly before blending for ultra-smooth results.
- Sour Cream: Adds even more tang and a silky texture. Keeps the ice cream feeling light, not overly dense.
- Half-and-Half: This is the base liquid, offering the perfect balance between richness and scoopability. Whole milk can work, but half-and-half yields a creamier finish.
- Granulated Sugar: Sweetens the mix, balancing the flavors just right.
- Salt: Just a pinch! It intensifies all the flavors and keeps sweetness from tasting flat.
- Vanilla Extract: Rounds everything out and enhances the classic red velvet taste.
- Red Velvet Cake Crumbs: They are the star! Use plain, unfrosted cake if you want a less sweet ice cream, or go for iced cake for extra decadence. Homemade or store-bought cake both work beautifully.
Note: You’ll find the complete list of ingredients, along with their exact measurements, in the printable recipe card at the bottom of this post.
Variations
There are plenty of ways to put your own spin on this ice cream:
- Chocolate Chips: Fold in a handful of mini chocolate chips for a punch of texture.
- Cream Cheese Swirl: Soften extra cream cheese, blend with a little sugar, and ripple it through your churned ice cream before freezing.
- Gluten-Free: Use gluten-free red velvet cake (store-bought or homemade—whatever fits!)
- Nutty Crunch: Try tossing in some toasted pecans or walnuts for a fun crunch.
- Frosting Swirl: If you want even more decadence, swirl a bit of classic cream cheese frosting throughout before freezing.
How to Make Red Velvet Ice Cream
1. Prepare the Ice Cream Base
Start by cutting the cream cheese into small pieces and dropping them into your food processor. Add the sour cream, half-and-half, granulated sugar, a pinch of salt, and vanilla extract. Blitz everything together until you get a totally smooth, pourable mixture. No food processor? A powerful blender or stand mixer does the trick—just make sure no lumps remain.
2. Chill Thoroughly
Transfer your blended base to a bowl or pitcher, then cover and refrigerate at least 8 hours (overnight is perfect). The message here: don’t rush this step—the colder your base, the creamier your ice cream will be.
3. Churn the Ice Cream
Once your base is super chilled, pour it into your ice cream maker and churn according to your machine’s directions. Usually about 15-20 minutes until it’s thick, soft, and just about the consistency of soft-serve.
4. Layer in Cake Crumbs
While your ice cream churns, scatter the red velvet cake crumbs into the container you’ll use for freezing. When the churned ice cream is ready, scoop it right over the crumbs. Quickly and gently fold everything together so you see pretty red ribbons throughout, but don’t overmix—it’s great to have bold pops of cake.
5. Freeze Until Scoopable
Pop the container in your freezer for at least 3 hours (or until firm). Once set, it should scoop beautifully—just like your favorite parlor, but better, because it’s homemade.
Pro Tips for Making the Recipe
- Don’t Skip the Chill: The base needs to be very cold before churning, otherwise your ice cream may turn out icy rather than creamy.
- Cake Crumb Size: Go for pea-sized crumbs so they blend well yet retain their texture.
- Fold, Don’t Stir Vigorously: Use a spatula and a light hand when mixing in the cake crumbs. You want beautiful ripples, not broken spread.
- Taste Test: Before freezing, sneak a little spoonful. If you want it sweeter, you can sprinkle a little extra sugar over the cake crumbs as you fold them in.
How to Serve’

Red Velvet Ice Cream shines all by itself in a bowl or a cone, but you can absolutely dress it up:
- With More Cake: Sandwich a big scoop between two soft red velvet cookies or brownies.
- Hot Fudge Sauce: A drizzle of chocolate sauce over the top amps up the bakery vibes.
- Fresh Berries: Strawberries or raspberries add tang and contrast.
- Whipped Cream and Sprinkles: Go for the classic sundae style!
- Paired with Coffee or Espresso: For a grown-up affogato twist.
Make Ahead and Storage
Storing Leftovers
Keep your Red Velvet Ice Cream in an airtight container in the freezer. Because of the cake crumbs, it’s ideal to eat within 1-2 weeks for the freshest texture, though it will last up to a month.
Freezing
Store in the back of the freezer to keep the temperature as consistent as possible. If you want to avoid ice crystals, press a layer of plastic wrap directly on the ice cream before sealing the container.
Reheating
Frozen solid? Just let the container sit on your countertop for 5-10 minutes to soften slightly before scooping. Never microwave homemade ice cream!
FAQs
-
Can I make this without an ice cream maker?
You can! Pour the well-chilled base into a metal pan, freeze, and stir every 30 minutes for a few hours to break up ice crystals. Right before the final freeze, fold in your cake crumbs. The result is a bit denser than churned ice cream, but still heavenly.
-
Is it okay to use store-bought red velvet cake?
Absolutely—this is one of the best uses for leftover or even slightly stale red velvet cake. Just make sure to crumble it into small, soft chunks for the best texture.
-
Can I use low-fat or dairy-free substitutes?
For a lighter version, you can swap in Greek yogurt for some of the sour cream, or use low-fat cream cheese. Dairy-free alternatives work, but the ice cream will slightly change in texture and may freeze a bit harder. Full-fat ingredients give the creamiest results.
-
Why does my ice cream get icy?
Usually, ice crystals form if the base wasn’t cold enough before churning, or if the container isn’t airtight. Keep your mixture super chilled, freeze it promptly, and always store tightly covered.
Final Thoughts
Red Velvet Ice Cream is proof that you don’t need a culinary degree to create something decadent and impressive at home. This recipe is designed to strip away intimidation, making it easy for anyone to whip up an extraordinary treat—even on the busiest weeknight. So give it a try, have fun folding in those signature cake crumbs, and get ready for ice cream delight in every bite. Happy scooping!
Print
Red Velvet Ice Cream Recipe
- Prep Time: 11 hours
- Cook Time: 15 minutes
- Total Time: 11 hours 15 minutes
- Yield: about 1 quart (serves 8)
- Category: Desserts
- Method: Blending
- Cuisine: American
- Diet: Vegetarian
Description
This Red Velvet Ice Cream is a rich, creamy frozen dessert that combines the tangy flavor of cream cheese and sour cream with the decadent taste of red velvet cake crumbs. Perfect for special occasions or whenever you want an indulgent treat, this easy no-cook recipe promises a luscious, velvety texture with bursts of moist cake in every bite.
Ingredients
Dairy Base
- 8 ounces cream cheese
- 1 cup sour cream
- 1/2 cup half-and-half
- 2/3 cup granulated sugar
- Pinch of salt
- 1 teaspoon vanilla extract
Mix-ins
- 2 cups plain or already iced red velvet cake crumbs
Instructions
- Prepare the Ice Cream Base: Cut the cream cheese into small pieces and place them in a food processor fitted with the metal blade. Add the sour cream, half-and-half, granulated sugar, pinch of salt, and vanilla extract. Purée the mixture until it is completely smooth and creamy.
- Chill the Mixture: Transfer the puréed mixture to a bowl, cover, and chill in the refrigerator for at least 8 hours, or until very cold (about 40°F/4°C).
- Churn the Ice Cream: Once chilled, pour the mixture into your ice cream maker and churn according to the manufacturer’s instructions, until the ice cream is thick and has a soft-serve consistency.
- Prepare the Cake Crumbs: While the ice cream is churning, place 2 cups of plain or iced red velvet cake crumbs evenly in the bottom of the container you plan to use for storing the finished ice cream.
- Fold in Cake Crumbs: When churning is complete, transfer the soft ice cream into the container with cake crumbs. Quickly but gently fold the ice cream and crumbs together to distribute them evenly without overmixing.
- Freeze Until Firm: Cover the container and freeze the ice cream for at least 3 hours, until firm. Scoop and serve chilled for best texture and flavor.
Notes
- Ensure your base mixture is thoroughly chilled for the creamiest texture.
- Leftover red velvet cake or cupcakes work perfectly for the crumbs.
- Do not overmix the cake crumbs to maintain their texture inside the ice cream.
- The ice cream can be stored for up to 1 month in an airtight container in the freezer.
Nutrition
- Serving Size: 1/2 cup
- Calories: 320
- Sugar: 21g
- Sodium: 160mg
- Fat: 20g
- Saturated Fat: 11g
- Unsaturated Fat: 7g
- Trans Fat: 0g
- Carbohydrates: 30g
- Fiber: 0.5g
- Protein: 4g
- Cholesterol: 65mg


