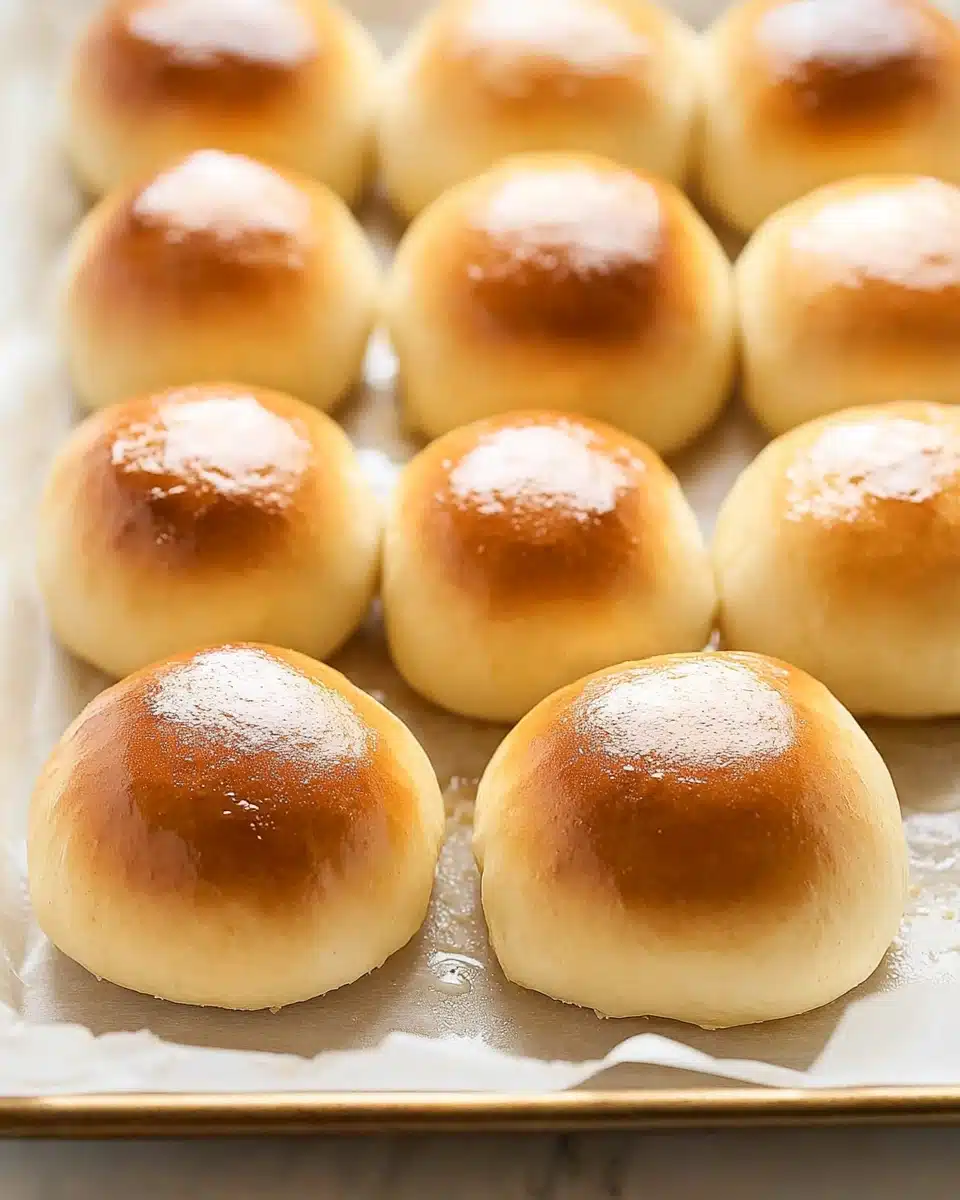
There’s truly nothing like the aroma of freshly baked bread wafting through your home, and Mom’s Homemade Buns are the epitome of cozy comfort. With their pillowy centers and gently golden crust, these soft, buttery buns are the kind you’ll crave for family dinners, special gatherings—or honestly, just because. Trust me, once you taste them, you’ll understand why “Mom’s Homemade Buns” are a recipe worth passing down!
Why You’ll Love This Recipe
- Unbeatable Softness: These buns are so light and fluffy, every bite feels like a warm hug—perfect for soaking up soups, gravies, or spreading with butter.
- Easy, No-Fuss Method: With straightforward steps and flexible ingredients, Mom’s Homemade Buns are truly achievable for bakers of every level.
- Versatile for Any Occasion: Whether you serve them at Sunday dinner, holiday feasts, or as a sandwich roll, these buns fit every meal beautifully.
- Make-Ahead Friendly: They freeze and reheat beautifully, so you can enjoy home-baked goodness anytime the craving strikes.
Ingredients You’ll Need
The magic of Mom’s Homemade Buns is that you don’t need any fancy or hard-to-find ingredients—just a handful of pantry staples that each do their part. Together, they create irresistible flavor, perfect texture, and that classic golden color you know and love.
- Warm Water (divided): Makes the dough tender and helps activate the yeast, which is crucial for a good rise.
- Instant or Active Dry Yeast: Provides lift, giving these buns their signature pillowy fluffiness. Use whichever you’ve got!
- Granulated Sugar: Feeds the yeast for optimal rise, plus adds just a touch of sweetness.
- Unsalted Butter (melted): Adds rich, buttery goodness throughout—don’t skip the little swipe on top for extra flavor and shine!
- Salt: Essential for bringing out all the other flavors and balancing the sweetness in the dough.
- All Purpose or Whole Wheat Flour: The base of the buns—you can use either or a blend, adjusting for the texture and nuttiness you prefer.
- Butter for brushing: (Optional, but delightful!) Brushed on after baking for a glossy, irresistible finish.
Variations
Don’t be afraid to get creative—Mom’s Homemade Buns are a wonderful canvas for all sorts of personal touches! Customize your batch to fit everyone’s taste or to match the meal at hand. Here are just a few inspired ideas:
- Whole Wheat Twist: Swap in half (or even all) of the flour for whole wheat for a nutty flavor and extra fiber.
- Seeded Buns: Sprinkle sesame, poppy, or sunflower seeds on top before baking for a rustic bakery-style finish.
- Cheesy Buns: Fold a handful of shredded cheddar or parmesan into the dough for a savory, melty surprise.
- Sweet Tooth Option: Add a dash of cinnamon and a sprinkle of raisins, then brush the warm buns with honey for a breakfast treat.
How to Make Mom’s Homemade Buns
Step 1: Proof the Yeast
In a small bowl or liquid measuring cup, combine your warm water, instant (or active dry) yeast, and a teaspoon of sugar. Whisk gently, then let the mixture sit for around 10 minutes—watch as it turns bubbly and frothy. Even if you’re using instant yeast, this extra step ensures your yeast is lively, so your buns will rise beautifully every time!
Step 2: Mix Up the Dough
In the bowl of a stand mixer—or a large bowl if you’re working by hand—add the remaining warm water, melted butter, sugar, and salt. Pour in the bubbly yeast mixture and stir to combine well. This liquid base is what gives Mom’s Homemade Buns their characteristic softness and subtle sweetness.
Step 3: Add Flour & Knead
Now it’s time for the magic—slowly add flour, about a cup at a time, mixing after each addition and taking care not to over-flour. When the dough looks nearly formed, continue adding just a little at a time until you have a soft, smooth ball that barely sticks to your hands. Knead until elastic—smooth, stretchy, and silky.
Step 4: First Rise
Lightly oil a large bowl (your mixer bowl works, just wipe it out), and place the dough inside. Cover with plastic wrap or a clean towel, and let it rise in a cozy, warm spot until doubled in size—about 90 minutes is perfect. The oven with the light on is my favorite makeshift proofing box!
Step 5: Shape the Buns
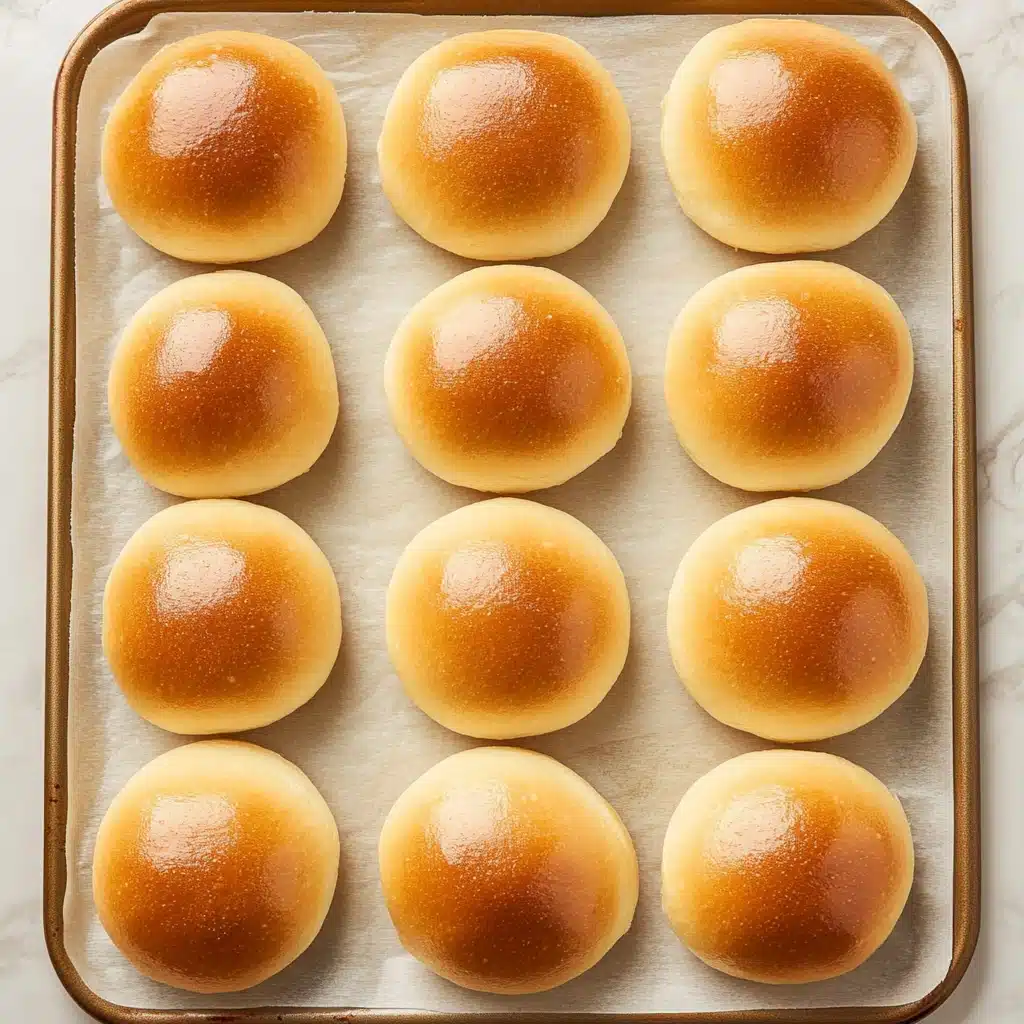
Punch down the dough to deflate the air gently, then divide into 20–24 pieces. Shape each into a round, tucking and pinching the seam underneath for that classic bun look. Place the shaped buns on a parchment-lined baking sheet, leaving some space for them to expand.
Step 6: Second Rise & Bake
Let the buns rise again, uncovered, for another 30–60 minutes until they are puffed and doubled. Bake in a preheated 350°F oven for 18–22 minutes, until they’re perfectly light golden brown. For a finishing touch, brush the hot buns with a little melted butter—you’ll get that irresistible sheen and extra rich flavor.
Pro Tips for Making Mom’s Homemade Buns
- Watch Your Flour: Add the last cups very slowly—too much results in dense buns, too little makes sticky dough. Soft and just slightly tacky is perfect.
- Find a Cozy Rise Spot: The oven with just the light on is a bun’s paradise for rising. A slightly warm, draft-free spot makes all the difference.
- Uniform Shaping: Pinch those seams securely on the bottom for a beautifully smooth, bakery-worthy top every time.
- Finishing Touch: Don’t skip brushing with butter while the buns are warm—it keeps them soft and adds amazing flavor.
How to Serve Mom’s Homemade Buns

Garnishes
For a truly inviting table, brush your warm Mom’s Homemade Buns with a bit of melted butter and finish with a sprinkle of flaky sea salt, sesame seeds, or even a dusting of everything bagel seasoning. These simple touches give your buns a bakery-quality look and a little extra flavor magic.
Side Dishes
These buns are the ultimate sidekick—think hearty soups, holiday turkey, roast beef, or classic chili. They’re also fantastic for soaking up homemade gravy or for serving with a fresh salad for a cozy lunch. If you’re making sliders or pulled pork, these buns hold up beautifully, too!
Creative Ways to Present
Stack your golden buns high in a lined breadbasket, serve them as the base for build-your-own mini sandwiches, or slice and toast leftovers for dreamy breakfast sandwiches. You can even tie them up in parchment with twine for a rustic touch at your next potluck.
Make Ahead and Storage
Storing Leftovers
Allow any leftover Mom’s Homemade Buns to cool completely, then tuck them into an airtight container or a resealable bag. They’ll stay fresh and soft on the counter for up to two days—if you somehow don’t eat them all by then!
Freezing
Mom’s Homemade Buns freeze like a dream. Once cooled, wrap each bun tightly in plastic or foil and pop them into a freezer bag. They’ll taste fresh for 2–3 months—just thaw on the counter whenever you need one (or a dozen!).
Reheating
To revive that just-baked magic, warm the buns in a low oven (about 300°F) for 5–8 minutes, or give them a quick zap in the microwave wrapped in a damp paper towel. Enjoy the soft, warm comfort all over again.
FAQs
-
Can I use only whole wheat flour for Mom’s Homemade Buns?
Absolutely! Just know that using all whole wheat flour will yield a heartier, slightly denser bun. If you want the best of both worlds, try a blend of all purpose and whole wheat flour for a lighter, nutty result.
-
Do I really need to proof the yeast if I’m using instant yeast?
Technically you can skip it, but proofing lets you confirm your yeast is active, which is a great confidence-booster (and helps guarantee those fluffy Mom’s Homemade Buns). Plus, that foamy action gives your dough a head start!
-
How do I know when I’ve added enough flour?
When your dough forms a soft, smooth ball that’s just a bit tacky but doesn’t stick to the sides of the bowl, you’re there. Adding flour gradually near the end is the best way to find that sweet spot for irresistibly tender buns.
-
What’s the best way to reheat frozen Mom’s Homemade Buns?
Thaw the buns at room temperature, then wrap them in foil and warm in a 300°F oven until they’re heated through. This keeps them soft and brings back that fresh-baked aroma—just like the day you made them.
Final Thoughts
If you’ve never baked your own bread before, Mom’s Homemade Buns are the perfect place to start. They fill your kitchen with warmth, your table with joy, and just might become your own family tradition. I hope you try them soon and love every fluffy, buttery bite as much as I do!
Print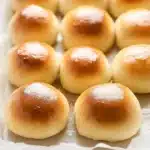
Mom’s Homemade Buns Recipe
- Prep Time: 30 minutes
- Cook Time: 15 minutes
- Total Time: 2 hours 30 minutes
- Yield: 20-24 buns
- Category: Bread
- Method: Baking
- Cuisine: American
- Diet: Vegetarian
Description
Learn how to make Mom’s Homemade Buns with this easy and delicious recipe. These soft and fluffy buns are perfect for sandwiches or as a side to your favorite dishes.
Ingredients
To proof yeast:
- 1/2 cup warm water (105-110 degrees F)
- 1 tablespoon instant or active dry yeast
- 1 teaspoon granulated sugar
To make bun dough:
- 2 cups warm water
- 1/2 cup melted unsalted butter
- 1/3 cup granulated sugar
- 1 tablespoon salt
- 6–7 cups all-purpose or whole wheat flour
- Butter for tops (if desired)
Instructions
- Proof the yeast: In a small bowl, mix warm water, yeast, and sugar. Let sit until bubbly.
- Make the dough: Combine warm water, butter, sugar, and salt. Add yeast mixture. Slowly add flour, mixing until smooth. Let rise until doubled.
- Shape and bake: Divide dough, shape into rounds, let rise, then bake at 350°F for 18-22 minutes.
Notes
- You can freeze these buns for later use.
- Experiment with different flours for varied textures.
Nutrition
- Serving Size: 1 bun
- Calories: 210
- Sugar: 3g
- Sodium: 250mg
- Fat: 6g
- Saturated Fat: 4g
- Unsaturated Fat: 2g
- Trans Fat: 0g
- Carbohydrates: 34g
- Fiber: 2g
- Protein: 5g
- Cholesterol: 15mg

