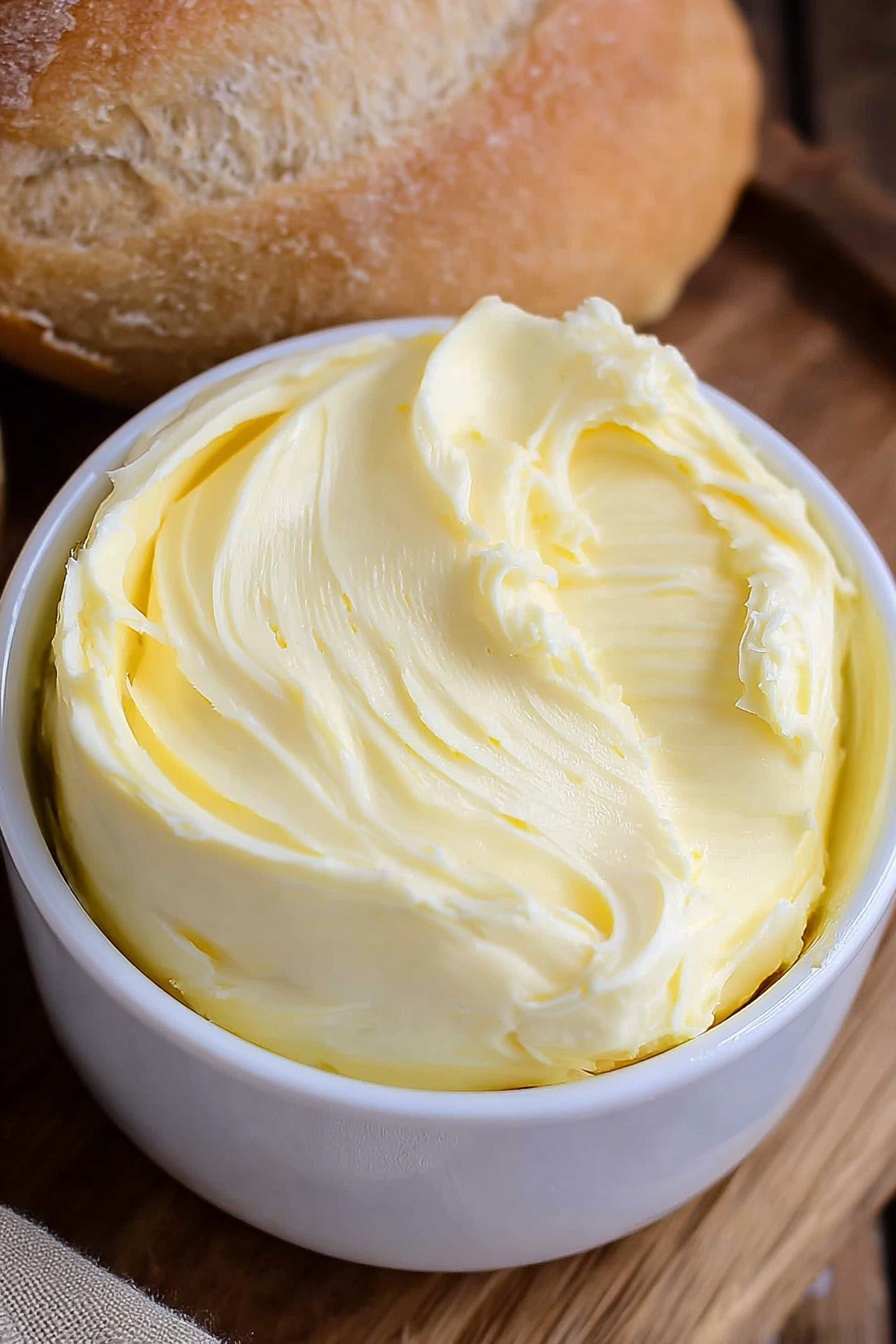
If you’ve ever wondered how to make real, creamy butter at home that tastes like a dream, you’re going to love this Homemade Butter Recipe. Seriously, it’s one of those kitchen projects that’s surprisingly easy and incredibly rewarding. Once you try making butter from scratch, you might never go back to the store-bought kind. I’m excited to share all my tips and tricks with you, so let’s dive in!
Why You’ll Love This Recipe
- Simple Ingredients: Just heavy cream and a pinch of salt if you want — nothing fancy needed.
- Hands-On Fun: Watching cream turn into butter right before your eyes is truly satisfying.
- Fresh Flavor: You’ll taste the difference fresh butter makes in your cooking and baking.
- Customizable: Make it salted or unsalted, add herbs, or keep it pure and simple.

Ingredients You’ll Need
When it comes to making your own butter, you really only need a couple of ingredients. The quality of your cream makes all the difference, so look for fresh, high-fat heavy whipping cream to get that rich, creamy texture that’ll make you swoon.
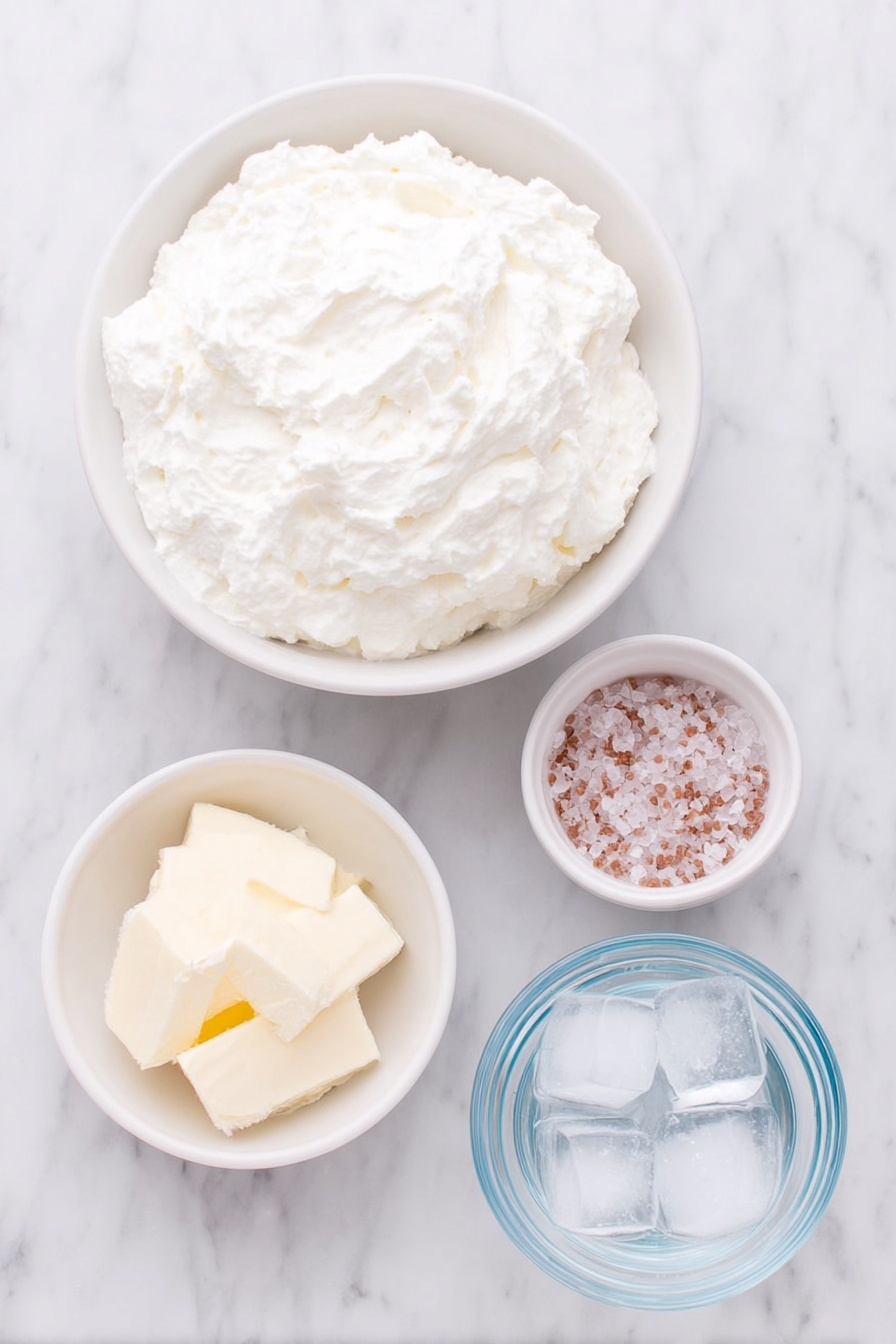
- Heavy whipping cream: This is the star of the show — use fresh, high-quality cream with at least 35-40% fat content for best results.
- Sea salt (optional): I like to add just a touch for a lightly salted butter, but feel free to skip if you prefer yours plain or want to add flavorings later.
- Ice water: Helps rinse the butter to keep it fresh and remove excess buttermilk.
Variations
I love customizing my homemade butter depending on the season or what I’m pairing it with. It’s super easy to add herbs, garlic, or even a bit of honey to really make this butter sing with flavor.
- Herb Butter: Mix in finely chopped fresh herbs like parsley, thyme, or chives once your butter is made — perfect for spreading on warm bread.
- Garlic Butter: Add roasted garlic or garlic powder for a savory twist, ideal for cooking steaks or sautéing veggies.
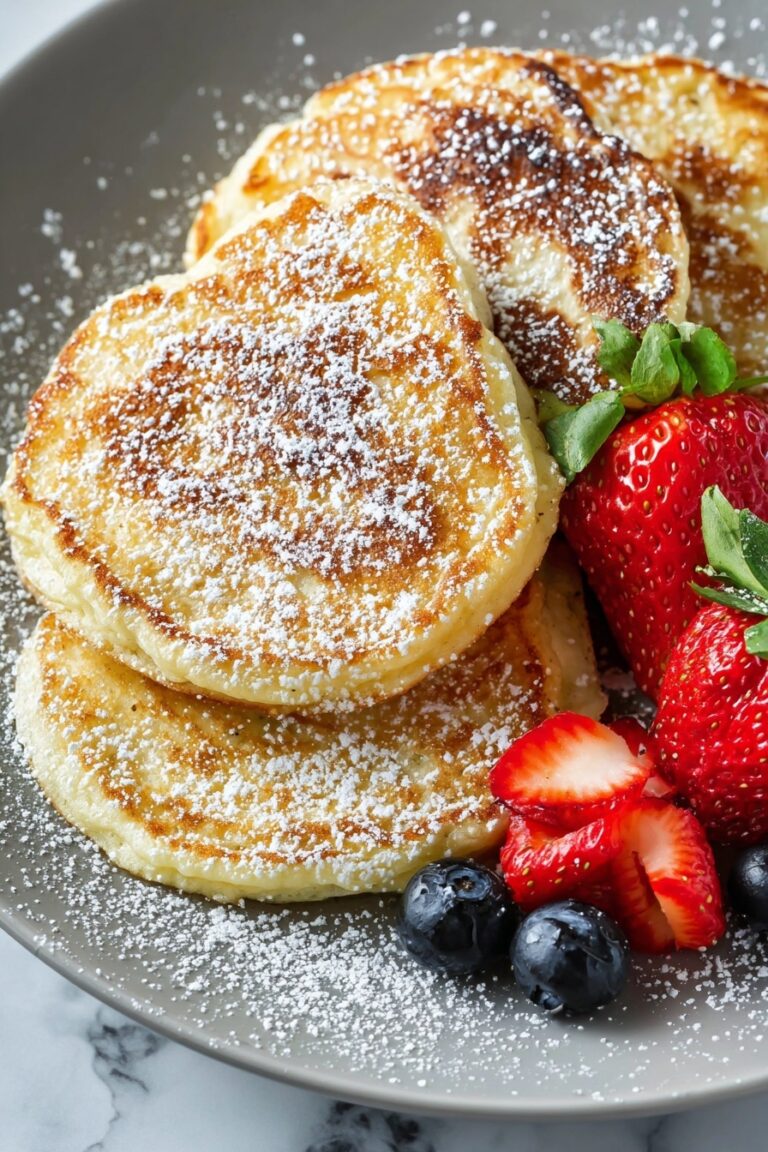
- Honey Butter: Stir in a spoonful of honey for a sweet touch, which is fantastic on morning toast or pancakes.
- Salt-Free Version: Skip the salt and control flavor based on how you use it in different recipes or meals.
How to Make Homemade Butter Recipe
Step 1: Whip the Cream Until Butter Forms
This is the magic step! Pour your cold heavy cream into a stand mixer fitted with a whisk attachment (or a large bowl with a hand mixer). Start whipping the cream on medium speed. At first, you’ll see it go fluffy and turn into whipped cream — let it keep going. Around 8-10 minutes in, the cream will start to separate: the butterfat clumps together and the liquid buttermilk separates. This is the moment when you know you’ve hit butter! If you’re using salt, sprinkle it in when you see stiff peaks forming and keep whisking.
Step 2: Strain and Rinse
Once you have your butter clumps and buttermilk, line a sieve with cheesecloth or use a fine mesh strainer over a bowl. Pour the mixture through it, catching the butter solids and letting the buttermilk drain into the bowl. This leftover buttermilk is perfect for baking, so don’t toss it! Then transfer your butter to a bowl of cold ice water and gently squeeze and rinse — this helps remove any lingering buttermilk, which can cause the butter to spoil faster.
Step 3: Shape and Store Your Butter
After rinsing and squeezing out excess water, grab a piece of parchment or wax paper and pat your butter into a log or a rectangular block — something similar to the shape of store-bought butter sticks. Wrap it tightly, tie the ends or place it inside a sealed plastic bag for extra freshness. Pop it in the fridge to firm up, and you’re good to go!
Pro Tips for Making Homemade Butter Recipe
- Patience is Key: Don’t rush the whipping; some cream takes a bit longer to separate depending on freshness and fat content.
- Use Ice Water for Rinsing: This prevents your butter from melting too quickly during rinsing and helps it keep a nice firm texture.
- Save Your Buttermilk: Don’t pour it out! Use it in pancakes, muffins, or salad dressings for extra tang.
- Keep Equipment Cold: If your kitchen is warm, chill your bowl before whipping to help the butter form faster and prevent melting.
How to Serve Homemade Butter Recipe
Garnishes
For everyday use, I love simple garnishes like a sprinkle of flaky sea salt or freshly cracked black pepper. When I want to make it more special, a little fresh herb mix on top (think chopped chives or dill) adds a beautiful pop of color and flavor that’s so inviting on a bread basket.
Side Dishes
Nothing beats this homemade butter melting over warm cornbread, roasted veggies, or even piping hot baked potatoes. My family goes crazy for it smeared on fresh bread or crackers, especially when paired with homemade jam or honey.
Creative Ways to Present
For special occasions, I like to chop the butter into little decorative pats using a melon baller or shaped cookie cutters. Serve them on a pretty platter alongside fresh herbs or edible flowers — it always impresses guests and makes breakfast or brunch feel extra luxe.
Make Ahead and Storage
Storing Leftovers
I store my homemade butter tightly wrapped in parchment and inside a sealed container in the fridge. It stays fresh for up to three weeks—longer than I expect, honestly! Just keep it away from strong odors; butter picks up flavors easily.
Freezing
If I make more butter than we can use in a few weeks, I freeze it. Wrapped well and placed in a freezer bag, it lasts up to nine months. When it’s time to use it, just thaw overnight in the fridge. The texture stays wonderful.
Reheating
Butter doesn’t really need reheating, but if you want to soften it quickly for spreading, I just leave it on the counter for 10-15 minutes. Avoid microwaving because uneven heating can cause it to separate or melt.
FAQs
-
Can I use whipping cream instead of heavy cream for homemade butter?
Whipping cream typically has a lower fat content than heavy cream, which might result in less butter formation or a softer texture. For the best results, use heavy cream with at least 35-40% fat content — it’s the key to getting that perfect butter consistency.
-
How long does homemade butter last?
When refrigerated properly in an airtight wrap or container, homemade butter can stay fresh for about three weeks. If you freeze it, it can last up to nine months without losing quality.
-
What’s the leftover liquid after making butter?
That’s buttermilk! It’s the natural liquid left after the fat separates from the cream. Don’t throw it away — it’s great in pancakes, biscuits, salad dressings, or even smoothies.
-
Can I make homemade butter without a mixer?
Absolutely! While a stand mixer or hand mixer makes the process faster, you can use a jar to shake the cream vigorously by hand. It’ll take more muscle and time, but the results are still fantastic.
Final Thoughts
Making this Homemade Butter Recipe always feels like a little kitchen celebration to me. It’s simple, pure, and connects me to the roots of cooking — real food made from scratch. Plus, you get that unbeatable fresh taste that store butter just can’t match. I hope after trying this, you’ll feel the same joy every time you slather it on warm bread or use it in your favorite recipes. Give it a go — I promise, you won’t regret it!
Print
Homemade Butter Recipe
- Prep Time: 25 minutes
- Cook Time: 0 minutes
- Total Time: 25 minutes
- Yield: 1 lb butter (4 sticks, 32 tablespoons)
- Category: Dairy
- Method: Stovetop
- Cuisine: American
Description
This homemade butter recipe guides you through turning heavy whipping cream into fresh, creamy butter with just a stand mixer or hand mixer. Whip the cream until the butterfat separates from the buttermilk, then strain and rinse the butter for a smooth, fresh finish. Perfect for those who love homemade dairy and want to control the ingredients in their butter.
Ingredients
Ingredients
- 4 cups heavy whipping cream
- 2 tsp sea salt (optional, for salted butter)
- Ice water, as needed for rinsing
Instructions
- Prepare the Equipment: Fit a stand mixer with the whisk attachment or use a large mixing bowl with a hand mixer fitted with a whisk attachment. Ensure your bowl is large enough because the cream will expand as it whips.
- Whip the Heavy Cream: Pour the heavy cream into the bowl and whip on medium speed for about 10 minutes. Watch for stiff peaks to form. At this point, add the sea salt if using. Continue whisking until the butterfat separates from the buttermilk, visible as solid butter clinging to the whisk and liquid buttermilk collecting in the bowl.
- Strain the Butter: Set a mesh sieve over a smaller bowl. Carefully pour the mixture into the sieve so the butter remains on top and the buttermilk drains through.
- Squeeze out Excess Liquid: Using your hands or a spatula, squeeze the butter to remove as much buttermilk as possible. Dip the butter into ice water and squeeze again to rinse and remove residual buttermilk, helping the butter last longer.
- Shape and Store: Transfer the butter to parchment or wax paper and shape it into a log or block similar to store-bought butter sticks. Wrap tightly and secure with kitchen twine or ties. Optionally, place the wrapped butter in a resealable plastic bag for additional protection.
- Chill the Butter: Refrigerate the wrapped butter to allow it to firm up. Homemade butter stays fresh in the fridge for up to 3 weeks or can be frozen for up to 9 months.
Notes
- This recipe yields approximately 1 lb (4 sticks) of butter, roughly 32 tablespoons.
- The heavy whipping cream must not be substituted, as it is essential for proper butter formation.
- Squeezing and rinsing with ice water removes excess buttermilk to enhance shelf life.
- Salt is optional and added during whipping for salted butter.
- Store butter wrapped properly in the fridge or freezer to maintain freshness.
Nutrition
- Serving Size: 1 tablespoon (14 g)
- Calories: 100
- Sugar: 0 g
- Sodium: 90 mg (if salted)
- Fat: 11 g
- Saturated Fat: 7 g
- Unsaturated Fat: 3 g
- Trans Fat: 0.5 g
- Carbohydrates: 0 g
- Fiber: 0 g
- Protein: 0 g
- Cholesterol: 30 mg


