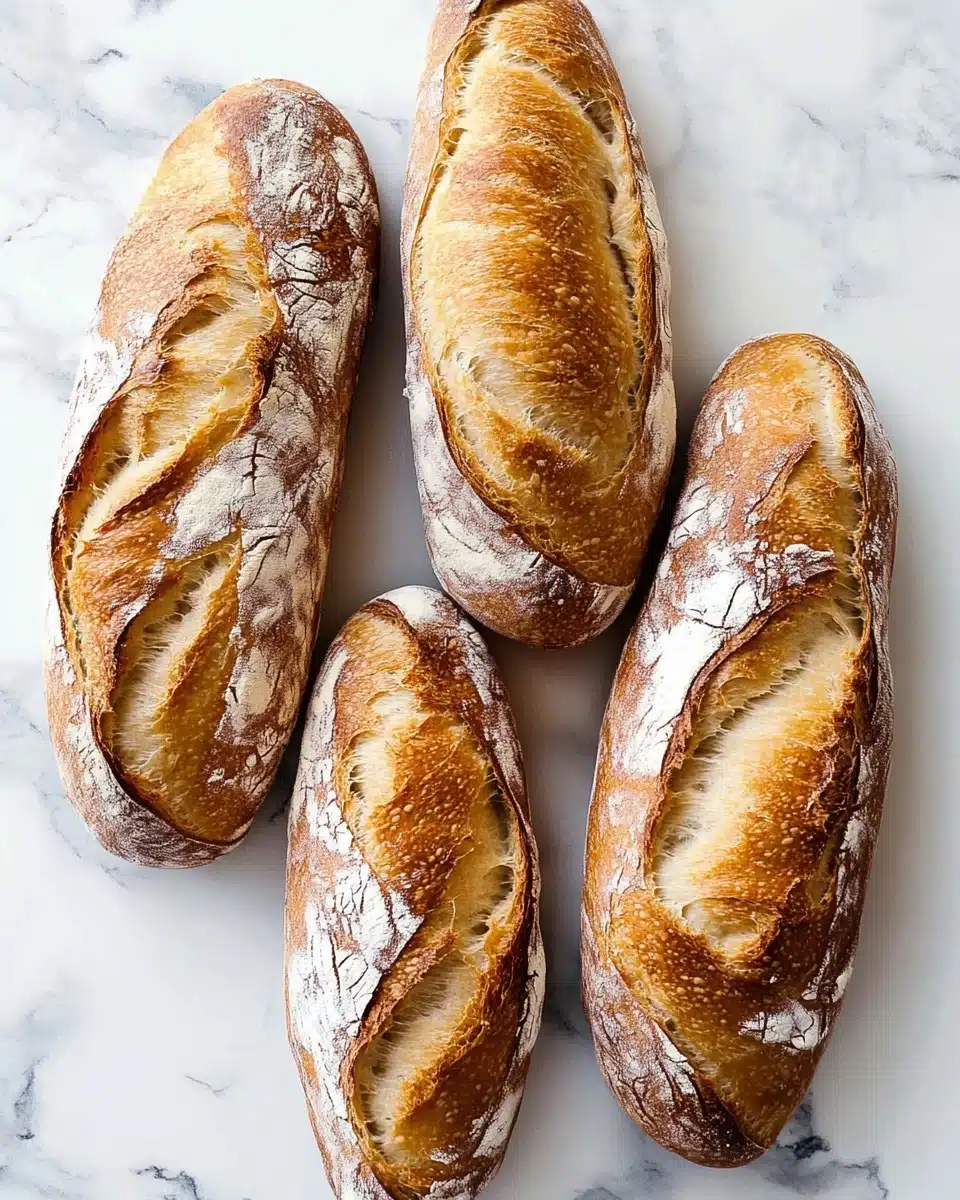
Bread lovers, rejoice! This Homemade Artisan Bread Recipe is the simple secret to making bakery-style loaves right in your own kitchen. With a golden, crackling crust and a tender, chewy interior, this bread comes together with just a handful of ingredients—and absolutely minimal fuss!
Why You’ll Love This Recipe
- No Knead, No Fuss: All you need is a bowl and a spoon—no fancy mixers or endless kneading required!
- Unbeatable Crust: The steam method gives you that crunchy, shattering crust just like artisan bakeries.
- Flexible Prep: The dough can be made ahead and refrigerated for up to three days, so it easily fits your schedule.
- Irresistible Flavor: The long rest brings out complex, yeasty notes and perfect chew—everyone will want another slice.

Ingredients You’ll Need
You’ll be amazed at how a few classic ingredients work magic in this Homemade Artisan Bread Recipe! Each is carefully chosen—no fluff, no filler—to create that iconic chewy crumb, gorgeous golden crust, and unmistakable flavor.
- Bread Flour: With its higher protein content, bread flour delivers a chewy texture and helps form those signature air pockets.
- Instant Yeast: This is your shortcut to an easy rise and airy, bakery-style bread. No proofing required—just add and go!
- Coarse Salt: Don’t underestimate salt! It deepens flavor and balances the yeast’s work, boosting taste in every bite.
- Water: Use room-temperature water to activate the yeast and bring the dough together without fuss.
- Optional Cornmeal: Dust your pan for added crunch and that rustic, bakery-fresh finish on the crust.
Variations
Don’t be afraid to play with this Homemade Artisan Bread Recipe! It’s endlessly adaptable—add a handful of your favorites or tweak it to suit your needs, from savory herbs to sweet add-ins and beyond.
- Whole Wheat Swap: Replace half the bread flour with whole wheat flour for a nutty, heartier loaf—just add an extra splash of water if needed.
- Seed & Nut Crunch: Fold in sunflower seeds, poppy seeds, or roughly chopped nuts for extra texture and flavor.
- Cheddar & Herb Upgrade: Gently knead in shredded cheddar and a sprinkle of chopped rosemary or thyme after the first rise for a savory twist.
- Olive & Garlic Medley: For Mediterranean flair, stir in sliced olives and roasted garlic prior to shaping the dough.
How to Make Homemade Artisan Bread Recipe
Step 1: Mix the Dough
Start by whisking your flour, instant yeast, and salt together in a large, ungreased mixing bowl. Pour in the water, then use a sturdy spoon or spatula to mix it all up. The dough will look a little messy and dry at first—that’s perfectly normal! Keep stirring (and, honestly, get in there with your hands if you need to) until all the flour is moistened and a sticky mass forms. Shape it into a rough ball right there in the bowl.
Step 2: First Rise
Cover the bowl tightly with plastic wrap or foil, then set it on your counter at room temperature. Let the dough rise for 2 to 3 hours—it should nearly double in size, become filled with airy bubbles, and feel delightfully squishy when poked.
Step 3: Cold Rest for Flavor
For truly irresistible flavor and texture, refrigerate the risen dough for 12 hours or up to 3 days (18 hours is my sweet spot!). This slows fermentation, developing a deep, complex taste and a gorgeous chewy crumb. It’s absolutely worth the extra time if you can spare it!
Step 4: Shape the Loaves
When you’re ready to bake, dust a nonstick baking sheet with flour or cornmeal, then turn out the cold dough onto a floured surface. Cut the dough in half, being gentle with those precious air bubbles. With floured hands, shape each half into a rustic loaf about 9×3 inches—don’t stress about perfection! Lay them a few inches apart on the prepared baking sheet, cover loosely, and let them rest for 45 minutes while your oven preheats.
Step 5: Bake with Steam
Preheat your oven to 475°F (246°C). Just before baking, score the tops of the loaves with a sharp knife or bread lame to allow steam and beautiful expansion. For a sensationally crisp crust, pour boiling water into a pan on the bottom rack just as you put your bread in, creating bakery-style steam. Bake for 20-25 minutes until golden brown and hollow-sounding when tapped—or until an instant-read thermometer hits 195°F (90°C).
Step 6: Cool and Enjoy
Remove your stunning loaves from the oven and let them cool for at least 20 minutes. This step is vital—cutting too soon can make your artisan bread gummy instead of gorgeously airy. Once cooled, slice, savor, and prepare for a flurry of compliments!
Pro Tips for Making Homemade Artisan Bread Recipe
- Embrace the Chill: The longer your dough rests in the fridge (up to 3 days), the deeper the flavor and the more open the crumb—plan ahead for absolute artisan magic.
- Steam Power: To achieve a crust that truly sings, don’t skip the roasting pan of boiling water—steam helps the bread “spring” up and crackle beautifully in the oven.
- Sticky Dough = Chewy Bread: If your dough feels soft and sticky, you’re doing it right! Resist the urge to add too much flour; the hydration gives that signature crumb.
- Let it Cool: Once baked, let your loaves rest and cool at least 20 minutes—this locks in moisture, finish baking the crumb, and makes slicing neater.
How to Serve Homemade Artisan Bread Recipe
Garnishes
This bread loves a simple slather of good European butter or a drizzle of extra virgin olive oil with a dusting of flaky sea salt or freshly cracked pepper. For a pretty touch, sprinkle with fresh herbs or even roasted garlic just before serving.
Side Dishes
The Homemade Artisan Bread Recipe pairs with just about everything—think classic tomato soup, robust stews, delicate salads, or even just your favorite cheese and charcuterie. It transforms weeknight dinners and weekend brunches alike!
Creative Ways to Present
Wow guests by serving thick rustic slices in a bread basket lined with a linen towel, or create open-faced tartines with fresh veggies and spreads. For gatherings, cut the loaf into cubes for a fondue or serve as a build-your-own crostini bar.
Make Ahead and Storage
Storing Leftovers
Keep your cooled bread loosely covered at room temperature for up to 5 days—if it even lasts that long. Avoid airtight containers, which can soften the crust; a paper bag or bread box works perfectly to preserve the lovely crust.
Freezing
This Homemade Artisan Bread Recipe freezes beautifully! Simply wrap individual slices or whole loaves tightly in foil and slide into a freezer bag. They’ll keep for up to 3 months—ready for last-minute meals or spontaneous cravings.
Reheating
To refresh your bread, pop slices in a 350°F (175°C) oven for a few minutes, or gently toast. For whole loaves, bake directly from frozen at the same temperature for 10-15 minutes until crisp and fragrant again.
FAQs
-
Can I use all-purpose flour instead of bread flour?
You can swap in all-purpose flour, but your loaves may be a little less chewy and have smaller air pockets. Bread flour really does give you that signature artisan texture, but all-purpose will still yield delicious results!
-
Do I need a Dutch oven to get a crusty artisan loaf?
No Dutch oven required! This Homemade Artisan Bread Recipe uses a baking sheet and a pan of hot water for steam, delivering a crisp crust without any special equipment.
-
My dough is very sticky—should I add more flour?
Sticky dough is ideal here—resist the temptation to add lots more flour. Hydration is key to an airy, chewy crumb. Just flour your hands and surface, and embrace the stickiness!
-
Can I let the dough rise overnight at room temperature instead of refrigerating?
If your kitchen is cool (around 65°F/18°C or below), a long room-temperature rise is fine. Otherwise, the refrigerator is safer to prevent overproofing—your bread’s flavor and texture will only benefit!
Final Thoughts
There’s nothing quite like the satisfaction of pulling a fresh, crackly loaf of bread from your own oven! I hope you’re inspired to try this Homemade Artisan Bread Recipe and make it a staple in your kitchen. Every airy crumb and golden slice is proof that bakery magic can truly happen at home—so tie on your apron, and let’s get baking!
Print
Homemade Artisan Bread Recipe
- Prep Time: 15 minutes
- Cook Time: 25 minutes
- Total Time: 4 hours, 40 minutes
- Yield: 2 8-inch loaves
- Category: Bread
- Method: Baking
- Cuisine: American
- Diet: Vegetarian
Description
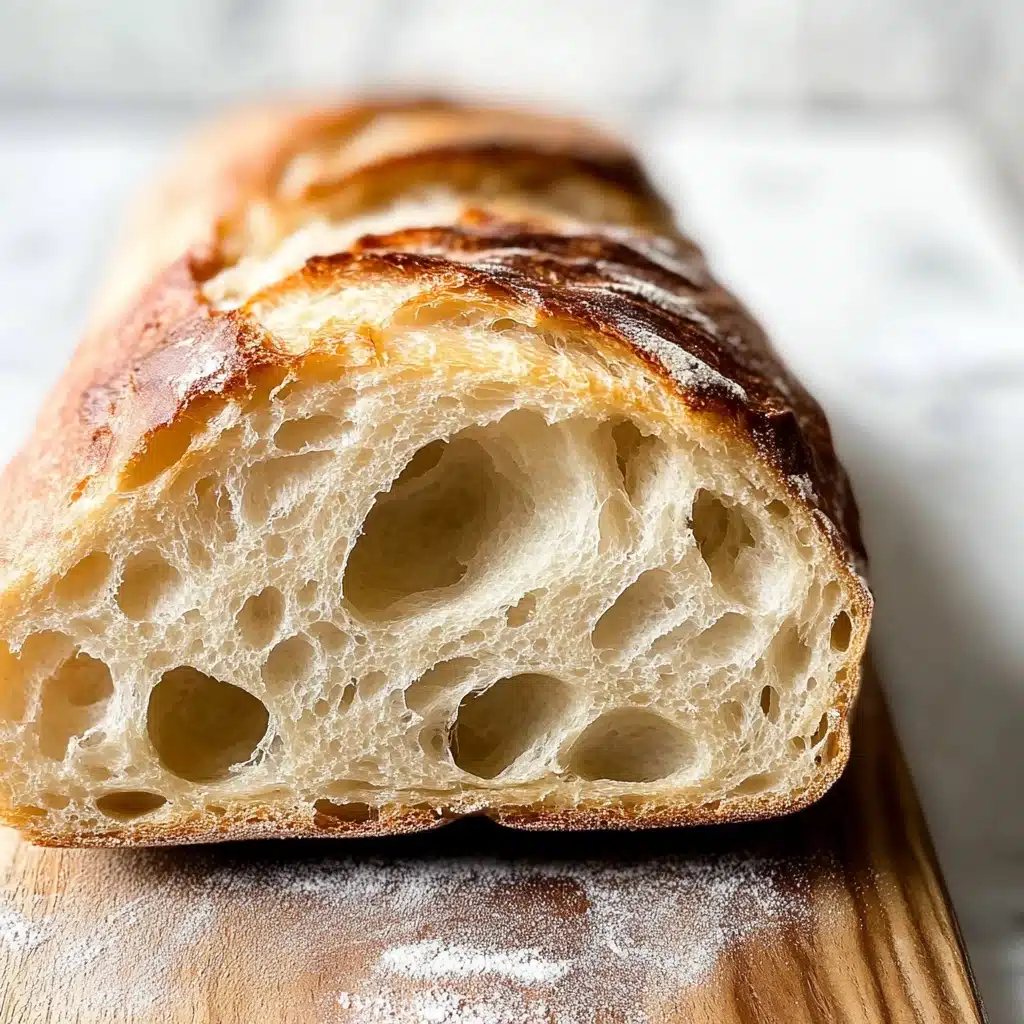
Learn how to make delicious Homemade Artisan Bread with this easy-to-follow recipe. This bread is crusty on the outside and soft on the inside, perfect for sandwiches or enjoying with a spread of butter.
Ingredients
For the Bread:
- 3 and 1/4 cups (about 430g) bread flour (spooned & leveled), plus more for hands and pan
- 2 teaspoons (about 6g) instant yeast
- 2 teaspoons (about 9g) coarse salt (see note)
- 1 and 1/2 cups (360ml) water, close to room temperature at about 70°F (21°C)
- optional: cornmeal for dusting pan
Instructions
- Mix Dry Ingredients: In a large ungreased mixing bowl, whisk the flour, yeast, and salt together.
- Add Water: Pour in the water and gently mix together until all the flour is moistened.
- Rise Time: Cover the dough and let it rise for 2-3 hours at room temperature.
- Refrigerate (Optional): For best flavor, refrigerate the dough for 12-72 hours.
- Shape and Rest: Shape the dough into loaves and let them rest for 45 minutes.
- Preheat Oven: Preheat the oven to 475°F (246°C).
- Score and Bake: Score the loaves, then bake for 20-25 minutes until golden brown.
- Cool and Serve: Allow the bread to cool before slicing and serving. Enjoy!
Notes
- For a crustier crust, create steam in the oven as directed.
- Leftover bread can be stored for up to 5 days at room temperature or 1 week in the refrigerator.
Nutrition
- Serving Size: 1 slice (about 50g)
- Calories: 120
- Sugar: 0.5g
- Sodium: 240mg
- Fat: 0.5g
- Saturated Fat: 0g
- Unsaturated Fat: 0.5g
- Trans Fat: 0g
- Carbohydrates: 25g
- Fiber: 1g
- Protein: 4g
- Cholesterol: 0mg


