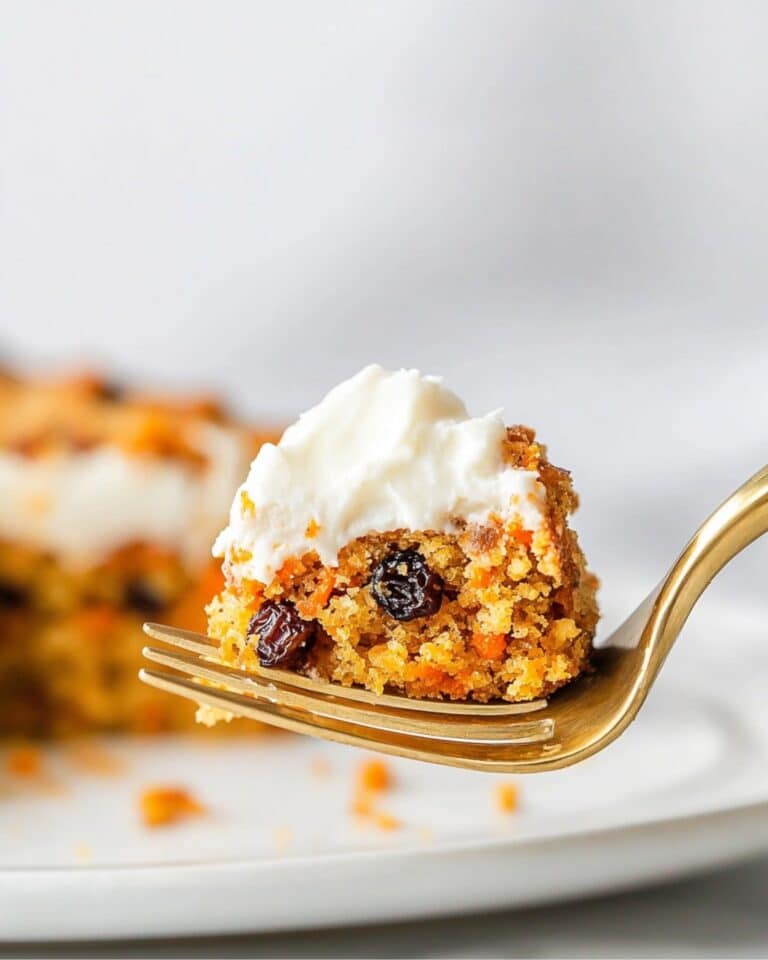
This delightfully decadent Gluten Free Oreo Balls recipe transforms simple ingredients into irresistible bite-sized treats that everyone can enjoy! With just four main ingredients and minimal effort, you’ll create chocolate-covered truffles that are perfectly creamy on the inside with a satisfying chocolate shell. These no-bake treats are perfect for parties, holiday gatherings, or whenever you need a special sweet treat that happens to be gluten-free!
Why You’ll Love This Recipe
- No Baking Required: These truffles come together without ever turning on the oven – perfect for hot summer days or when you need a quick dessert.
- Simple Ingredients: With just gluten-free Oreos, cream cheese, vanilla, and chocolate, you’re using ingredients that are easy to find and simple to work with.
- Incredibly Versatile: Customize these balls for any occasion with different sprinkles, drizzles, or even flavored chocolate coatings.
- Make-Ahead Friendly: Prepare these days in advance and keep them refrigerated until you’re ready to serve – they actually taste even better after the flavors meld!
Ingredients You’ll Need
- Gluten-Free Oreos: The star ingredient that provides that classic cookies-and-cream flavor. They create the perfect sweet base with their distinctive chocolate wafer and creamy center.
- Cream Cheese: Adds incredible creaminess and helps bind everything together. Make sure it’s properly softened for the smoothest mixture.
- Vanilla Extract: A touch of vanilla enhances the overall flavor and adds depth to these sweet treats.
- Semi-Sweet Chocolate: Creates the perfect coating that snaps when you bite into it. The slight bitterness balances the sweetness inside.
- Sprinkles: Completely optional but adds a festive touch and a bit of texture to the finished truffles.
Note: You’ll find the complete list of ingredients, along with their exact measurements, in the printable recipe card at the bottom of this post.
Variations
Want to mix things up? Try these creative variations:
- Peanut Butter Lover’s: Add 2 tablespoons of peanut butter to the Oreo mixture for a nutty twist.
- White Chocolate Coating: Swap the semi-sweet chocolate for white chocolate coating for a sweeter, creamier exterior.
- Mint Chocolate: Use mint-flavored gluten-free Oreos or add ¼ teaspoon of mint extract to the mixture for a refreshing flavor.
- Holiday Special: Use seasonal sprinkles to match any holiday – red and green for Christmas, orange and black for Halloween, pastels for Easter.
- Coffee Infused: Add 1 teaspoon of espresso powder to the melted chocolate for a mocha flavor that complements the cookie center.
How to Make Gluten Free Oreo Balls
Step 1: Crush the Cookies
Place your gluten-free Oreos in a food processor and pulse until they become fine crumbs. Make sure there are no large chunks remaining for the smoothest texture.
Step 2: Mix the Filling
In a large mixing bowl, combine the crushed Oreo crumbs with softened cream cheese and vanilla extract. Mix thoroughly until everything is well incorporated and forms a smooth, slightly sticky dough.
Step 3: Form the Balls
Line a baking sheet with parchment paper. Using a tablespoon-sized scoop, portion the mixture into 24 equal pieces. Roll each portion between your palms to form smooth, even balls. Place them on the prepared baking sheet.
Step 4: Chill the Balls
Refrigerate the formed balls for 15-20 minutes. This firming-up step is crucial for easier dipping and helps the balls maintain their shape.
Step 5: Melt the Chocolate
While the balls are chilling, melt your semi-sweet chocolate in a microwave-safe bowl. Heat in 30-second intervals, stirring between each until completely smooth. This usually takes 60-90 seconds total.
Step 6: Dip and Decorate
Using a fork or dipping tool, drop each chilled ball into the melted chocolate, completely coating it. Lift it out, allowing excess chocolate to drip off, then place it back on the parchment paper. If using sprinkles, add them immediately before the chocolate sets.
Step 7: Set and Chill
Once all truffles are coated and decorated, refrigerate them for 15-20 minutes until the chocolate is completely set.
Pro Tips for Making the Recipe
- Cold Hands, Perfect Balls: If your hands get sticky while rolling, run them under cold water, dry them quickly, then continue rolling.
- Double-Dipping Method: For an extra-thick chocolate coating, let the first layer set slightly, then dip again for a professional finish.
- Consistent Sizing: Use a cookie scoop to ensure all your Oreo balls are the same size – they’ll look more professional and will set evenly.
- Don’t Skip the Chilling: Both before and after dipping, chilling is essential for the perfect texture and easy handling.
- Tapping Technique: After dipping, gently tap your fork on the edge of the bowl to remove excess chocolate for a cleaner finish.
How to Serve

These Gluten Free Oreo Balls shine in many settings:
Party Platters
Arrange them on a decorative platter with other gluten-free treats for an impressive dessert spread. They look especially elegant on a tiered serving stand.
Gift Giving
Place them in mini cupcake liners and box them up for a thoughtful homemade gift. They’re perfect for teacher appreciation, hostess gifts, or holiday presents.
Dessert Boards
Include them on a dessert charcuterie board alongside fresh fruits, nuts, and other bite-sized sweets for an impressive finale to any meal.
Make Ahead and Storage
Storing Leftovers
Store these treats in an airtight container in the refrigerator for up to a week. Place parchment paper between layers to prevent sticking.
Freezing
These Oreo balls freeze beautifully! Place them in a single layer on a baking sheet until frozen solid, then transfer to a freezer-safe container. They’ll keep for up to 3 months.
Serving from Frozen
Let frozen Oreo balls thaw in the refrigerator for a few hours before serving. You can also serve them semi-frozen for a different textural experience – they’re delicious this way too!
FAQs
-
Can I use regular Oreos if I don’t need them to be gluten-free?
Absolutely! This recipe works perfectly with regular Oreos using the exact same measurements. The process remains identical – just swap in conventional Oreos if gluten isn’t a concern for you or your guests.
-
Why did my chocolate seize up during dipping?
Chocolate can seize if even a tiny drop of water gets into it while melting. Make sure your bowl and utensils are completely dry, and don’t cover the hot chocolate as it cools (condensation can drip in). If your chocolate does seize, you can sometimes rescue it by stirring in a teaspoon of vegetable oil.
-
Can I make these without a food processor?
Yes! Place the cookies in a sturdy zip-top bag and crush them with a rolling pin until they become fine crumbs. It takes a bit more elbow grease, but the result is just as delicious. Just make sure the crumbs are very fine for the smoothest texture.
-
My Oreo mixture seems too sticky to roll. What should I do?
If your mixture is too sticky, it could be that your cream cheese was overly soft or the room is warm. Refrigerate the mixture for 20-30 minutes before rolling into balls. You can also dust your hands with a tiny bit of powdered sugar while rolling to prevent sticking.
Final Thoughts
These Gluten Free Oreo Balls are one of those magical recipes that prove gluten-free treats can be just as delicious (if not more so!) than their traditional counterparts. They’re incredibly versatile, perfect for any occasion, and always disappear quickly! Whether you’re living gluten-free or simply want to create something special that everyone can enjoy, these little bites of heaven will quickly become a favorite in your recipe collection. Give them a try – I promise you’ll be making them again and again!
Print
Gluten Free Oreo Balls Recipe
- Prep Time: 15 minutes
- Cook Time: 2 minutes
- Total Time: 17 minutes
- Yield: 24 cookies
- Category: Desserts
- Method: No-cook
- Cuisine: American
Description
These Gluten Free Oreo Balls are a decadent and easy-to-make dessert perfect for any occasion. With crushed gluten-free Oreos combined with cream cheese, coated in rich semi-sweet chocolate, and topped with sprinkles for added flair, these truffles are a delicious no-bake treat. They are perfect for parties, holiday gatherings, or just satisfying your sweet tooth!
Ingredients
Oreo Ball Mixture
- 1 12 oz package gluten-free Oreos (about 30 cookies)
- 6 oz cream cheese, softened
- 1/2 teaspoon vanilla extract
- 8 oz semi-sweet chocolate, roughly chopped
- Sprinkles for topping (optional)
Instructions
-
Crush the Oreos
Place the gluten-free Oreos in a food processor and pulse until finely crushed into crumbs. This will create a smooth base for the truffle mixture. -
Combine Ingredients
In a large mixing bowl, combine the crushed Oreo crumbs, softened cream cheese, and vanilla extract. Mix well until the mixture has a smooth and uniform consistency. -
Prepare the Baking Sheet
Line a baking sheet with parchment paper or wax paper. This will prevent the truffles from sticking during the preparation process. -
Form the Balls
Use a tablespoon-sized portion scoop (#60 scoop) to evenly divide the mixture into 24 portions. Roll each portion into a ball using your hands and place them on the prepared baking sheet. -
Chill the Balls
Refrigerate the Oreo balls for 15-20 minutes. This will help firm them up, making it easier to dip them in melted chocolate. -
Melt the Chocolate
In a microwave-safe bowl, heat the semi-sweet chocolate in 30-second intervals, stirring thoroughly between intervals until smooth. This process should take about 60-90 seconds. Avoid overheating to prevent the chocolate from seizing. -
Coat the Oreo Balls
Using a fork or dipping tool, dip each chilled Oreo ball into the melted chocolate. Let the excess chocolate drip off before placing the coated ball back onto the parchment-lined baking sheet. -
Decorate the Truffles
While the chocolate is still wet, immediately sprinkle the tops with sprinkles (if desired). Alternatively, you can wait until the chocolate sets slightly and drizzle more chocolate (or white chocolate for contrast) over the tops, then add sprinkles if desired. -
Set the Coating
Refrigerate the truffles for 15-20 minutes or until the chocolate is completely set. Transfer the finished truffles to an airtight container and store in the refrigerator until serving.
Notes
- Be sure to double-check that all your ingredients are gluten-free to ensure the dessert is safe for celiac disease or gluten sensitivity.
- Avoid using double-stuffed Oreos, as the extra filling can affect the texture of the truffle mixture.
- Brands like Glutino, Kinnikinnick, or Goodie Girl offer gluten-free chocolate sandwich cookies that can also be substituted.
- Use a small portion scoop (#60 scoop) to ensure evenly sized truffles for a professional appearance.
- The Oreo balls can be stored in the refrigerator for up to a week or frozen for longer storage.
Nutrition
- Serving Size: 1 serving
- Calories: 125
- Sugar: 12g
- Sodium: 75mg
- Fat: 7g
- Saturated Fat: 4g
- Unsaturated Fat: 3g
- Trans Fat: 0g
- Carbohydrates: 14
- Fiber: 1g
- Protein: 1g
- Cholesterol: 5mg


