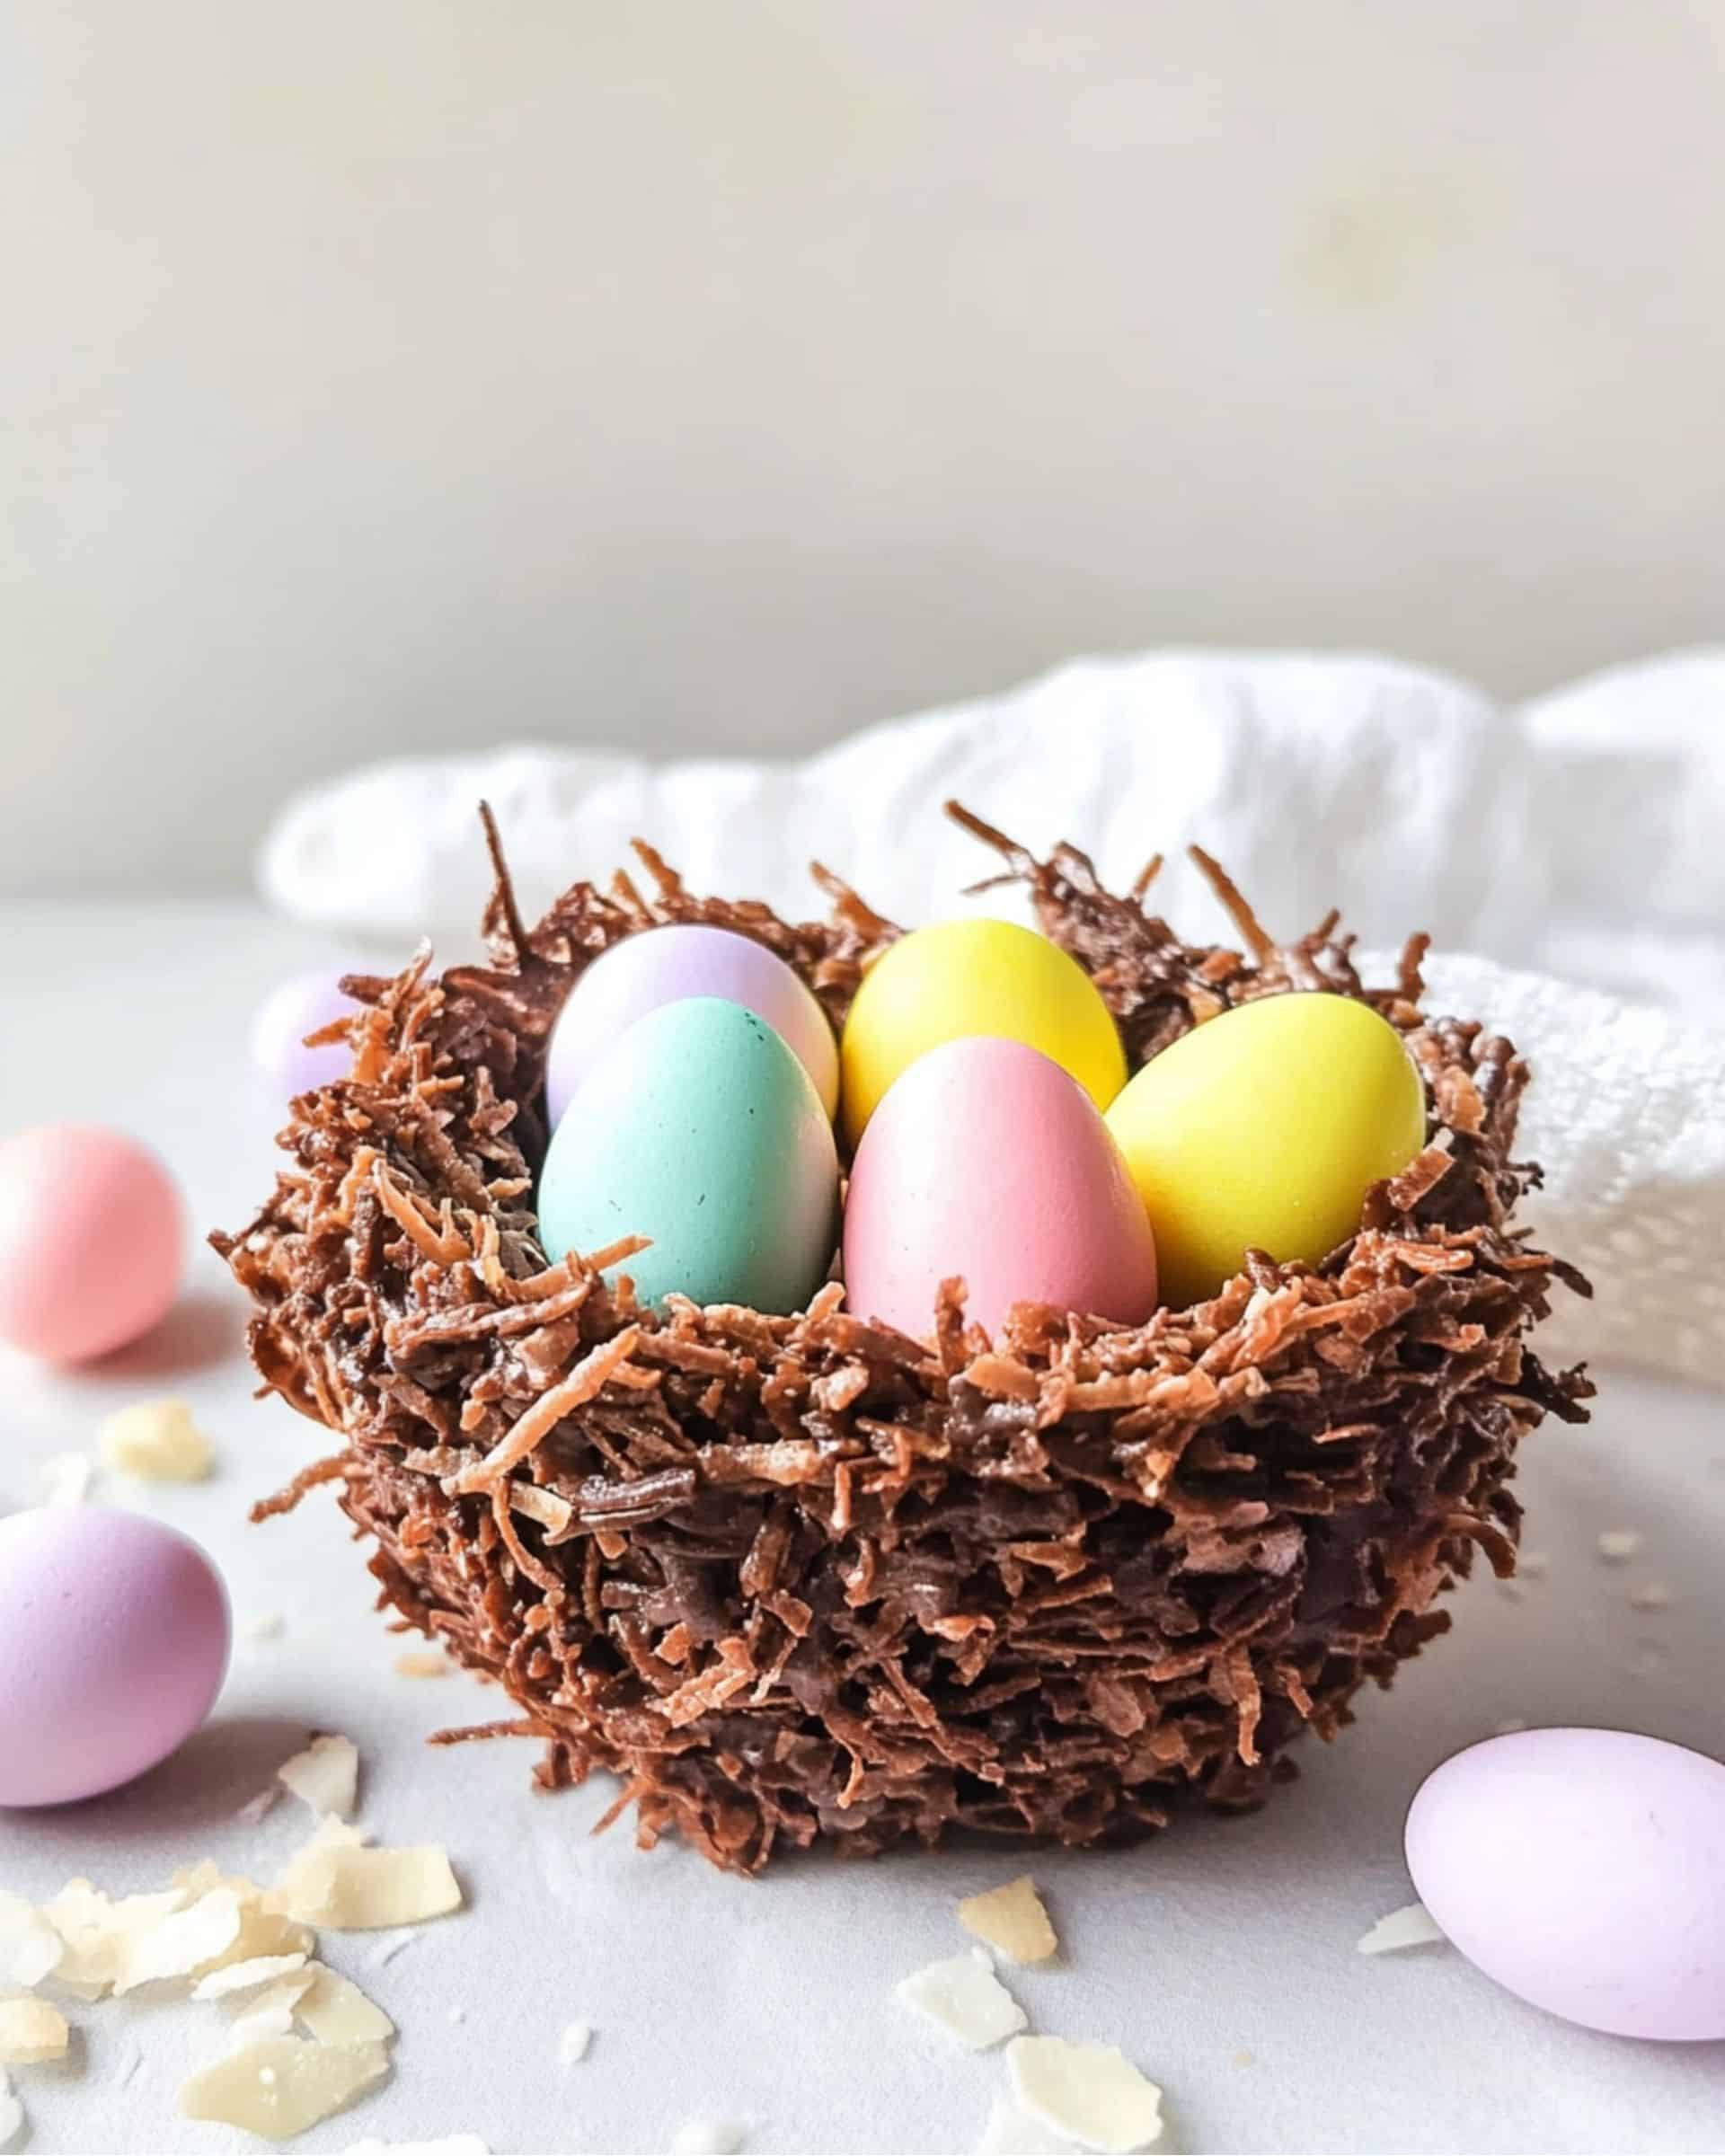
What could be more delightful for Easter than these adorable chocolate nests? These Easter Egg Nests are a perfect blend of chocolatey goodness, crunchy texture, and festive charm. They’re incredibly easy to make, require no baking, and are sure to be a hit with both kids and adults alike. Get ready to create some edible magic that’s as fun to make as it is to eat!
Why You’ll Love This Recipe
- No-Bake Delight: No need to turn on the oven! These nests come together with just a microwave and a freezer.
- Kid-Friendly Fun: Little helpers will love shaping the nests and adding the finishing touches.
- Customizable: Play around with different chocolates, cereals, or even the candy eggs to make it your own.
- Perfect for Gifting: Package these up for a charming homemade Easter gift.

Ingredients You’ll Need
- Peanut Butter: The secret ingredient that makes these nests extra special and adds a nutty flavor.
- Semi-Sweet Chocolate: Creates a rich, chocolatey base that’s not too sweet.
- Shredded Wheat Cereal: Gives the nests their signature texture and appearance.
- Green Food Coloring: For creating that springtime “grass” effect.
- Shredded Coconut: Transforms into the perfect nest lining with a bit of food coloring.
- Mini Cadbury Eggs: The crowning glory of our nests, these add the perfect Easter touch.
Note: You’ll find the complete list of ingredients, along with their exact measurements, in the printable recipe card at the bottom of this post.
Variations
- Chocolate Swap: Try white chocolate or milk chocolate instead of semi-sweet for a different flavor profile.
- Nut-Free Option: Replace peanut butter with sunflower seed butter for allergy-friendly nests.
- Cereal Switch: Experiment with other cereals like corn flakes or crispy rice for different textures.
- Egg Alternatives: Use jelly beans, M&Ms, or even small chocolate truffles instead of Cadbury eggs.
How to Make Easter Egg Nests
Step 1: Create the Chocolate Base
Melt the peanut butter and chocolate together in the microwave, stirring frequently until smooth.
Step 2: Mix in the Cereal
Fold the Shredded Wheat into the chocolate mixture until fully coated.
Step 3: Shape the Nests
Spoon the mixture into cupcake liners and shape into nests using the back of a spoon.
Step 4: Chill
Pop the nests into the freezer for a quick 15-minute set.
Step 5: Prepare the “Grass”
While waiting, shake the coconut with green food coloring in a sealed bag.
Step 6: Assemble and Decorate
Remove the nests from the liners, add green coconut “grass,” and top with Cadbury eggs.
Pro Tips for Making the Recipe
- Use a light touch when shaping the nests to keep them looking natural.
- If the chocolate mixture starts to harden while you’re working, pop it in the microwave for a few seconds to soften.
- For easier removal, lightly grease the cupcake liners with coconut oil or cooking spray.
How to Serve

These Easter Egg Nests are perfect for:
- Easter brunch centerpieces
- After-dinner treats
- School party contributions
- Festive snack platters
Pair them with other spring-themed desserts or a glass of cold milk for the ultimate Easter indulgence.
Make Ahead and Storage
Storing Leftovers
Keep these nests in an airtight container in the fridge for up to a week.
Freezing
These nests freeze beautifully! Store in a freezer-safe container for up to 3 months.
Reheating
No need to reheat – just let them come to room temperature before serving.
FAQs
Can I make these nests without peanut butter?
Absolutely! You can omit the peanut butter and increase the chocolate slightly, or use a nut-free alternative like sunflower seed butter.
How can I make these nests look more nest-like?
Try using a fork to create more texture in the chocolate mixture before shaping. This will give your nests a more realistic, twig-like appearance.
Can I use regular-sized Cadbury eggs instead of mini ones?
Sure! Just keep in mind you might need to make larger nests to accommodate them. Try using a jumbo muffin tin for bigger nests.
Is there a way to make these nests vegan?
Yes! Use vegan chocolate, replace the peanut butter with a vegan alternative, and swap out the Cadbury eggs for vegan candies.
These Easter Egg Nests are more than just a treat – they’re a fun Easter activity and a delicious way to celebrate the season. With their perfect balance of chocolate, crunch, and cute factor, they’re bound to become a new holiday tradition. So gather your ingredients, roll up your sleeves, and get ready to impress everyone with your nest-making skills!
Print
Easter Egg Nests Recipe
- Prep Time: 20 minutes
- Total Time: 20 minutes
- Yield: 10 servings
- Category: Desserts
- Method: No-cook
- Cuisine: American
Description
Delightful Easter Egg Nests made with chocolate, peanut butter, and Shredded Wheat cereal, topped with green coconut “grass” and colorful mini Cadbury Eggs. A perfect springtime treat that’s both fun to make and eat!
Ingredients
- 1/2 cup peanut butter
- 8 ounces semi-sweet chocolate
- 2 1/2 cups Shredded Wheat cereal
- Green food coloring
- 1/2 cup shredded coconut
- 30 mini Cadbury Eggs
Instructions
- Melt chocolate and peanut butter: Place the peanut butter and semi-sweet chocolate in a large bowl and microwave together for 30 second intervals. Stir in between each interval, continuing until the mixture has become smooth.
- Coat cereal: Pour the Shredded Wheat into the chocolate mixture. Fold together until the cereal is completely coated.
- Form nests: Fill a muffin tin with cupcake liners, then place a heaping tablespoon full of the melted chocolate mixture into each cupcake liner. Press a spoon into the center of the mixture to put a well in the middle and form the nest shape. This will create the space for your candy eggs.
- Freeze nests: Place the muffin tin in the freezer for 15 minutes.
- Prepare coconut “grass”: While the nests are hardening, place some green food dye in a plastic bag and add the shredded coconut. Seal the bag and shake until all the coconut pieces are green.
- Assemble nests: Once the chocolate nests have hardened, remove the cupcake liners. Sprinkle a little of the coconut into each chocolate nest and place three Cadbury Mini Eggs on top of each to finish.
Notes
- For best results, spray a bit of coconut oil or non-stick cooking spray on the inside of the cupcake liners. It will help to keep them from sticking to the nests when you remove them.
- Store the nests in an airtight container in the refrigerator for up to a week.
- You can substitute other types of mini chocolate eggs or jelly beans for the Cadbury Eggs if desired.
Nutrition
- Serving Size: 1 serving
- Calories: 250kcal
- Sugar: 2g
- Sodium: 100mg
- Fat: 15g
- Saturated Fat: 7g
- Unsaturated Fat: 7g
- Trans Fat: 0g
- Carbohydrates: 25g
- Fiber: 2g
- Protein: 5g
- Cholesterol: 10mg


