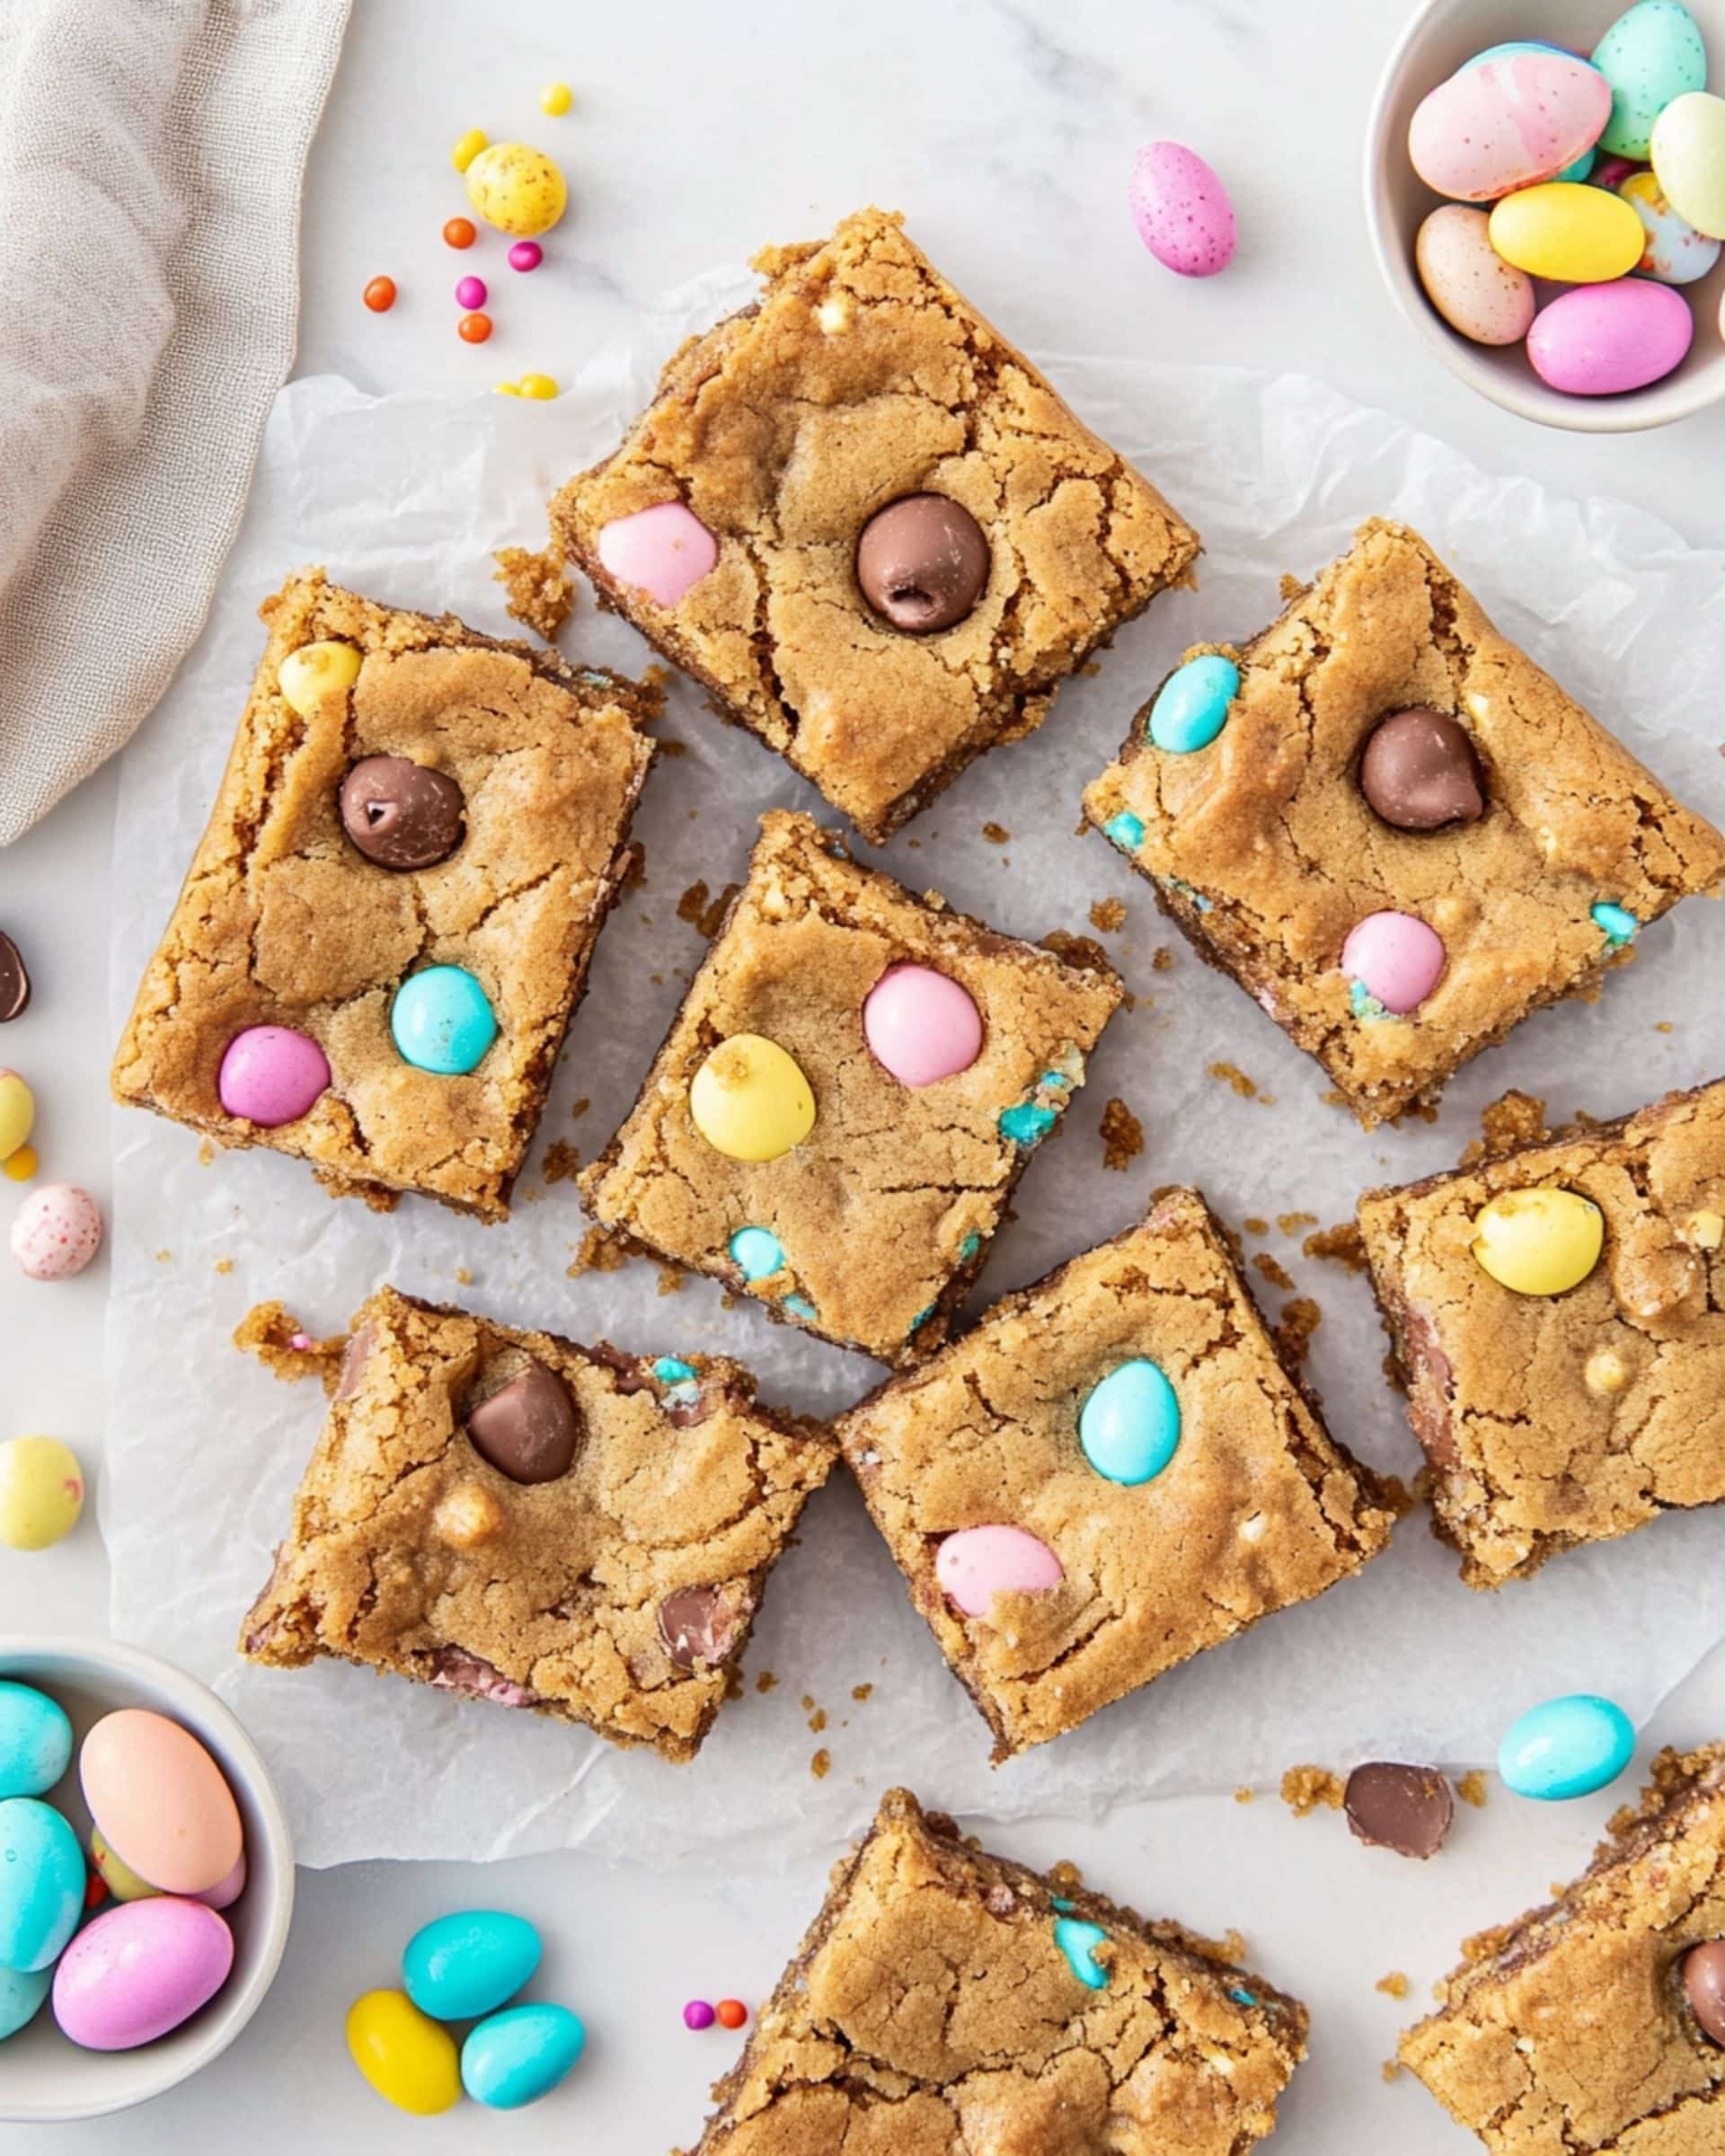
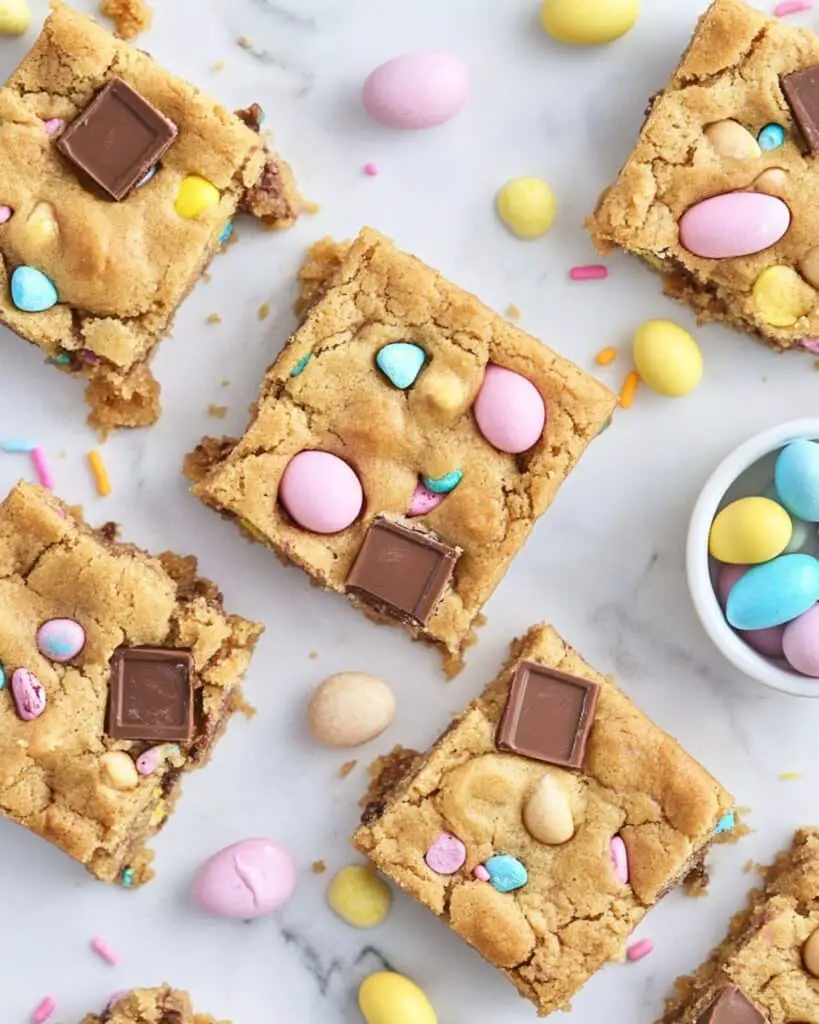
These Easter Cookie Bars are a delightful spring treat that brings together the perfect balance of chewy cookie texture with festive Easter candies. Studded with colorful M&Ms, chocolate bunnies, and Robin Eggs, these bars are not only visually stunning but also incredibly delicious. The best part? They come together in less than 30 minutes, making them ideal for last-minute Easter gatherings or a fun weekend baking project with kids.
Why You’ll Love This Recipe
- Quick and Efficient: From start to finish, these cookie bars take less than 30 minutes, which means less time fussing in the kitchen and more time enjoying spring celebrations.
- Perfect for Sharing: Baked in a 9×13 pan, these bars yield enough servings for the whole family or a gathering of friends.
- Customizable: The festive toppings can be adjusted based on what Easter candies you have available or prefer.
- Crowd-Pleaser: Let’s be honest – who doesn’t love a soft, chewy cookie bar loaded with chocolate and candy? They’re guaranteed to disappear fast!
- Make-Ahead Friendly: These bars stay fresh for days, so you can prepare them in advance of your Easter celebrations.

Ingredients You’ll Need
- All-purpose flour: The foundation of our cookie bars, providing structure while keeping them tender.
- Baking soda: This leavening agent gives the bars just the right amount of lift without making them cakey.
- Butter: Use softened butter for that rich, irreplaceable flavor. Trust me, real butter makes a world of difference here!
- Brown sugar: Adds moisture and a deeper caramel flavor that makes these bars irresistible.
- Granulated sugar: Works with the brown sugar to create the perfect sweetness and helps with the chewy texture.
- Eggs: Acts as a binder and adds richness to the bars.
- Vanilla extract: Never skip the vanilla! It enhances all the other flavors in the recipe.
- Easter M&M’s: These colorful candies add festive pops of color and chocolate throughout the bars.
- Hershey’s chocolate Easter bunnies: These adorable chocolate bunnies make the perfect decorative topping that will delight kids and adults alike.
- Mini Robin Eggs: These candy-coated chocolate eggs add both visual appeal and a satisfying crunch.
- Pastel sprinkles: For that extra festive touch that screams “Easter celebration!”
Note: You’ll find the complete list of ingredients, along with their exact measurements, in the printable recipe card at the bottom of this post.
Variations
Want to put your own spin on these Easter Cookie Bars? Here are some fantastic options:
Different Candy Options
Swap out the Easter candies for whatever seasonal treats you love – chocolate mini eggs, Reese’s pieces, or even chopped Cadbury eggs would work beautifully.
Add Some Texture
Fold in ½ cup of chopped nuts, coconut flakes, or even white chocolate chips for additional flavor dimensions.
Flavor Twists
Add ½ teaspoon of almond extract along with the vanilla for a subtle flavor enhancement, or include a tablespoon of orange zest for a citrusy spring vibe.
Cookie Base Variations
Replace ¼ cup of all-purpose flour with cocoa powder for chocolate cookie bars, or use cake flour for an even softer texture.
How to Make Easter Cookie Bars
Step 1: Prepare Your Equipment
Preheat your oven to 350°F and line a 13×9 baking pan with aluminum foil or parchment paper, allowing some overhang for easy removal. Give the liner a light spray with cooking spray for extra insurance against sticking.
Step 2: Mix the Dry Ingredients
In a mixing bowl, stir the flour and baking soda together until well combined. This ensures the leavening agent gets evenly distributed throughout the dough.
Step 3: Create the Cookie Base
In a separate mixing bowl, add the softened butter, brown sugar, and granulated sugar. Using a stand or handheld mixer, cream these ingredients together on medium speed until light and fluffy, about 2-3 minutes.
Step 4: Add Wet Ingredients
Add the eggs and vanilla to your butter-sugar mixture. Mix on low speed until fully incorporated, making sure to scrape down the sides of the bowl to ensure everything is evenly mixed.
Step 5: Incorporate the Flour Mixture
Gradually add half of the flour mixture to the wet ingredients, mixing on low until just combined. Then add the remaining flour and mix again, being careful not to overmix (this keeps the bars tender).
Step 6: Add Candies
Gently fold in ½ cup of the M&M candies using a spatula. The goal is to distribute them evenly without breaking them up.
Step 7: Transfer to Pan
Spread the dough evenly in your prepared 9×13 pan. The dough will be quite sticky, so you might want to lightly spray your hands with non-stick spray to help with this process.
Step 8: Add Toppings & Bake
Sprinkle the remaining M&M candies and pastel sprinkles over the top of the dough. Bake for 18-20 minutes, or until the edges are just turning golden and the center is set but still soft.
Step 9: Final Decorations
Immediately after removing the pan from the oven, while the cookie bars are still hot, gently press the chocolate Easter bunnies and mini Robin Eggs into the top. The residual heat will help them adhere without fully melting.
Step 10: Cool & Serve
Allow the bars to cool completely in the pan before lifting out using the foil or parchment overhang. Cut into squares and enjoy!
Pro Tips for Making the Recipe
- Don’t Overmix: Once you add the flour, mix just until combined. Overmixing develops gluten, which can make your bars tough rather than tender.
- Check Early: All ovens vary, so start checking your bars around 16 minutes. They should have slightly golden edges but still look a bit underdone in the center – they’ll continue cooking from residual heat.
- Room Temperature Ingredients: Make sure your butter and eggs are at room temperature for the best incorporation and texture.
- Strategic Candy Placement: Save some of your prettiest candies for pressing on top after baking – this ensures they stay visible and don’t sink into the dough.
- Cutting Cleanly: For picture-perfect bars, chill them in the refrigerator for 30 minutes before cutting with a sharp knife wiped clean between cuts.
How to Serve
These Easter Cookie Bars shine on their own, but here are some serving suggestions to take them to the next level:
For Dessert Plates
Serve with a scoop of vanilla ice cream and a drizzle of chocolate sauce for an indulgent dessert.
For Easter Gatherings
Arrange on a tiered serving plate with other Easter treats like chocolate eggs and decorated cookies for a festive dessert table.
As Gifts
Cut into squares, stack them in colorful cellophane bags tied with pastel ribbons, and deliver to neighbors and friends as sweet Easter treats.
Make Ahead and Storage
Storing Leftovers
Store cookie bars in an airtight container at room temperature for up to 5 days. Place parchment paper between layers to prevent sticking.
Freezing
These bars freeze beautifully! Wrap individual bars or rows of bars tightly in plastic wrap, then place in a freezer-safe container. They’ll keep for up to 3 months.
Reheating
While these are perfectly delicious at room temperature, you can warm individual bars in the microwave for 10-15 seconds for that fresh-baked experience.
FAQs
-
Can I make these cookie bars ahead of time for an Easter event?
Absolutely! These bars actually taste even better the day after baking as the flavors have time to meld. You can make them 1-2 days in advance and store in an airtight container at room temperature. Just wait to cut them until the day you’re serving for the freshest presentation.
-
My grocery store doesn’t carry Easter-themed candies. What can I use instead?
No problem! Regular M&Ms in spring colors work wonderfully, as do any chocolate candies you enjoy. You could also use chocolate chips and add festive sprinkles for that Easter look. The recipe is incredibly flexible when it comes to mix-ins.
-
Can I make these bars gluten-free?
Yes! Simply substitute the all-purpose flour with your favorite cup-for-cup gluten-free flour blend. The texture might be slightly different, but they’ll still be delicious. Just be sure to check that your candy toppings are also gluten-free.
-
How do I know when the cookie bars are done baking?
The perfect cookie bar should look slightly underdone in the center when you take it out of the oven. The edges should be set and just beginning to turn golden, but the middle may look soft. Remember that they’ll continue to cook from residual heat after being removed from the oven, and they’ll firm up as they cool.
Final Thoughts
These Easter Cookie Bars bring together the nostalgia of holiday baking with the simplicity modern busy lives demand. They’re the perfect balance of homemade goodness and festive fun, with minimal effort and maximum impact. Whether you’re hosting an Easter gathering, contributing to a potluck, or simply want to create a sweet tradition with your family, these bars are sure to become a springtime favorite that everyone will request year after year. Happy baking!
Print
Easter Cookie Bars Recipe
- Prep Time: 10 minutes
- Cook Time: 18 minutes
- Total Time: 28 minutes
- Yield: 12 servings
- Category: Desserts
- Method: Baking
- Cuisine: American
Description
These Easter Cookie Bars are the perfect festive treat to celebrate the season! Soft, chewy, and studded with colorful Easter M&Ms, chocolate Easter bunnies, mini Robin Eggs, and pastel sprinkles, these cookie bars are not only visually appealing but also incredibly delicious. They’re an easy dessert to whip up and are sure to be a hit with kids and adults alike. Perfect for parties, gatherings, or as a delightful dessert for your Easter table.
Ingredients
Dry Ingredients
- 2 1/4 cups all-purpose flour
- 2 teaspoons baking soda
- 3/4 cup butter (softened to room temperature)
- 3/4 cup brown sugar
- 3/4 cup granulated sugar
- 2 eggs
- 2 teaspoons vanilla extract
Mix-ins & Toppings
- 2/3 cup Easter M&M’s (divided)
- Hershey’s chocolate Easter bunnies
- Mini Robin Eggs
- Pastel sprinkles
Instructions
-
Preheat the Oven
Preheat your oven to 350℉ (175℃) and prepare a 13×9-inch baking pan. Line it with aluminum foil or parchment paper to ensure the cookie bars don’t stick and are easy to lift out after baking. -
Prepare Dry Ingredients
In a medium-sized mixing bowl, stir together the all-purpose flour and baking soda. Set this mixture aside for later. -
Cream Butter and Sugars
In a separate large mixing bowl, combine the softened butter, brown sugar, and granulated sugar. Using a stand mixer or handheld mixer, mix on medium speed until the ingredients are creamed together and achieve a smooth, fluffy consistency. -
Incorporate Eggs and Vanilla
Add the eggs and vanilla extract to the creamed butter mixture. Mix on low speed until fully combined, ensuring all ingredients are well incorporated. -
Combine Wet and Dry Ingredients
Slowly add the dry ingredient mixture to the wet mixture. Add half of the flour mixture and mix on low speed until just incorporated. Then, add the second half and mix again. Be careful not to overmix at this stage. -
Add M&M’s and Mix
Gently fold in ½ cup of M&M candies using a spoon or spatula. Mix until the candies are evenly distributed within the dough. -
Spread Dough into Pan
Transfer the dough into your prepared 9×13 pan. Spread it evenly across the pan. The dough may be sticky, so you can lightly spray your hands with nonstick spray to help press it into place. -
Add Final Toppings
Sprinkle the remaining M&M candies and pastel sprinkles evenly over the top of the dough. -
Bake the Bars
Place the pan in the oven and bake for 18-20 minutes, or until the cookie bars are lightly golden and set in the middle. Be cautious not to overbake for optimal chewiness. -
Decorate and Cool
Remove the pan from the oven and immediately top the bars with Hershey’s chocolate Easter bunnies and mini Robin Eggs. Lightly press them into the surface of the dough while it’s still warm to secure them. Allow the cookie bars to cool completely in the pan before slicing and serving.
Notes
- For best results, ensure all ingredients (like butter and eggs) are at room temperature before starting.
- If you can’t find mini Robin Eggs or chocolate Easter bunnies, feel free to substitute with other Easter-themed chocolates or candies.
- Store the cookie bars in an airtight container at room temperature for up to 3-4 days, or refrigerate for extended freshness.
- Lightly press the toppings in while the bars are still warm to ensure they adhere properly without melting entirely.
Nutrition
- Serving Size: 1 bar
- Calories: 250 kcal
- Sugar: 18g
- Sodium: 120mg
- Fat: 10g
- Saturated Fat: 6g
- Unsaturated Fat: 4g
- Trans Fat: 0g
- Carbohydrates: 35g
- Fiber: 1g
- Protein: 3g
- Cholesterol: 35mg