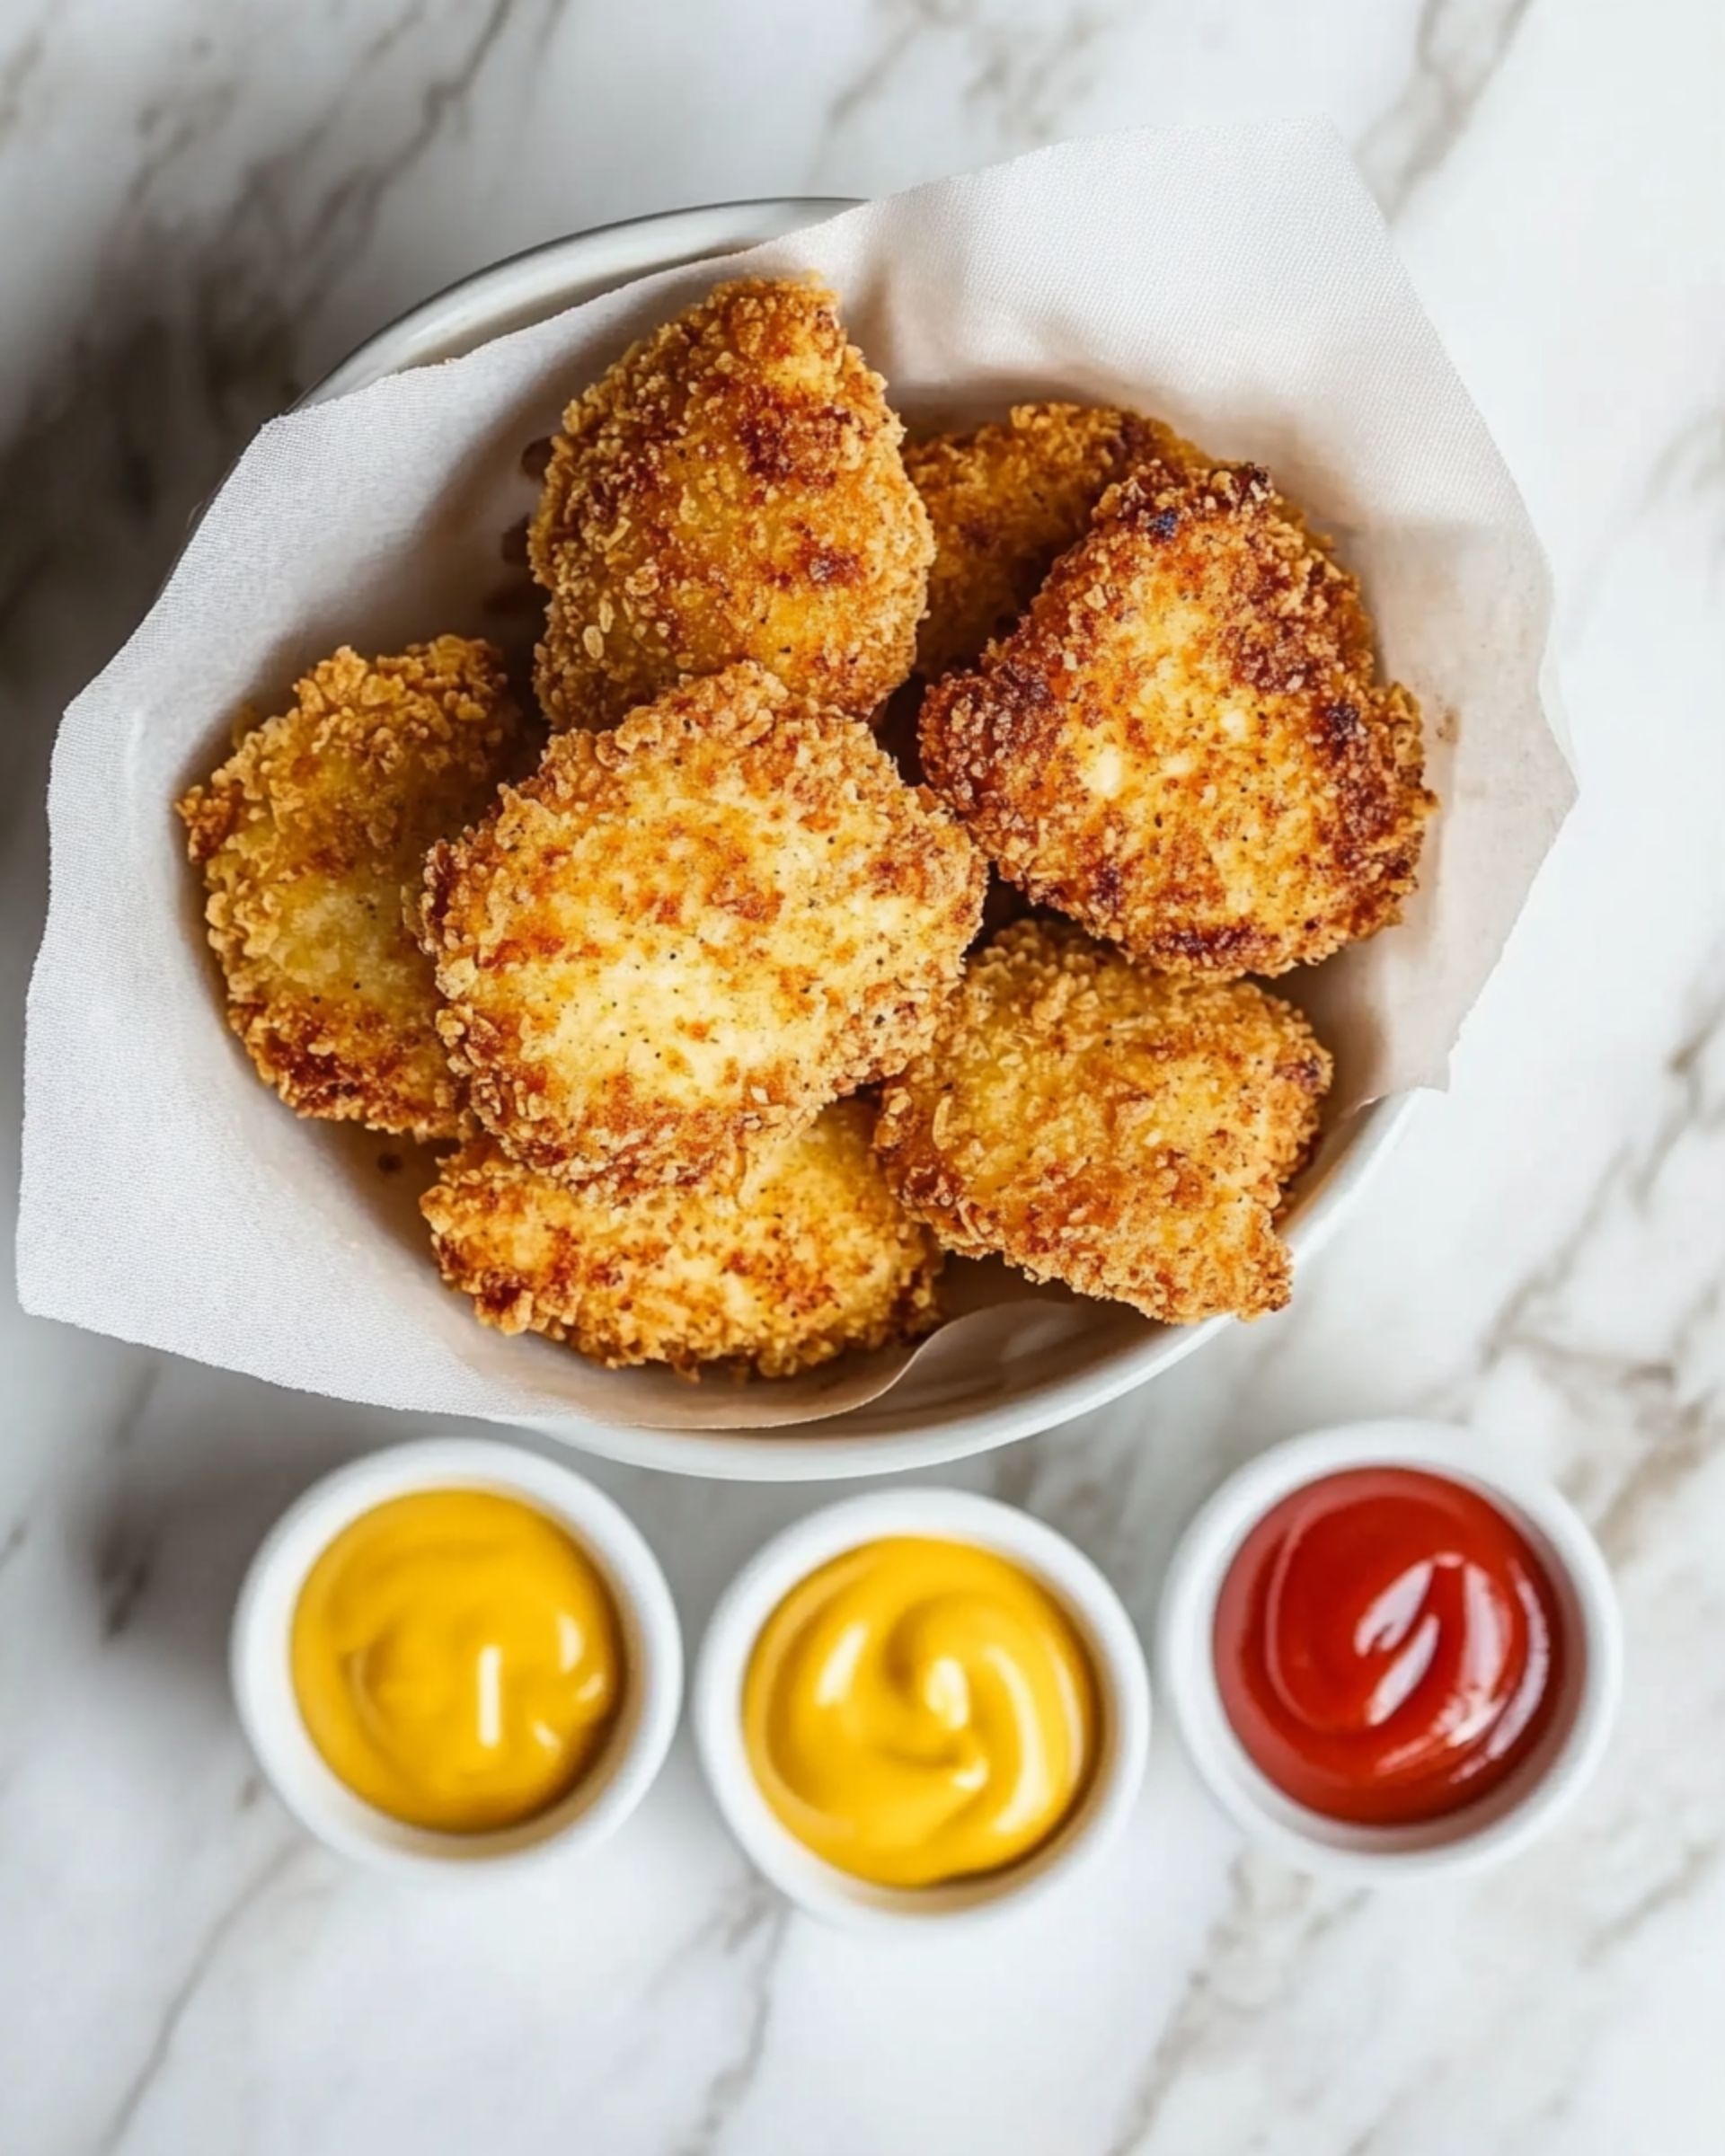
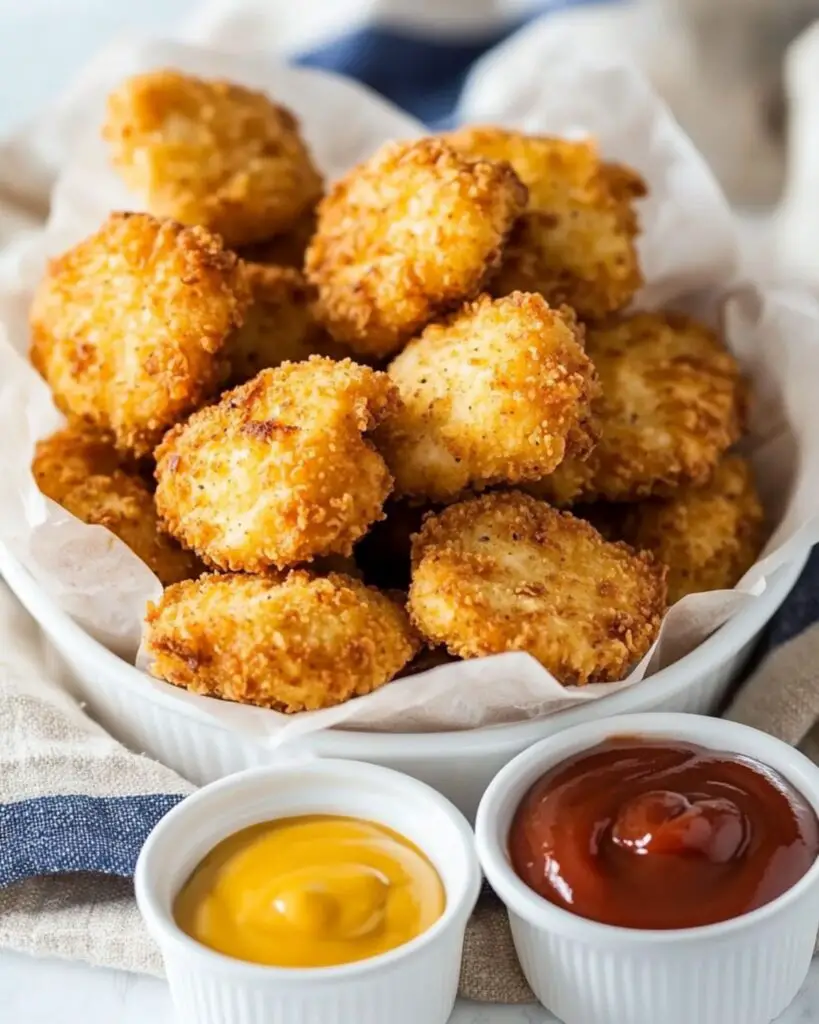
These homemade Crispy Parmesan Baked Chicken Nuggets are a game-changer for dinner time! Perfectly golden and crunchy on the outside while staying juicy and tender on the inside, these nuggets will have everyone at your table reaching for seconds. The best part? They’re baked, not fried, making them a healthier alternative to fast food or store-bought options without sacrificing that satisfying crunch we all crave.
Why You’ll Love This Recipe
- Healthier Option: Baked instead of fried, these nuggets deliver all the crunch and flavor without the excess oil.
- Kid and Adult Approved: The perfect balance of crispy coating and tender chicken makes these nuggets irresistible to everyone in the family.
- Versatile: Serve them as a main dish, appetizer, or add to salads for a protein boost – they’re deliciously adaptable.
- Make-Ahead Friendly: Prepare a big batch and freeze for those hectic weeknights when cooking from scratch isn’t an option.

Ingredients You’ll Need
- Chicken breasts: The foundation of our nuggets – boneless, skinless chicken breasts provide lean protein that stays tender when baked properly.
- Buttermilk: Works magic as a marinade, helping tenderize the chicken while adding tanginess that balances the savory coating.
- Panko breadcrumbs: The secret to achieving that restaurant-quality crunch – these Japanese-style breadcrumbs are lighter and airier than traditional varieties.
- Parmesan cheese: Adds a nutty, savory depth that elevates these nuggets beyond basic. Always use freshly grated for the best flavor and texture.
- Herbs: Optional but recommended – your favorite herb blend adds personality and complements the parmesan beautifully.
- All-purpose flour: Creates the first layer of our coating system, helping the egg mixture adhere to the chicken.
- Butter: Melted butter enriches our coating and helps achieve that golden-brown finish in the oven.
- Eggs: Act as the glue between the flour dredge and breadcrumb coating, ensuring everything sticks perfectly to the chicken.
- Salt and pepper: Essential seasonings that enhance all the other flavors – don’t skimp here!
Note: You’ll find the complete list of ingredients, along with their exact measurements, in the printable recipe card at the bottom of this post.
Variations
Want to switch things up? Here are some delicious ways to customize your chicken nuggets:
- Italian Style: Add 1 teaspoon of Italian seasoning to your breadcrumb mixture and serve with marinara sauce for dipping.
- Spicy Kick: Mix 1/2 teaspoon cayenne pepper or hot paprika into your breadcrumb mixture for nuggets with a punch.
- Gluten-Free Option: Substitute the all-purpose flour with rice flour and use gluten-free panko breadcrumbs.
- Ranch Flavored: Add 1 tablespoon of ranch seasoning mix to your breadcrumb mixture for tangy, herby nuggets.
How to Make Crispy Parmesan Baked Chicken Nuggets
Step 1: Prep Your Station
Heat your oven to 400°F. Cover a rimmed baking sheet with foil and spray with nonstick cooking spray. Place a wire rack on the sheet and spray that too – this elevation is key for all-around crispiness!
Step 2: Prepare the Chicken
Pat your chicken breasts dry (don’t skip this step!), then cut into roughly 1½-inch pieces. Place the chicken in a medium bowl, season with half the salt and pepper, then pour in the buttermilk. Mix everything together until all pieces are coated, then set aside while you prepare the coating station.
Step 3: Set Up Your Coating Station
In one shallow dish, combine your panko breadcrumbs, freshly grated Parmesan, and herbs if using. In separate dishes, place your flour, melted butter, and lightly beaten eggs. For the eggs and butter, whisk them together to create a rich dipping solution.
Step 4: Strain and Begin Coating
Strain the chicken from the buttermilk using a mesh strainer. Now comes the fun part! Line up your dishes in order: chicken, flour, butter/egg mixture, breadcrumb mixture.
Step 5: Coat Each Nugget
Take each chicken piece and first dredge it in flour, shaking off any excess. Next, dip it in the butter/egg mixture, then finally coat it thoroughly in the breadcrumb mixture, pressing gently to adhere. Place each coated nugget on your prepared wire rack.
Step 6: Bake to Perfection
Place your baking sheet on the middle rack of your preheated oven. Bake for 20-30 minutes, turning the nuggets halfway through for even browning. They’re done when golden brown, crispy, and cooked through.
Step 7: Crisp Finish (Optional)
If you want extra crispiness, switch your oven to broil for the final 1-2 minutes, watching carefully to prevent burning.
Pro Tips for Making the Recipe
- Don’t Skip the Wire Rack: This allows hot air to circulate around the entire nugget, creating crispiness on all sides without flipping.
- Buttermilk Substitute: No buttermilk? Mix 1/2 cup regular milk with 1-2 teaspoons of lemon juice or white vinegar and let sit for 5 minutes.
- Consistent Sizing: Try to cut your chicken pieces to similar sizes so they cook evenly.
- Hands Clean Technique: Use one hand for wet ingredients and one for dry to avoid the dreaded “breading fingers” that can make the process messier.
- Rest Before Serving: Let the nuggets rest for 2-3 minutes after baking to allow the juices to redistribute within the meat.
How to Serve
These versatile nuggets can be enjoyed in numerous ways:
Classic Dipping Sauces:
Serve with honey mustard, BBQ sauce, ranch, or classic ketchup for a family-friendly meal. For grown-up tastes, try sriracha mayo or a lemon-garlic aioli.
Complete Meals:
Pair with sweet potato fries and a simple green salad for a balanced dinner that comes together quickly.
In Sandwiches:
Layer 3-4 nuggets on a soft bun with lettuce, tomato, and your favorite sauce for a homemade chicken sandwich that rivals any restaurant version.
Party Food:
Serve with an assortment of dipping sauces for a crowd-pleasing appetizer that disappears fast!
Make Ahead and Storage
Storing Leftovers
Keep cooled nuggets in an airtight container in the refrigerator for up to 3 days. For best results, reheat in a 350°F oven for 10 minutes rather than microwaving to maintain crispiness.
Freezing
These nuggets freeze beautifully! After baking and cooling completely, freeze in a single layer on a baking sheet, then transfer to a freezer bag. They’ll keep for up to 3 months.
Reheating
For frozen nuggets, reheat from frozen in a 375°F oven for about 15-20 minutes until heated through and crispy again. No need to thaw first!
FAQs
-
Can I use chicken thighs instead of breasts?
Absolutely! Chicken thighs are naturally more juicy and flavorful, making them a great substitute. Just make sure to trim any excess fat and expect a slightly richer flavor profile. The cooking time remains approximately the same for similarly sized pieces.
-
Why aren’t my nuggets getting crispy?
The most common reason is overcrowding the baking sheet. Make sure the nuggets aren’t touching each other, and always use the wire rack for best air circulation. Also check that your oven is properly preheated to 400°F before baking.
-
Can I prepare these ahead of time before baking?
You can bread the nuggets up to 2 hours ahead and keep them refrigerated before baking. For longer than that, I’d recommend freezing the breaded, uncooked nuggets, then baking directly from frozen, adding about 5-7 minutes to the cooking time.
-
What’s the best way to know when the chicken is fully cooked?
The safest method is using an instant-read thermometer, which should register 165°F when inserted into the center of a nugget. If you don’t have one, cut open the largest piece – the meat should be white throughout with no pink areas.
Final Thoughts
These Crispy Parmesan Baked Chicken Nuggets bring together the comfort of childhood favorites with grown-up flavor that the whole family will love. They prove that homemade can be both easier and tastier than store-bought, with the added benefit of knowing exactly what ingredients you’re feeding your loved ones. From weeknight dinners to weekend gatherings, these nuggets are sure to become a regular in your cooking rotation!
Print
Crispy Parmesan Baked Chicken Nuggets Recipe
- Prep Time: 15 minutes
- Cook Time: 30 minutes
- Total Time: 45 minutes
- Yield: 4 servings
- Category: Appetizers
- Method: Baking
- Cuisine: American
Description
These Baked Chicken Nuggets are a crispy and healthier twist on classic chicken nuggets. Coated in crispy breadcrumbs, Parmesan cheese, and baked to golden perfection, they’re packed with flavor in every bite. Perfect as a snack, appetizer, or even a main course, these nuggets pair wonderfully with your favorite dipping sauce for a delicious and satisfying meal.
Ingredients
Chicken
- 3 boneless, skinless chicken breasts
- 1 teaspoon kosher or coarse salt (divided)
- 1 teaspoon black pepper (divided)
Wet Ingredients
- 1/2 cup buttermilk
- 2 eggs (lightly beaten)
- 1/2 cup butter (melted)
Dredging Mix
- 1 cup breadcrumbs (panko)
- 1/2 cup Parmesan cheese (grated, high-quality)
- 1 teaspoon favorite herb blend (optional)
- 1 cup all-purpose flour
Instructions
-
Prepare the Oven and Baking Sheet
Preheat your oven to 400°F. Cover a rimmed baking sheet with aluminum foil and spray the foil lightly with nonstick cooking spray. Place a wire rack on the baking sheet and also spray it with nonstick cooking spray. -
Marinate the Chicken
Pat the chicken breasts dry and cut them into 1½-inch pieces. Place the chicken pieces in a medium-sized bowl and sprinkle with ½ teaspoon of salt and ½ teaspoon of black pepper. Add the buttermilk and thoroughly coat the chicken. Set it aside to marinate. -
Prepare the Coatings
In a shallow dish, combine the breadcrumbs, Parmesan cheese, and herb blend (if using). Mix to evenly distribute the ingredients. Separately, place the flour in one shallow dish, the melted butter in another, and the lightly beaten eggs in a third dish. This will create a total of four coating stations including the breadcrumb mixture. -
Strain the Chicken
Strain the marinated chicken using a mesh strainer over a bowl. This ensures the pieces are not overly wet for coating. -
Coat the Chicken
Line up the dipping stations in order: chicken, flour, butter/egg mixture, and breadcrumb mixture. Take each chicken piece and dredge it in the flour, shaking off the excess. Then dip it into the butter/egg mixture, ensuring it’s well-coated. Finally, coat it in the breadcrumb mixture and place it on the prepared wire rack on the baking sheet. Repeat until all the chicken pieces are coated. -
Bake the Nuggets
Place the baking sheet on the middle rack in the oven and bake for 20-30 minutes. Turn the nuggets after 10-15 minutes to ensure even browning. The chicken nuggets are done when they’re golden brown, crispy, and cooked through. -
Broil for Extra Crispiness (Optional)
If the nuggets are not as crispy as desired after 30 minutes, switch the oven to broil for a few minutes until the coating reaches your preferred crispiness. -
Serve and Enjoy
Serve the baked chicken nuggets hot with your favorite dipping sauces. Enjoy!
Notes
- Make it extra crispy: Toast the panko breadcrumbs lightly in a dry pan before using them for coating. This will give an extra layer of crunch.
- Avoid sogginess: Ensure the chicken pieces are strained well before coating to prevent soggy breadcrumbs.
- Dipping sauce options: Serve with ketchup, honey mustard, ranch, or barbecue sauce for a classic pairing.
- Storage: Store leftovers in an airtight container in the refrigerator for up to 3 days. Reheat in the oven to maintain crispiness.
- Gluten-free option: Replace all-purpose flour and breadcrumbs with gluten-free alternatives.
Nutrition
- Serving Size: 1/4 of recipe
- Calories: 450kcal
- Sugar: 2g
- Sodium: 750mg
- Fat: 22g
- Saturated Fat: 10g
- Unsaturated Fat: 12g
- Trans Fat: 0g
- Carbohydrates: 30g
- Fiber: 2g
- Protein: 35g
- Cholesterol: 150mg

