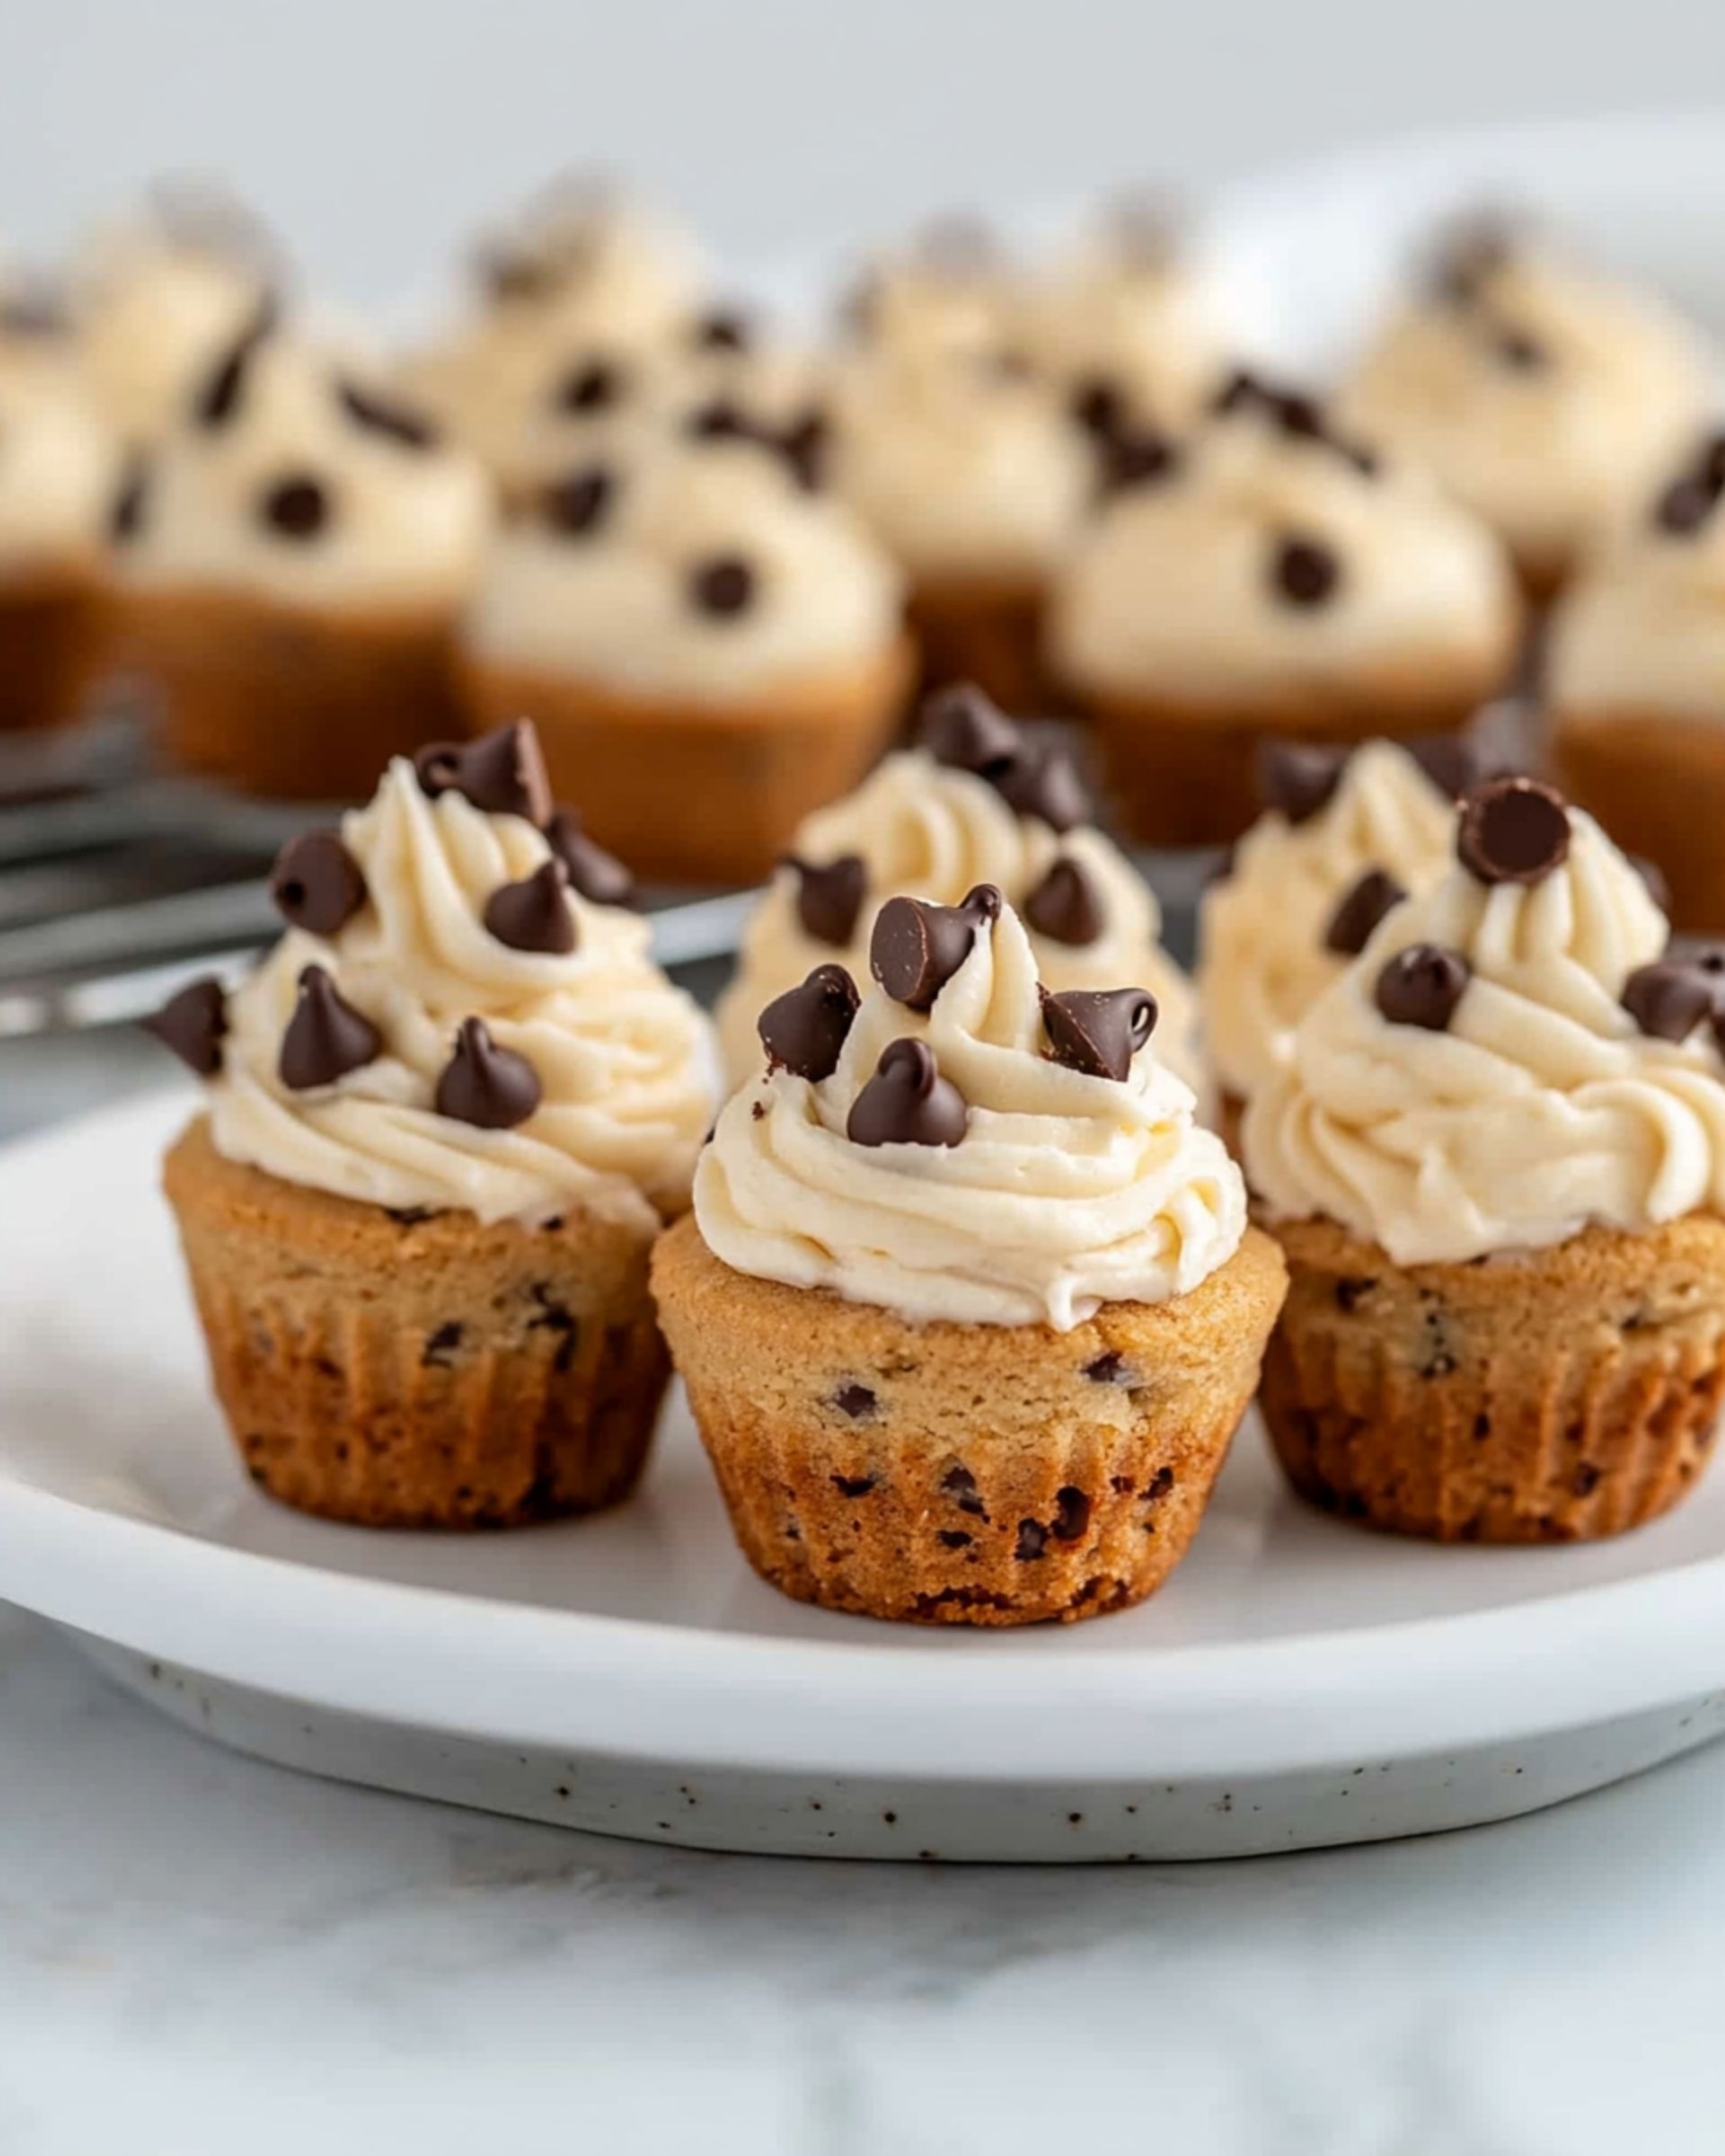
If you love the crispy, creamy magic of cannoli but don’t have time to fuss with rolling shells or wrestling with deep fryers, these Cannoli Cups are about to become your new favorite treat. Imagine all the classic flavors of cannoli tucked into buttery, chewy cookie cups, crowned with a dreamy ricotta-mascarpone filling and a generous sprinkle of chocolate chips. These are perfect for busy weeknights when you want something impressive without any stress—no pastry piping skills or specialty equipment required. The best part? They’re both decadent and unbelievably simple.
Why You’ll Love This Recipe
- Speedy & Effortless: Skip the hassle of making and frying cannoli shells! The cookie cups come together quickly, baking up in less than 20 minutes.
- Incredibly Delicious: There’s nothing quite like the contrast of the soft, golden-brown cookie shell with that cool, creamy, not-too-sweet filling. Each bite feels truly indulgent.
- No-Fuss Presentation: Beautiful enough for parties but easy enough for a Tuesday night dessert.
- Kid-Friendly: The mini size makes these easy for little hands—and fun to eat.

Ingredients You’ll Need
Here’s what goes into these dreamy little cups, and why it matters:
- Unsalted Butter: Browned for a deep, nutty flavor that makes these taste extra special.
- Granulated Sugar & Brown Sugar: A blend for the perfect balance of sweetness and moisture; brown sugar adds a caramel note.
- Eggs: Bring structure, richness, and help the cookie cups hold their shape.
- Vanilla Extract: Essential for classic cannoli flavor and warmth.
- All-Purpose Flour: Basic structure for the cookie base.
- Baking Soda: Gives lift and that perfect cookie texture.
- Kosher Salt: Balances the sweetness and enhances the other flavors.
- Mini Chocolate Chips: Stirred into the batter and sprinkled on top for melty, crunchy pops of chocolate in every bite.
For the Filling:
- Whole Milk Ricotta: The backbone of cannoli filling; rich and a bit tangy. Drain excess liquid for best results.
- Mascarpone Cheese: Adds a creamy, silky texture and mild sweetness.
- Powdered Sugar: Sweetens the filling without making it gritty.
- Vanilla Extract: For that classic aromatic finish.
Note: You’ll find the complete list of ingredients, along with their exact measurements, in the printable recipe card at the bottom of this post.
Variations
Let’s make this your own! Try these twists:
- Lemon Zest: Stir some lemon zest into the filling for a fresh, zippy spin.
- Pistachios or Hazelnuts: Sprinkle crushed nuts on top of the finished cups for extra crunch.
- Mini Cannoli Cones: Use flat-bottomed ice cream cones as vessels for the filling if you’re in a hurry.
- Chocolate Shells: Dip the cooled cookie cups’ rims in melted chocolate and set before piping in the filling.
- Orange Blossom Water: Add a few drops to the filling for a fragrant surprise.
How to Make Cannoli Cups
Step 1: Prep Your Tools
Preheat your oven to 350°F and lightly grease a mini muffin tin. This ensures the cookie cups come out easily, with no sticking.
Step 2: Make the Cookie Cup Dough
In a large mixing bowl, whisk together the browned butter, both sugars, eggs, and vanilla. You’re looking for a creamy, lightened mixture here.
In a separate bowl, sift the flour, baking soda, and salt. Add these dry ingredients to your wet mixture, folding gently—no need to overmix. Stir in those mini chocolate chips.
Step 3: Shape and Bake
Using a small ice cream scoop or spoon, fill each mini muffin cup with dough. There’s no need to press them down—they’ll spread gently and form perfect cups as they bake.
Bake for 13-16 minutes, until they’re golden brown around the edges and just set in the center.
Step 4: Create Cookie Cup Wells
Once baked, immediately use the back of a small scoop or rounded spoon to gently press down in the center of each cookie, creating a well for your filling. Let them cool in the pan for a few minutes, then transfer to a wire rack.
Step 5: Whip Up the Cannoli Filling
While the cups cool, combine ricotta, mascarpone, powdered sugar, and vanilla extract in a bowl. Beat until creamy and smooth. Scoop this mixture into a piping bag and refrigerate until you’re ready to fill.
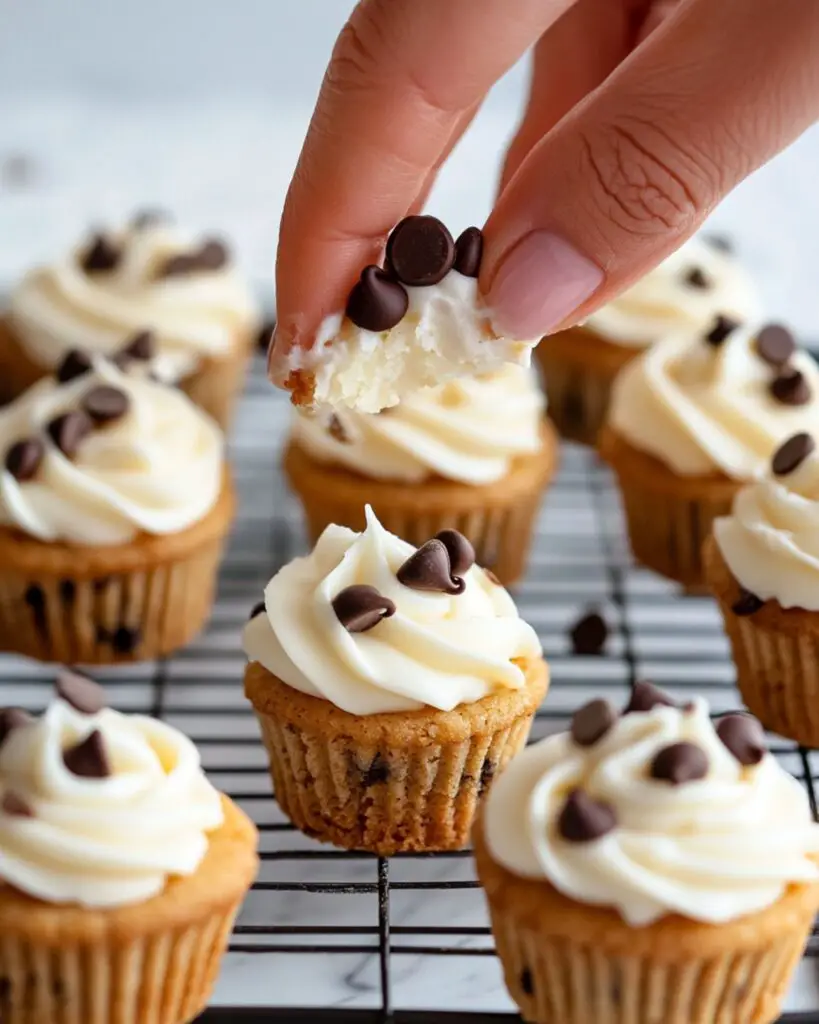
Step 6: Assemble and Garnish
Pipe or spoon generous swirls of cannoli filling into each cooled cup. Sprinkle extra mini chocolate chips on top for that irresistible finish.
Pro Tips for Making the Recipe
- Brown the Butter: Don’t skip this step—browned butter is the secret weapon for nutty, caramel undertones.
- Drain Ricotta: If your ricotta is watery, strain it in cheesecloth or a fine sieve for about 20 minutes. This keeps the filling creamy, not runny.
- Work Quickly: Shape the wells in the cookie cups while they’re hot for clean, deep centers.
- Cool Completely: Make sure the cups are fully cooled before adding the filling to prevent melting.
How to Serve
These Cannoli Cups are the ultimate party treat, but they’re just as wonderful for casual nights in.
- Platter Presentation: Arrange on a pretty cake stand, dust with extra powdered sugar, and serve with espresso or coffee.
- Mix and Match: Pair with fresh berries, a bowl of pistachios, or even a scoop of gelato for a fun Italian dessert spread.
- Mini Dessert Bar: Let guests pipe their own filling and add toppings like nuts, dried fruit, or a hint of cinnamon.
Make Ahead and Storage
Storing Leftovers
Store filled Cannoli Cups in the refrigerator, covered, for up to 3 days. The cookie cups stay deliciously chewy, but are at their absolute best the day they’re made.
Freezing
Freeze unfilled cookie cups in an airtight container for up to 2 months. Thaw and fill just before serving for maximum freshness.
Reheating
There’s no reheating needed! If you want a warm cookie shell, pop them in the oven at 300°F for about 3 minutes before cooling and filling.
FAQs
-
Can I use only ricotta for the filling?
Absolutely. If mascarpone isn’t handy, you can use all ricotta—just be sure to drain it well for a thick, creamy consistency. The mascarpone adds richness, but ricotta alone is traditional and delicious.
-
How do I keep the cookie cup shells from getting soggy?
Make sure to cool the cups fully before adding the filling, and don’t fill them too far in advance. If you’re prepping ahead, fill them right before serving to keep the texture perfect.
-
Can I use store-bought cookie dough or filling to save time?
Yes, you can use ready-to-bake cookie dough to make the cups in a pinch, and even a pre-made cannoli filling. Just know that the homemade version is exceptionally flavorful and worth it if you have a little extra time.
-
What if I don’t have a piping bag for the filling?
No problem! Simply use a zip-top bag with the corner snipped off, or gently spoon the filling into each cup. They’ll look beautiful either way.
Final Thoughts
These Cannoli Cups combine all the best parts of a classic Italian dessert with weeknight-friendly ease, so don’t hesitate to give them a try. With their soft, chocolate-studded cookie shells and rich, creamy filling, they’re bound to steal the show at your table. Have fun experimenting with the flavors and toppings, and enjoy the process—these treats are as much fun to make as they are to eat!
Print
Cannoli Cups Recipe
- Prep Time: 20 minutes
- Cook Time: 16 minutes
- Total Time: 36 minutes
- Yield: 18 cups
- Category: Desserts
- Method: Baking
- Cuisine: Italian-American
- Diet: Vegetarian
Description
These delightful Cannoli Cups are a modern twist on the classic Italian cannoli. Featuring buttery cookie cups studded with mini chocolate chips and filled with a creamy ricotta-mascarpone mixture, they are perfect for parties or as an easy dessert for any occasion.
Ingredients
For the Cookie Cups
- 1 cup unsalted butter, browned
- 1/2 cup granulated sugar
- 1 1/4 cup brown sugar
- 2 eggs, beaten
- 2 teaspoons vanilla extract
- 3 cups all-purpose flour
- 1 teaspoon baking soda
- 3/4 teaspoon kosher salt
- 1 cup mini chocolate chips, plus extra for garnish
For the Filling
- 1 1/2 cups whole milk ricotta
- 1 cup mascarpone cheese
- 1 cup powdered sugar
- 1 teaspoon vanilla extract
Instructions
- Prep the Oven and Pan: Preheat your oven to 350° F (175° C). Grease a mini muffin tin well to ensure easy removal of the cookie cups later.
- Make the Cookie Dough: In a mixing bowl, whisk together the browned butter, granulated sugar, brown sugar, beaten eggs, and vanilla extract until the mixture lightens in color. Set aside.
- Combine Dry Ingredients: In another bowl, sift together the all-purpose flour, baking soda, and kosher salt. Gradually fold the dry ingredients into the wet mixture, then gently mix in 1 cup of mini chocolate chips until evenly distributed.
- Bake the Cookie Cups: Using a small ice cream scoop, portion the dough into the prepared mini muffin tin. Bake for 13 to 16 minutes, or until the tops are golden brown.
- Shape the Cups: Remove the baked cookie cups from the oven. While still warm, use a small ice cream scoop to gently press and create a well in the center of each cup. Carefully transfer the cups to a wire rack to cool completely.
- Prepare the Filling: In a mixing bowl, combine ricotta, mascarpone cheese, powdered sugar, and vanilla extract. Mix until smooth, then transfer the mixture to a piping bag. Refrigerate until ready to use to allow the filling to firm up slightly.
- Assemble and Garnish: Once the cookie cups are cool, pipe or spoon the ricotta filling into each chocolate chip shell. Garnish with extra mini chocolate chips on top for added texture and visual appeal.
Notes
- Browning the butter adds a rich, nutty flavor to the cookie cups.
- For best results, drain ricotta cheese if it appears very moist; this ensures a thicker, creamy filling.
- The cups and filling can be made in advance and assembled just before serving for optimal freshness.
- Customize the garnish with chopped pistachios or orange zest for a classic cannoli touch.
Nutrition
- Serving Size: 1 cup
- Calories: 220
- Sugar: 17g
- Sodium: 96mg
- Fat: 12g
- Saturated Fat: 7g
- Unsaturated Fat: 4g
- Trans Fat: 0g
- Carbohydrates: 26g
- Fiber: 1g
- Protein: 3g
- Cholesterol: 36mg
