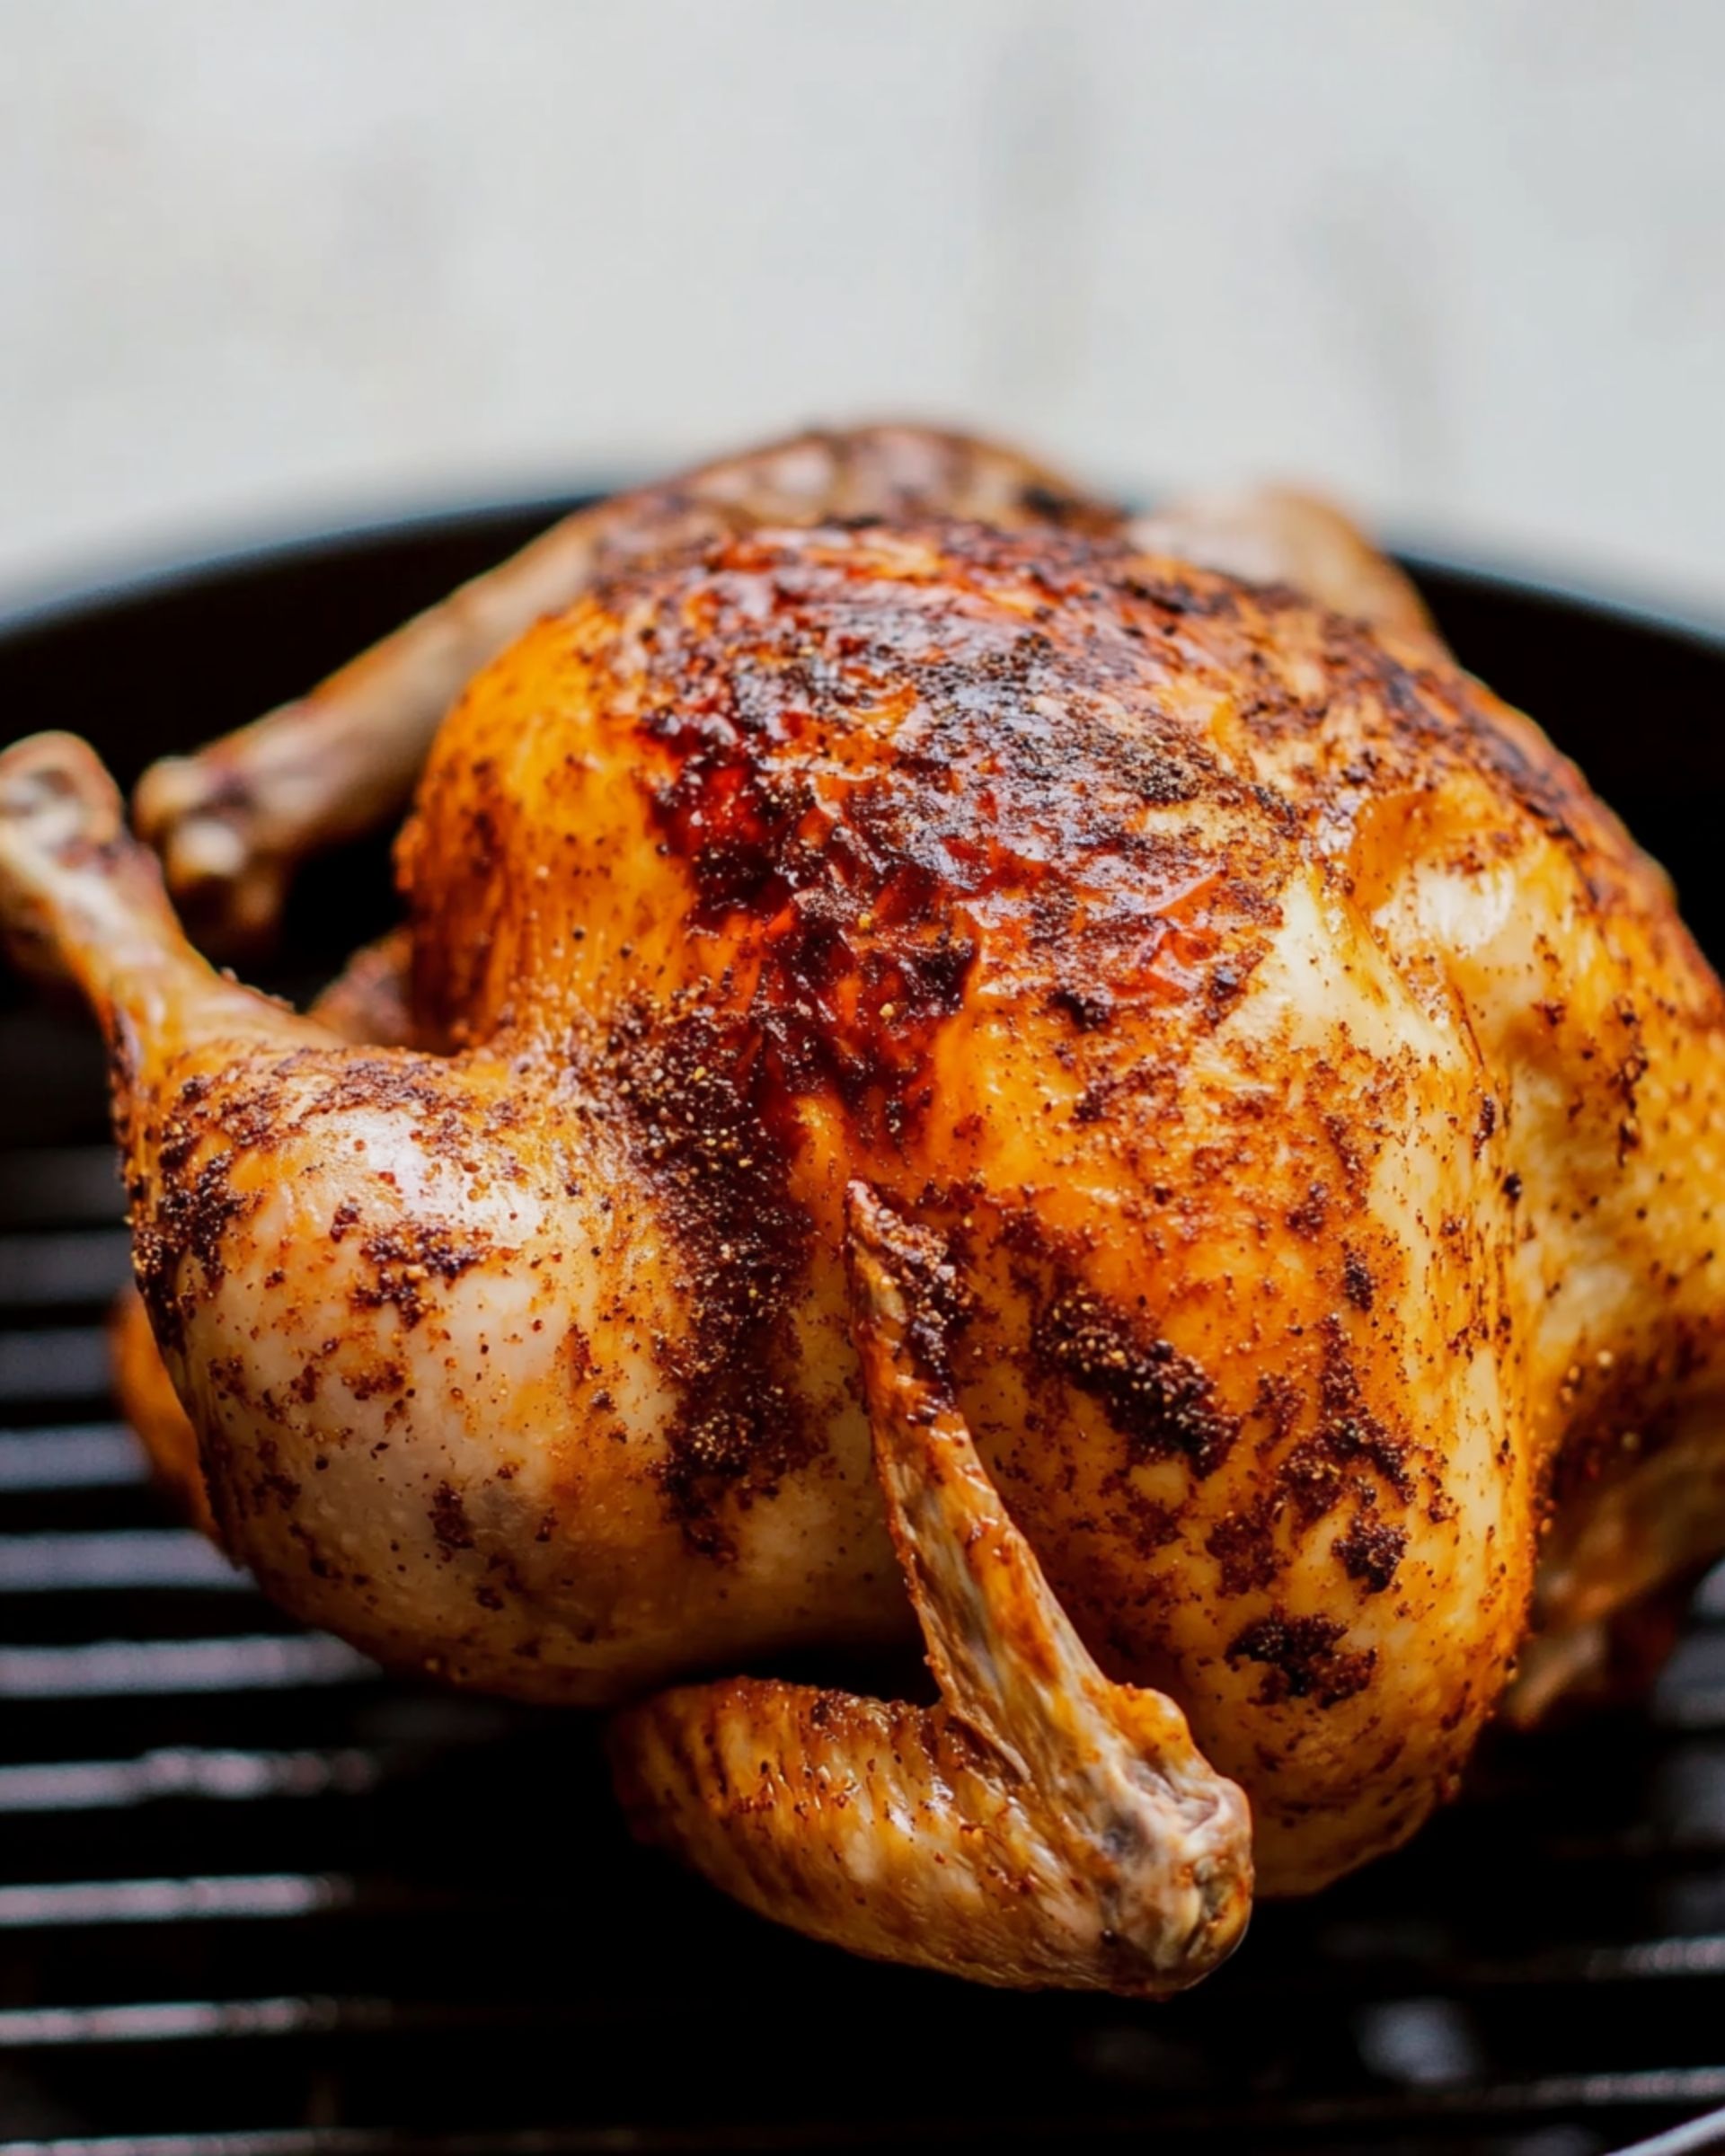
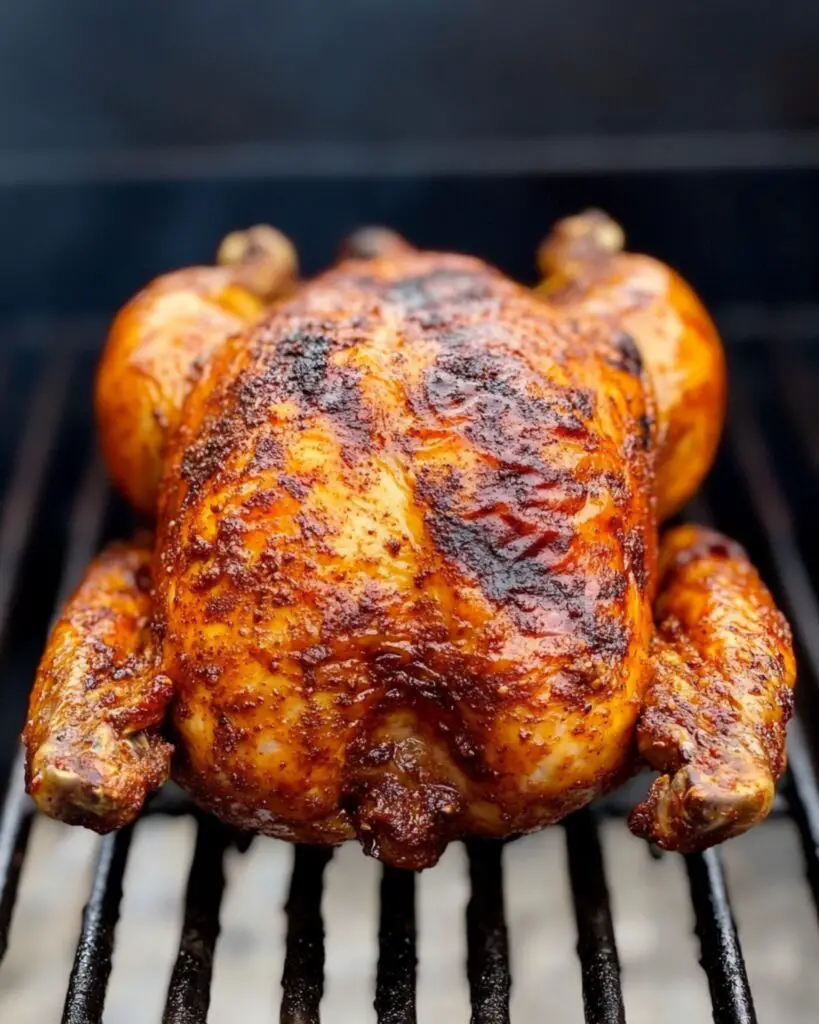
There’s nothing quite like the joy of tucking into a perfectly roasted beer can chicken. This method has just the right mix of fun and flavor, and honestly, it never fails to impress. Juicy on the inside, crackling and golden on the outside—with a subtle note of hops and a generous dusting of BBQ spices—this bird is the answer for busy weeknights or any time you want big dinner energy without the stress. Lay it on the grill, kick back, and get ready for chicken that is outrageously moist and full of smoky flavor.
Why You’ll Love This Recipe
- Fool-Proof Juicy Chicken: The beer works magic as it steams the bird from within, making even the breast meat audaciously juicy.
- Simple Ingredients, Big Flavor: No fussy steps or fancy tools needed—just a handful of pantry staples and a can of beer.
- Ridiculously Easy Prep: If you can rub chicken with spices and open a beer, you’re already halfway done. The grill (or oven!) does the heavy lifting.
- Crowd-Pleaser: The presentation alone is worth it. Beer can chicken is delicious and makes a fantastic centerpiece for family dinners or barbecue parties.

Ingredients You’ll Need
- Whole Chicken: The star of the show. Look for a bird around 4 pounds—a manageable size that cooks through evenly and stays tender.
- Olive Oil: Perfect for massaging the chicken’s skin. Helps crisp things up and ensures the rub really sticks.
- BBQ Rub: Use your favorite homemade blend or a store-bought version. Think brown sugar, paprika, garlic powder, and a hit of cayenne for a smoky-sweet kick. Tip: Choose a rub that matches your mood—smoky, spicy, or herby!
- Kosher Salt: Essential for bringing out all the savory flavors and helping the skin get beautifully golden.
- Beer: Go for a pale lager or ale. The subtle hop flavor infuses the meat, keeping it extra moist. Note: Most of the alcohol cooks off, leaving a gentle, malty aroma—don’t worry about strong beer flavors!
- Fresh Herbs (Optional): Sprigs of rosemary, thyme, or parsley make a vibrant garnish and add a pop of color.
Note: You’ll find the complete list of ingredients, along with their exact measurements, in the printable recipe card at the bottom of this post.
Variations
Want to put your own spin on this classic? Here are some fun ways to mix it up:
- Citrus Beer Can Chicken: Tuck lemon or orange slices inside the cavity and use a light citrus beer for a fresh, zesty finish.
- Spice Lovers: Add hot smoked paprika to the rub or pick a spicier BBQ blend for some serious heat.
- Herb-Forward: Stuff fresh herbs directly inside the chicken so the aroma infuses every bite.
- No Beer? No problem! Swap in seltzer water, ginger ale, or chicken broth for a creative twist that keeps the moisture locked in.
How to Make Beer Can Chicken
Step 1: Prep the Chicken
Pat the chicken dry with paper towels to help the skin crisp up. Rub it all over with olive oil, making sure every nook and cranny is covered. Sprinkle the BBQ rub and kosher salt generously over the entire bird, including under the skin if you want extra flavor insurance!
Step 2: Crack Open the Beer
Open a can of beer, pour out (or sip) about half the can—you want enough left to create steam. Carefully lower the chicken onto the can so it sits upright, using the legs to balance like a tripod. If you have a beer can chicken stand, now’s its time to shine.
Step 3: Fire Up the Grill or Oven
Set up your grill for indirect cooking—medium heat is perfect, around 375°F. Or, use your oven set to the same temperature. Place the beer can chicken (can and all) on the cool side of the grill or on a baking sheet if roasting indoors.
Step 4: Roast to Perfection
Let the chicken cook uncovered for about 1 to 1.5 hours, depending on its size. No need to peek! The chicken is ready when the skin is deeply golden and a thermometer inserted in the thickest part of the thigh reads 165°F.
Step 5: Rest and Serve
Carefully remove the chicken from the grill (it’s hot and wobbly—use tongs and oven mitts!). Let it rest for 10 minutes to keep those juices where they belong. Garnish with fresh herbs for a burst of color and freshness.
Pro Tips for Making the Recipe
- Dry Skin = Crispy Skin: Always pat the chicken dry before you start. Moisture is the enemy of crispiness.
- Customize the Rub: Don’t be shy—use plenty of seasoning. A thick coating of rub brings out deep flavor and creates an irresistible crust.
- Mind the Balance: When placing the chicken on the beer can, make sure it stands upright and stable—if you have a special rack, now’s the moment to use it.
- Let It Rest: Tempting as it is to dive right in, give your chicken 10 minutes to rest so the juices stay put.
How to Serve
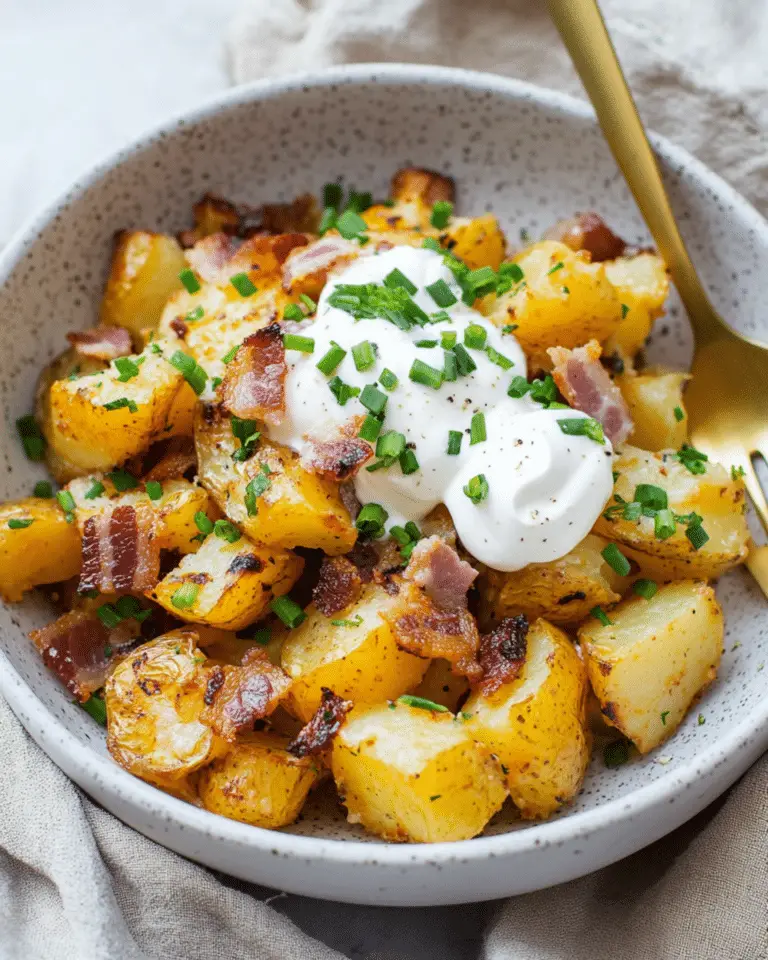
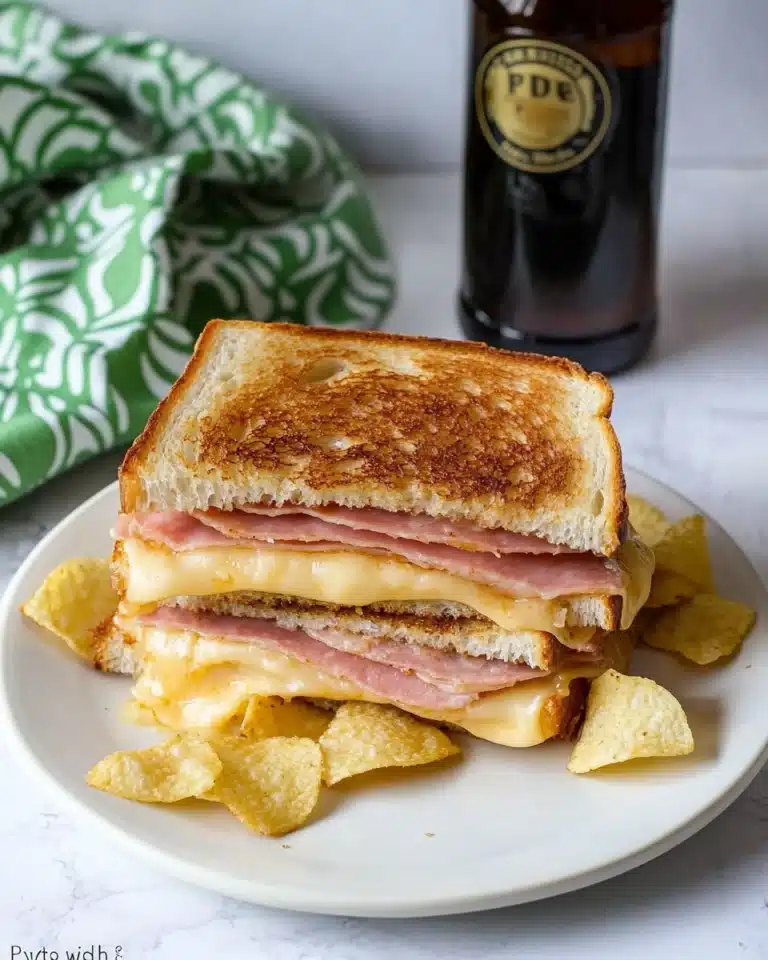
Beer can chicken is a showstopper all on its own, but it also loves a good sidekick. Serve it with buttery corn on the cob, fresh summer salads, or a pile of roasted potatoes. Tear the meat into big, juicy pieces or carve it neatly—either way, it’s wonderful. Fancy a sandwich? Shred leftovers and pile them onto buns with crisp slaw. Don’t forget an extra sprinkle of salt and an extra swipe of BBQ sauce if you like.
Make Ahead and Storage
Storing Leftovers
Wrap leftover chicken tightly and keep it in the fridge. It will stay fresh for up to 3 days, perfect for easy snacking, quick lunches, or last-minute weeknight dinners.
Freezing
Carve any extra chicken and store it in a sealed, freezer-safe bag or container. It’ll keep well for about 2 months. Thaw in the fridge overnight before reheating.
Reheating
For tender, juicy reheated chicken, cover it with foil and warm in a 325°F oven until heated through. Or, zap it in the microwave in short bursts, adding a splash of broth if needed to keep things moist.
FAQs
-
Can I make beer can chicken in the oven instead of a grill?
Absolutely. Simply set your oven to 375°F, and follow the grilling instructions. Place the chicken upright on a baking sheet, and roast until golden and cooked through.
-
Is it safe to cook with a beer can?
Yes, it’s generally safe, especially since the can is partially filled and at a moderate temperature. If you’re concerned, you can buy stainless steel beer can chicken holders designed specifically for this purpose.
-
Can I use other beverages besides beer?
Definitely! Try ginger ale, apple cider, or any non-alcoholic beer. The key is the steam it produces—not the alcohol itself.
-
What’s the best type of beer to use?
Stick with a light lager or pale ale. Avoid anything too dark or bitter, unless you love strong flavors. The beer should complement the spices, not overpower them.
Final Thoughts
Beer can chicken is the sort of recipe that brings the wow factor to dinner with minimal effort. It’s straightforward, hands-off, and utterly delicious—the kind of meal you’ll love making (and eating!) again and again. Don’t be afraid to play around with different rubs or herbs. Once you master this method, you’ll want a roast chicken in your regular dinner rotation. Give it a try and see just how fun and easy great home cooking can be!
Print
Beer Can Chicken Recipe
- Prep Time: 10 minutes
- Cook Time: 1 hour 15 minutes
- Total Time: 1 hour 25 minutes
- Yield: 4 servings
- Category: Main-course
- Method: Grilling
- Cuisine: American
- Diet: Gluten Free
Description
Juicy and flavorful Beer Can Chicken is a classic grilled main course where a whole chicken is seasoned with BBQ rub and cooked upright on a can of beer, infusing the meat with moisture and subtle flavor. Perfect for summer cookouts and family gatherings, this easy recipe yields tender, crispy-skinned chicken every time.
Ingredients
For the Chicken
- 1 whole chicken (about 4 lbs)
- 2 tablespoons olive oil
- 1/4 cup BBQ rub (homemade or store-bought)
- 1 teaspoon kosher salt
For Cooking
- 1 can beer (standard 12 oz, any variety)
For Garnish (Optional)
- Fresh herbs (such as parsley, thyme or rosemary)
Instructions
- Prepare the Grill
Preheat your grill to medium-high heat (about 375°F–400°F). Clean and oil the grates. If using charcoal, arrange the coals on one side for indirect heat. - Season the Chicken
Pat the chicken dry with paper towels, then rub the entire chicken with olive oil. Generously sprinkle the BBQ rub and kosher salt all over the chicken, making sure to coat both the outside and inside of the cavity for maximum flavor. - Prepare the Beer Can
Open the beer can and pour out (or drink) about 1/4 of the beer, leaving the rest in the can. Place the can on a stable surface. Gently lower the chicken cavity over the beer can so the can sits in the larger opening of the chicken, letting the legs help support it upright. - Grill the Chicken
Carefully transfer the chicken (standing upright on the can) to the cooler side of the grill, using indirect heat. Close the lid and grill for about 1 to 1.5 hours, or until the internal temperature reaches 165°F in the thickest part of the thigh. Rotate the chicken as needed to ensure even cooking. - Rest and Serve
Once cooked, carefully remove the chicken and beer can from the grill (use tongs and oven mitts; the can will be very hot). Let the chicken rest for 10 minutes, then gently lift it off the can. Carve and garnish with fresh herbs before serving.
Notes
- If you prefer, you can substitute another canned beverage (such as soda or cider).
- For extra flavor, add additional spices to the BBQ rub or stuff the chicken cavity with fresh herbs before placing on the beer can.
- Leftover chicken can be used in sandwiches, salads, or wraps.
- Always use a meat thermometer to ensure the chicken is fully cooked and safe to eat.
Nutrition
- Serving Size: 1/4 chicken
- Calories: 400
- Sugar: 2g
- Sodium: 900mg
- Fat: 22g
- Saturated Fat: 5g
- Unsaturated Fat: 14g
- Trans Fat: 0g
- Carbohydrates: 4g
- Fiber: 0g
- Protein: 44g
- Cholesterol: 150mg


