
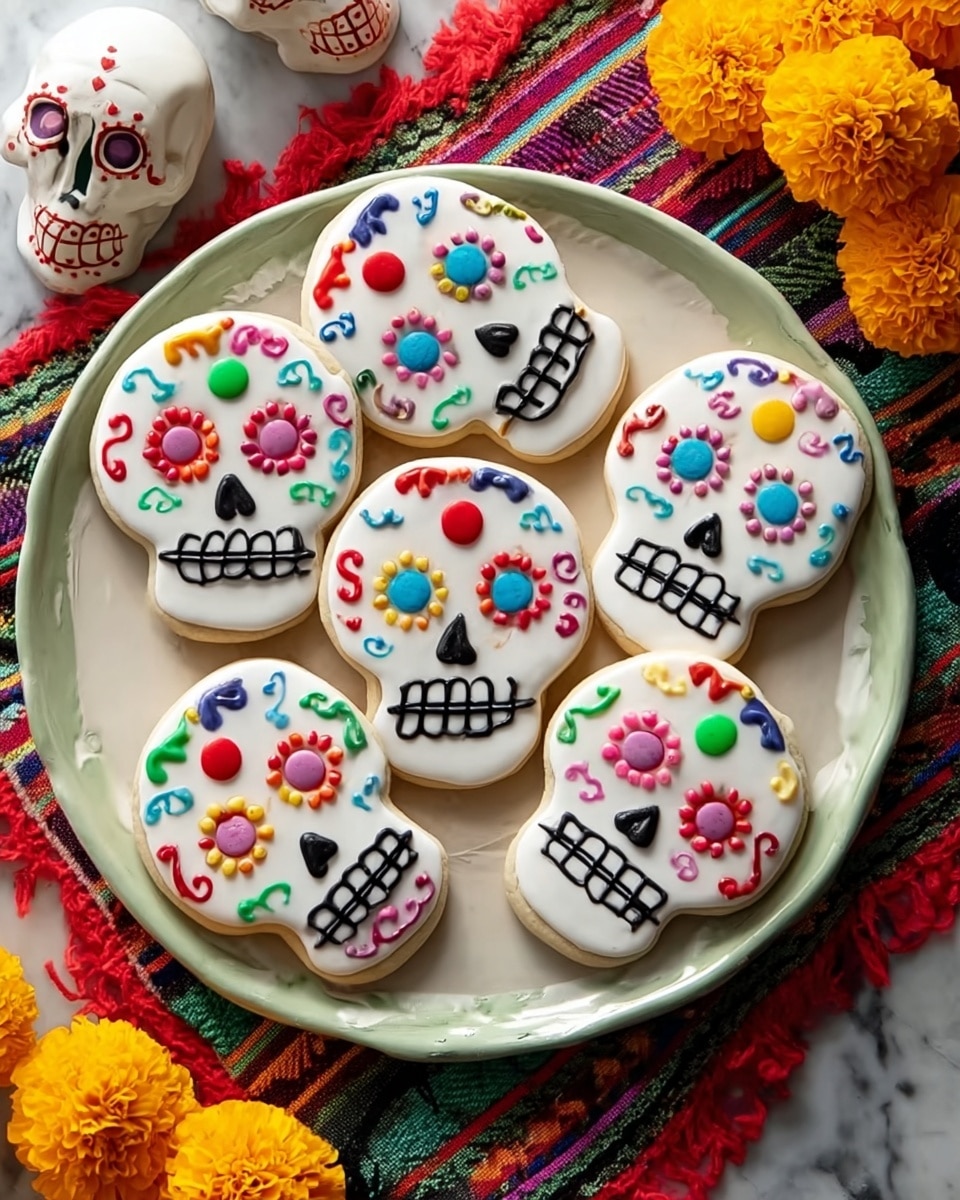
If you’re looking to celebrate in a deliciously festive way, this Day of the Dead Cookies Recipe is an absolute must-try. I absolutely love how these cookies turn out—colorful, crisp-edged skulls dipped in smooth candy coating, all ready to brighten your Day of the Dead celebrations or any fun gathering. Stick with me, and I’ll walk you through every step to get these beauties perfect every time.
Why You’ll Love This Recipe
- Authentic Flavors: The almond paste adds a subtle, nutty richness that makes these cookies truly special.
- Customizable Decorations: You get to have so much fun personalizing each cookie with candies and colorful coatings.
- Perfect Texture: Crispy edges with a delicate, tender center that’s just right for dipping in candy coating.
- Great for Celebrations: These cookies bring both flavor and festive spirit to your Day of the Dead traditions or any themed party.

Ingredients You’ll Need
Each ingredient in this Day of the Dead Cookies Recipe plays a key role, coming together to deliver that perfect balance of flavor and texture. I always recommend using good-quality almond paste and fresh butter for the best taste and dough consistency.
- Butter: Use softened, unsalted butter for creamy texture and flavor control.
- Confectioners’ sugar: Gives a delicate sweetness and helps create the tender dough.
- Almond paste: This adds a unique nutty flavor that’s essential for the authentic taste.
- Egg: Room temperature egg emulsifies the dough and adds richness.
- 2% milk: Just enough moisture to bring the dough together without making it sticky.
- Vanilla extract: For that classic sweet aroma that rounds out the flavors.
- All-purpose flour: Provides structure; make sure to measure properly for consistent results.
- Salt: Balances the sweetness and enhances flavor.
- White candy coating melts: For the beautiful glossy dip that sets firm and holds decorations well.
- Black paste food coloring: To tint the candy coating for eye and mouth details.
- Optional decorations: Think jumbo sprinkles, peppermint candies, Skittles, Twizzlers Rainbow Twists — all perfect for that colorful Day of the Dead vibe.
Variations
I love experimenting a bit with this Day of the Dead Cookies Recipe—sometimes I swap the milk for almond milk to boost that nutty flavor. You can also go dairy-free by using vegan butter and non-dairy milk. Feel free to customize decorations based on your mood or party theme!
- Almond-Free Version: I once made a batch replacing almond paste with extra butter and a splash of almond extract substitute—worked surprisingly well for those with allergies.
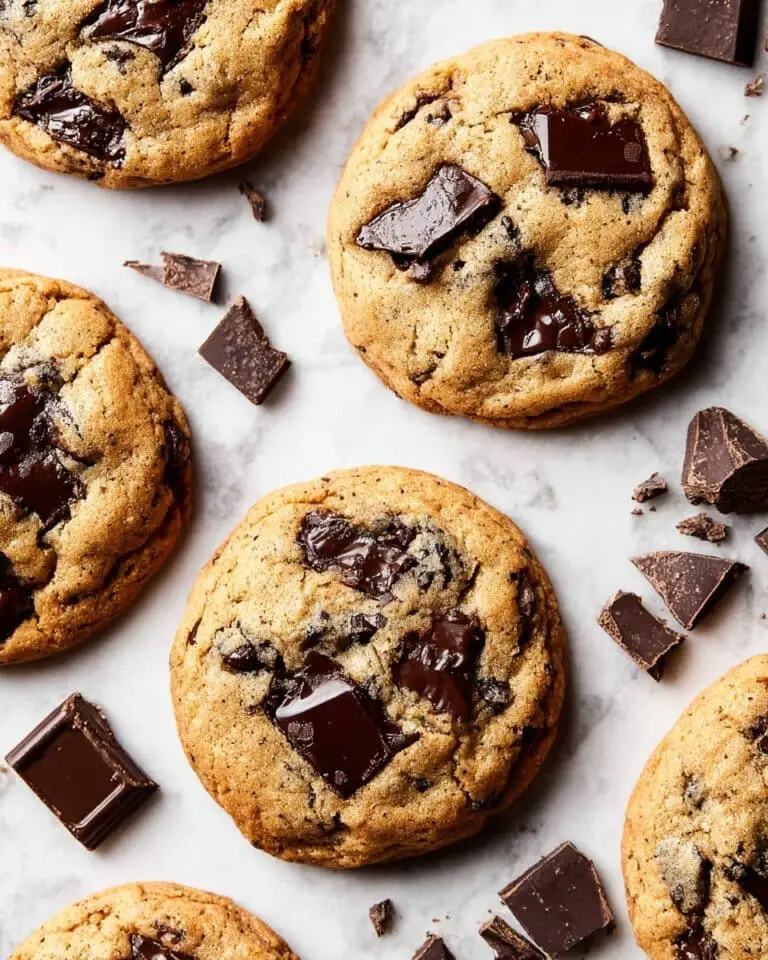
- Chocolate Coating: Dipping some cookies in melted dark chocolate instead of white is a rich twist my family adored.
- Vegan Adaptation: Using vegan butter and plant-based milk, then skipping the egg or using a flax egg, results in a tasty vegan treat.
- Spiced Cookies: Adding a bit of cinnamon and nutmeg to the dough gave a warm fall vibe that went beautifully with the festive decorations.
How to Make Day of the Dead Cookies Recipe
Step 1: Cream the Butter and Sugar
Start by beating your softened butter with confectioners’ sugar until the mixture is light and fluffy, usually about 3 to 4 minutes. I love this step because it adds air to your dough which helps create that delicate crumb. Next, add the almond paste—break it up a bit beforehand if you can; it blends much easier and avoids lumps. Then, beat in the egg, milk, and vanilla extract until everything’s smooth and emulsified.
Step 2: Combine Dry Ingredients and Chill Dough
Whisk together the flour and salt in a separate bowl, then slowly add them to your wet mixture. Mix just until combined; overmixing here can make the cookies tough, so stop as soon as the dough comes together. Cover and refrigerate it for about an hour. This chilling step is crucial — it not only firms up the dough for easier shaping but also helps develop flavor.
Step 3: Roll, Cut, and Bake
On a lightly floured surface, roll your dough out to about 1/4-inch thickness. I find that less than this and the cookies are too delicate; more and they lose that crispness I love. Use a 5-inch skull-shaped cookie cutter to cut out your shapes, then place them about 1 inch apart on ungreased baking sheets. I usually bake mine at 375°F for 7 to 9 minutes — watch for firmness along the edges, which means they’re perfectly baked. Let them rest for 2 minutes on the sheet before transferring to wire racks to cool completely.
Step 4: Melt Candy Coating and Decorate
While the cookies cool, melt your white candy coating melts in a shallow microwave-safe dish, following package directions closely to avoid burning. Dip the top side of each cookie into the coating, letting extra drip off—this creates that smooth glossy surface for decorating. Place them on waxed paper, and quickly add your favorite decorations before the coating sets. To create the iconic skeletal smiles, tint some of the melted candy coating black and pipe on mouths with a small tip. Let everything set completely at room temperature.
Pro Tips for Making Day of the Dead Cookies Recipe
- Softening Butter: Make sure your butter is softened, not melted—this affects creaming and texture.
- Chilling Makes a Difference: Don’t skip refrigerating the dough; it prevents spreading and helps you handle the dough easily.
- Even Rolling: Use rolling pin guides or two wooden dowels so all cookies are the same thickness for uniform baking.
- Dip Quickly: When dipping in the candy coating, work fast so it doesn’t harden before decorating.
How to Serve Day of the Dead Cookies Recipe
Garnishes
I love using jumbo sprinkles and colorful candy pieces like Skittles or candy-coated sunflower kernels to give these cookies that authentic, joyful Day of the Dead look. Peppermint candies and Twizzlers Rainbow Twists add playful texture and bright colors. The key is to be bold—embrace bright colors that pop!
Side Dishes
To really set the mood, I often pair these cookies with hot Mexican hot chocolate or spiced chai. A bowl of fresh fruit or sweet bread like pan de muerto accentuates the festive spread beautifully.
Creative Ways to Present
One time, I arranged these cookies standing upright in custom-decorated jars filled with sugar—creating a colorful Day of the Dead cookie bouquet that was a huge hit at the party! You can also tie a stack with a bright ribbon or serve them alongside mini sugar skull ornaments for an extra festive touch.
Make Ahead and Storage
Storing Leftovers
I store leftover cookies in an airtight container at room temperature. They stay delicious for up to a week, but honestly, they rarely last that long in my house! Placing parchment paper between layers prevents sticking and preserves the candy coating decorations.
Freezing
If I want to prepare early, I freeze the unbaked dough or fully decorated cookies. For dough, roll, cut, then flash freeze on a tray before storing in freezer bags—this keeps the shapes perfect. Decorated cookies freeze well too; just thaw before serving to avoid condensation damage.
Reheating
Reheating usually isn’t necessary, but if you want that freshly baked taste, I warm cookies at 300°F for 3–4 minutes in the oven. This crisp ups the edge without melting decorations.
FAQs
-
Can I make Day of the Dead Cookies Recipe without almond paste?
You can substitute almond paste with extra butter and a few drops of almond extract, but the flavor won’t be quite as rich or authentic. The almond paste gives the cookies a moist, nutty character that’s hard to replicate.
-
What if I don’t have a skull-shaped cookie cutter?
If you don’t have a skull cutter, round or oval shapes work well too, then decorate creatively to mimic skull features using the candy coatings and sprinkles.
-
How do I avoid cracking when rolling out the dough?
Make sure the dough is well chilled but not rock hard. Let it sit at room temperature a few minutes if it’s too firm. Roll gently on a floured surface to prevent sticking and cracking.
-
Can I decorate the cookies in advance?
Yes! You can decorate and let them set, then store them in an airtight container for a few days before serving. Just keep them cool to prevent melting.
Final Thoughts
When I first tried this Day of the Dead Cookies Recipe, I was blown away by how festive and delicious homemade cookies could be! It’s such a joyful way to honor tradition while indulging your sweet tooth. I’m sure once you try these, they’ll become a beloved part of your celebrations too. So go ahead, roll up your sleeves, and have some fun making your own colorful, delightful Day of the Dead cookies—your friends and family will thank you!
Print
Day of the Dead Cookies Recipe
- Prep Time: 2 hours (includes chilling time)
- Cook Time: 10 minutes (baking time per batch)
- Total Time: 2 hours 10 minutes
- Yield: 1 dozen cookies
- Category: Baking
- Method: Baking
- Cuisine: Mexican
Description
Celebrate Dia de los Muertos with these festive Day of the Dead Cookies featuring a tender almond-flavored sugar cookie base dipped in white candy coating and decorated with colorful candies and black piped details to create charming sugar skull designs.
Ingredients
Cookie Dough
- 1-1/4 cups butter, softened
- 1-3/4 cups confectioners’ sugar
- 2 ounces almond paste
- 1 large egg, room temperature
- 1/4 cup 2% milk
- 1 teaspoon vanilla extract
- 4 cups all-purpose flour
- 1/2 teaspoon salt
Decoration
- 2 packages (12 ounces each) white candy coating melts
- Black paste food coloring
- Optional decorations: Jumbo sprinkles, peppermint candies, candy-coated sunflower kernels, Skittles, Twizzlers Rainbow Twists, Good & Plenty candies
Instructions
- Prepare the Dough: In a large bowl, cream the softened butter and confectioners’ sugar together until the mixture becomes light and fluffy, about 3 to 4 minutes. Add the almond paste and continue to beat until combined. Incorporate the egg, milk, and vanilla extract, mixing thoroughly.
- Add Dry Ingredients and Chill: In a separate bowl, combine the all-purpose flour and salt. Gradually add this dry mixture to the creamed wet ingredients, mixing well after each addition to form a firm dough. Cover the dough and refrigerate it for 1 hour to allow it to chill and become easier to handle.
- Roll and Cut Dough: On a lightly floured surface, roll out the chilled dough to a thickness of 1/4 inch. Use a floured 5-inch skull-shaped cookie cutter to cut out cookies. Place the cookies about 1 inch apart on ungreased baking sheets, ready for baking.
- Bake the Cookies: Preheat the oven to 375°F (190°C). Bake the cookies for 7 to 9 minutes, or until they are firm to the touch and lightly set. Allow them to stand on the baking sheet for 2 minutes before transferring to wire racks to cool completely.
- Melt Candy Coating: In a large, shallow, microwave-safe dish, melt the white candy coating melts following the package’s microwave directions, stirring as necessary to achieve a smooth consistency.
- Dip and Decorate Cookies: Dip the top side of each cooled cookie into the melted white candy coating, letting any excess drip off. Place the dipped cookies on waxed paper to set. Add optional colorful decorations like jumbo sprinkles or candies while the coating is still wet for festive details.
- Color and Pipe Details: Tint some of the remaining white candy coating with black paste food coloring to create a black icing. Use this for piping mouths and other facial details onto the cookies. Allow all decoration to set fully before serving or packaging.
Notes
- Ensure the almond paste is well softened to blend smoothly into the dough for best texture.
- Chilling the dough is essential to make rolling and cutting easier and to prevent spreading during baking.
- If you don’t have a skull-shaped cookie cutter, you can use other Halloween-themed cutters or carefully shape the dough by hand.
- Use waxed paper to prevent sticking when setting the candy coating decorations.
- Store the decorated cookies in an airtight container at room temperature for up to one week.
Nutrition
- Serving Size: 1 cookie
- Calories: 260
- Sugar: 16g
- Sodium: 110mg
- Fat: 14g
- Saturated Fat: 8g
- Unsaturated Fat: 5g
- Trans Fat: 0g
- Carbohydrates: 30g
- Fiber: 1g
- Protein: 3g
- Cholesterol: 35mg


